Any outstanding returns of the insolvent taxpayer in relation to the pre-sequestration number, relating to the period up to the date of sequestration, must be submitted by the taxpayer at a SARS branch. These outstanding returns cannot be filed through eFiling in relation to the period prior to sequestration.
For the period after the date of sequestration, as soon as the insolvency is reported to SARS and the taxpayer is coded as an insolvent case, a new tax number will automatically be generated, and SARS will add the taxpayer’s or the tax practitioner’s details under the “representative section” on the RAV01. The new tax number will be posted on eFiling and be linked to the insolvent taxpayer’s existing eFiling profile. To enable the taxpayer to submit returns for the period after sequestration on the new post-sequestration number, the taxpayer must log onto his or her existing eFiling profile and follow the below steps.
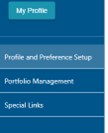
1. On your eFiling home page, you must click “My profile” button:
![]()
2. Three options will display, click “Portfolio Management” option:
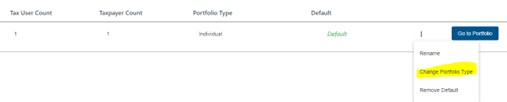
3. Portfolio Management screen will display, click on the 3 dots and select “Change Portfolio Type”:
4. The “Portfolio Type” will display, select “Organisation” and click the “Save” button:
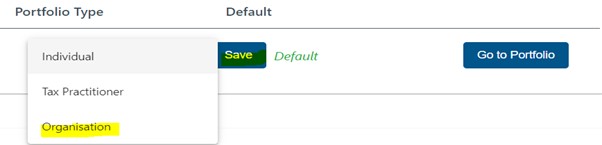
Note: Portfolio Type will change from “Individual” to “Organisation”, click “Go to Portfolio” button.

5. The eFiling home page will display, click “Organisations” tab from the toolbar:
![]()
6. “Organisation” details will display on your left hand side, click on “Organisation”, then “Tax Types” and therafter “Manage Tax Types”:

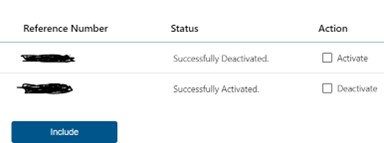
7. “Manage Tax Type” screen will display:
- Click on “+view” button,
- Click “Active” under Action,
- Click “Include”, and
- Click “submit” button:
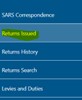
8. Click the “Returns” button from the toolbar:
![]()
Should the “Personal Income Tax (ITR12)” entry not be created e.g. as per below:
You must follow the below steps:
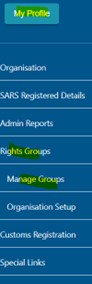
9. Click on “Organisations” tab from the toolbar:

10. On the left hand side, click “Rights Groups” and click “Manage Groups”:
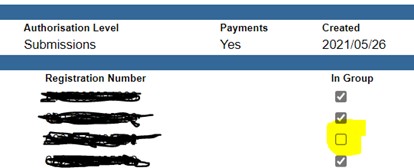
11. Group details screen will display, click “Manager Payers” button:

12. Add Taxpayers to Group screen will display, tick a box under “In Group” and click Save button:
13. On the eFiling home page, click “Return” tab from the toolbar, click “Returns issued” and “Personal Income Tax (ITR12)” will reflect, click it to request the return: