
Summary
This webpage will assist Customs and Excise clients to understand how to raise queries with SARS on the SARS Online Query System (SOQS) so that they do not have to go to a branch. The SOQS is an easy-to-use online platform accessible via www.sars.gov.za.
To initiate a query, Customs and Excise clients simply need to complete the online form by selecting a Query Type; complete a set of required information, attach supporting documentation where necessary and submit the data to SARS for processing and review.
SOQS currently allows Customs and Excise clients capture the following Query Types:
- Submit APT Supporting Documents.
- Register for Food Manufacturing Diesel Refund.
- RLA application status.
- Customs Code.
- Submit RLA Supporting Documents.
- View RLA Documents.
Submission of Queries
How to submit a query online
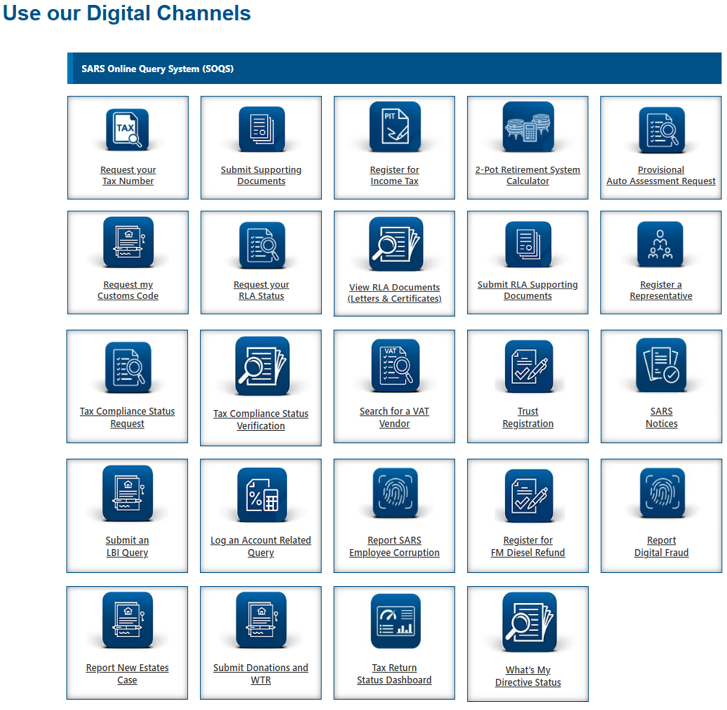
To access SOQS visit the SARS website www.sars.gov.za on the Home Page click on > SARS Online Query System.
The following screen will be displayed: All the available query options will be displayed under this screen titled “Use our Digital Channels”.
How to Capture Query Types
Register for FM Diesel Refund
- This query must be used to submit request for registration in respect of Diesel Refunds for Food Manufacturing Scheme (DRFMS) Excise product.
- The client must capture all the mandatory fields to be able to attach the supporting documents and submit the registration request.
- Once the query is submitted, a case will be created for SARS to review the request.

- Select the “Entity Type” from the dropdown list. The following can be selected:
- Individual; or
- Company; or
- Trust.
- Capture the “Name” or “Registered Name” depending on the type of entity selected.
- The “Tax Type” will default to VAT.
- Capture the VAT Number for the Food Manufacturing Client.
- Select the “ID Type” from the drop down list. Depending on the entity type selected, the drop down will be adjusted accordingly:
- For Individual entity type, the following will be on the dropdown list:
- South African ID Number – If the Client is an individual and a South African resident, only a valid ID number will be accepted.
- Passport Number – If the Client is an individual and a foreigner, a valid passport number must be used.
- For Company entity type, the Company Registration Number will be on the dropdown list. Only a valid Company Registration number will be accepted.
- For Trust entity type the Trust Number will be on the dropdown. Only a valid Master of the High Court Trust registration number will be accepted.
- For Individual entity type, the following will be on the dropdown list:
- Depending on the “ID Type” selected, capture the relevant number.
- Select the “Nearest Customs Office” from the dropdown list.
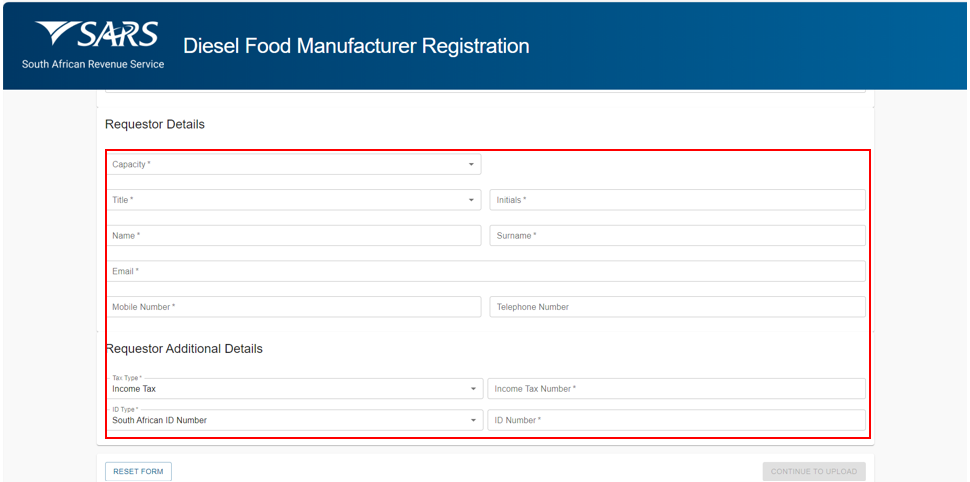
- Capture Requestor Details (these are the details of the person that is submitting this query to SARS) as follows:
- Select the Capacity from the dropdown list as follows:
- Tax Practitioner
- Main Trustee
- Administrator (Estates)
- Executor
- Liquidator
- Curator
- Once-off Mandate
- Public Officer
- Accounting Officer
- Employee with Mandate
- Third Party with Mandate
- Select the Title from the dropdown list. The following can be selected:
- Ms for women irrespective of the marital status.
- Mr for men.
- Mrs for married women.
- Rev for Reverend.
- Prof for Professor.
- Dr for Doctor.
- Adv for Advocate.
- Hon for Honourable.
- Capture the “Initials” in the Initials field.
- Capture the “Name” in the Name field.
- Capture the “Surname” in the Surname field.
- Capture the “Email” address in the Email address field.
- Capture the “Mobile” number in the Mobile field.
- Capture “Telephone” number in the Telephone number field. This field is optional.
- Select the Capacity from the dropdown list as follows:
- Capture Requestor Additional Details as follows:
- Select the Tax Type from the dropdown list. The tax type will default to Income Tax.
- Capture the “Income Tax Number” for the requestor. This field will be mandatory.
- The system will validate that the ID Number and Income tax reference number of the requestor belong to the same person where the information has been completed. If not, an error message will be displayed on submission.
- Select the ID Type from the dropdown list:
- South African ID Number – If the requestor is an individual and is a South African resident, only a valid ID number will be accepted.
- Passport Number – If the requestor is an individual and is a foreigner, a valid passport number must be used.
- Capture the “ID No” depending on the ID Type selected.
- Once all the mandatory information has been captured, click on “Continue to Upload” to go to the next page. If the information captured does not match the SARS records the following message will be displayed:

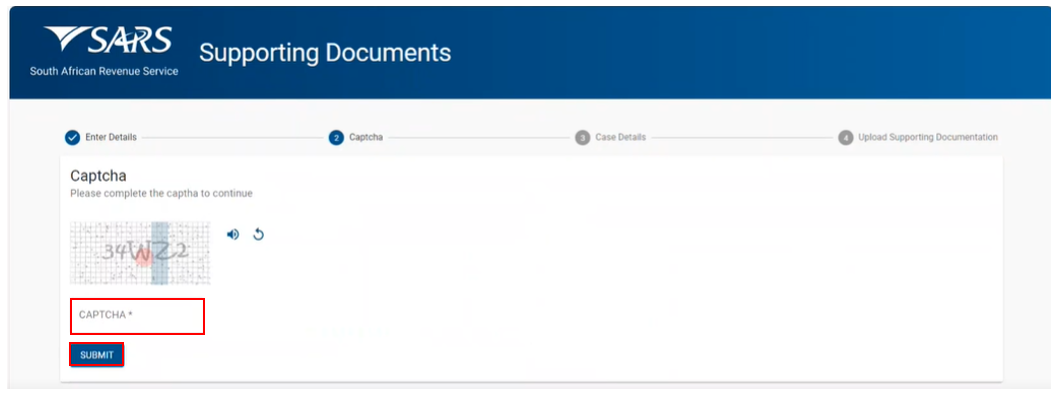
- If the information captured matches the SARS records the following CAPTCHA screen will be displayed:

- Complete the onscreen CAPTCHA field. Click on Submit to continue to the Upload Supporting Documentation screen.
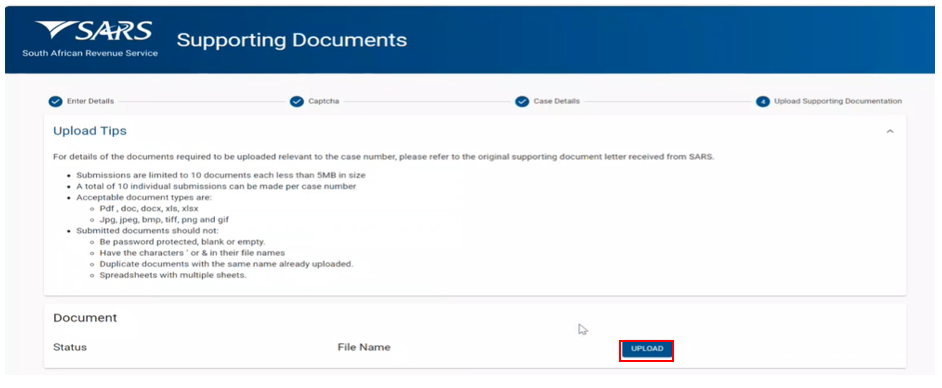
- If the completed information is correct, the following Upload Supporting Documentation screen will be displayed:
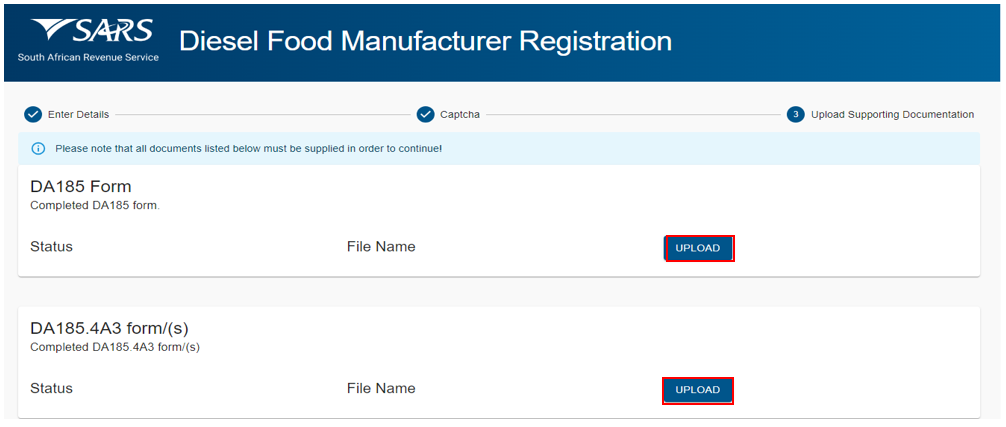
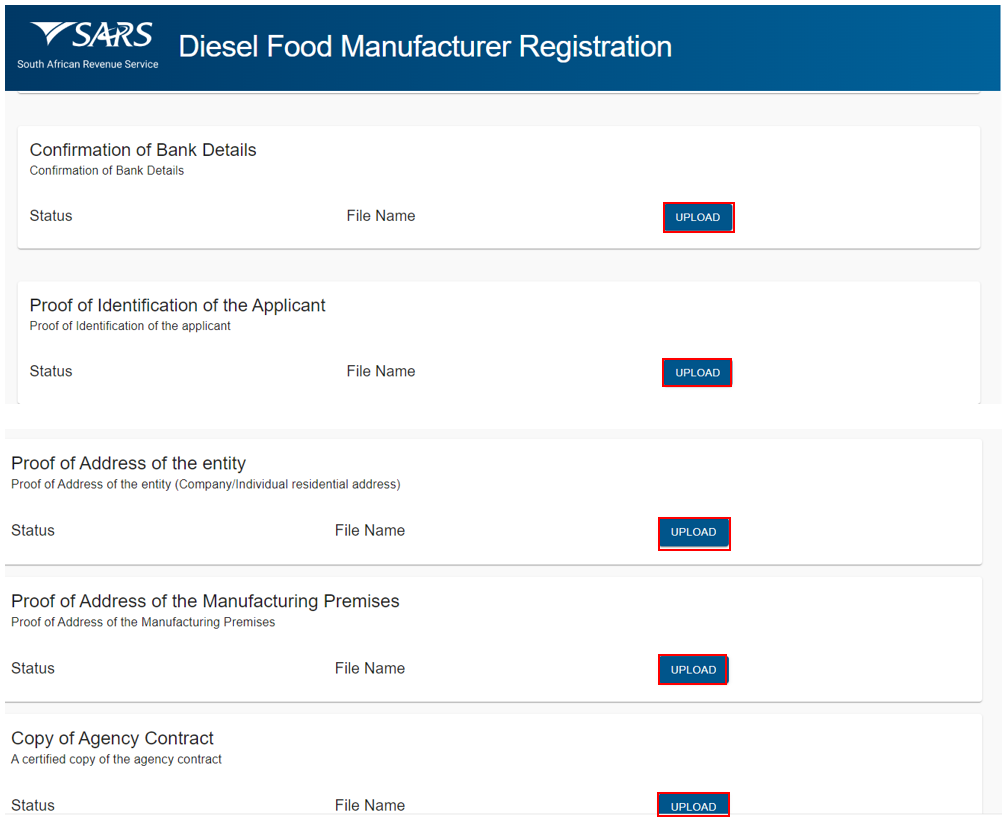
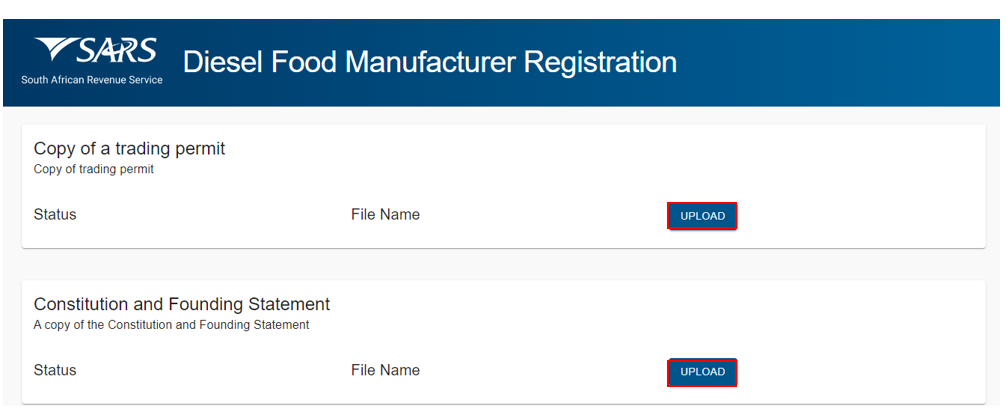
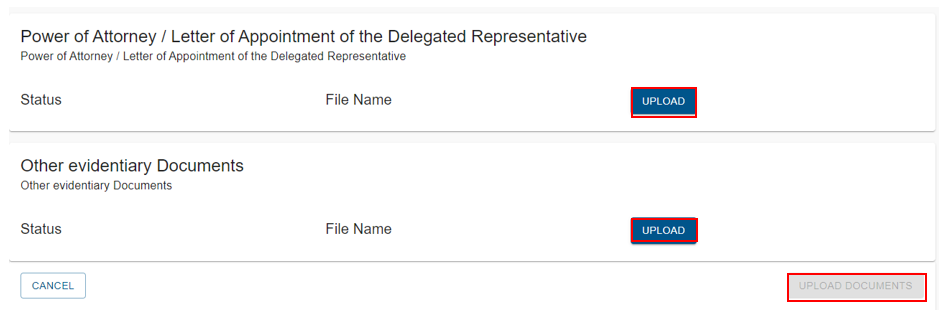
- There will be an upload button next to each supporting document required as per the screen above.
- Upload only the specific document and/or item indicated per upload section.
- Where the required document is not applicable to the client, a letter explaining the reasons why the document is not applicable must be uploaded next to the required document.
- Ensure that you upload the correct documents as uploading incorrect documents may lead to delays in processing your application.
- Once all the supporting documents have been uploaded click on Upload Documents button to submit the request. The following message will be displayed:

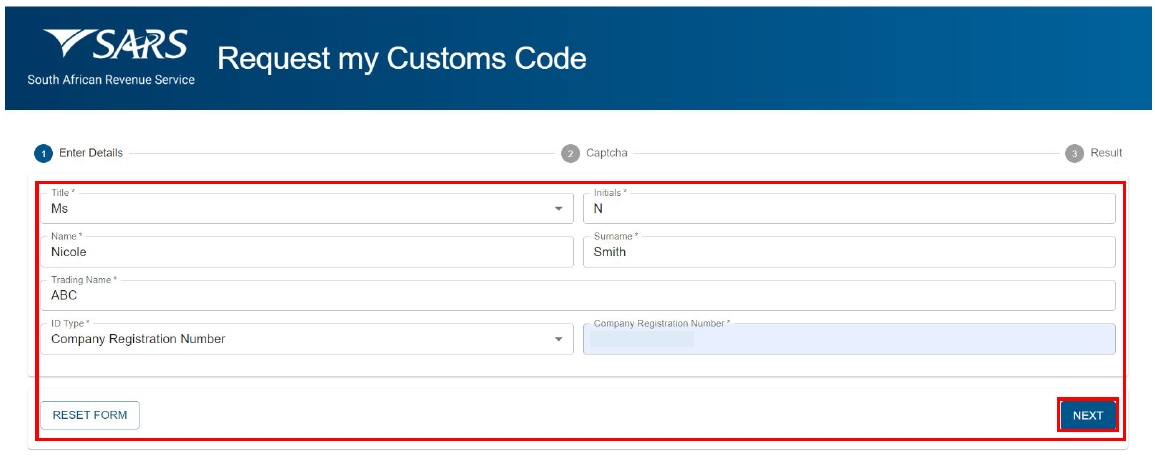
Request my Customs Code
- The User must capture all the mandatory fields that will be used for identification purposes:
- Select the Title from the dropdown list. The following can be selected:
- Ms for women irrespective of the marital status.
- Mr for men.
- Mrs for married women.
- Rev for Reverend.
- Prof for Professor.
- Dr for Doctor.
- Adv for Advocate.
- Hon for Honourable.
- Capture the “Initials” in the Initials field.
- Capture the “Name” in the Name field.
- Capture the “Surname” in the Surname field.
- Capture the “Trading Name” in the Trading Name field.
- Capture the Case Number” in the Case Number field.
- Capture the “ID Type” in the ID Type field.
- Capture the “ID No.” number in the ID No. field.
- Click on “Reset Form” to clear all captured fields.
- Select the Title from the dropdown list. The following can be selected:
- Once completed the user must click on the Next button.
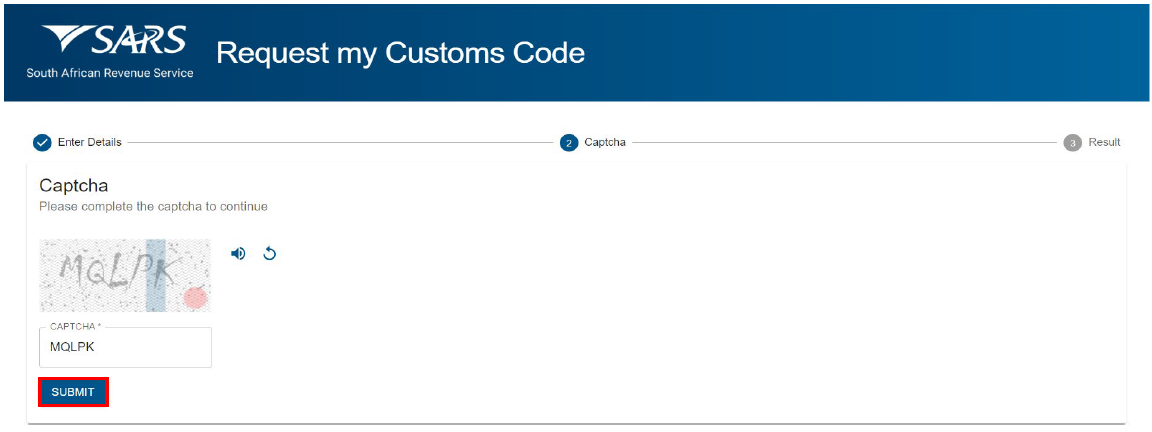
- The user will be required to complete the Captcha field before submission will be processed. Click on submit.
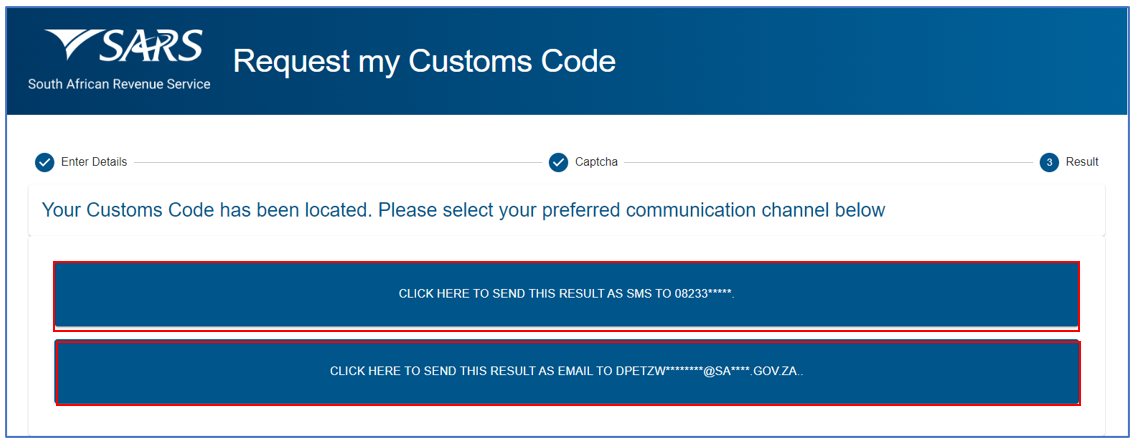
- Once the captured data has been successfully validated. The following screen will appear. User must select the type of communication channel through which their Customs Code(s) can be sent:
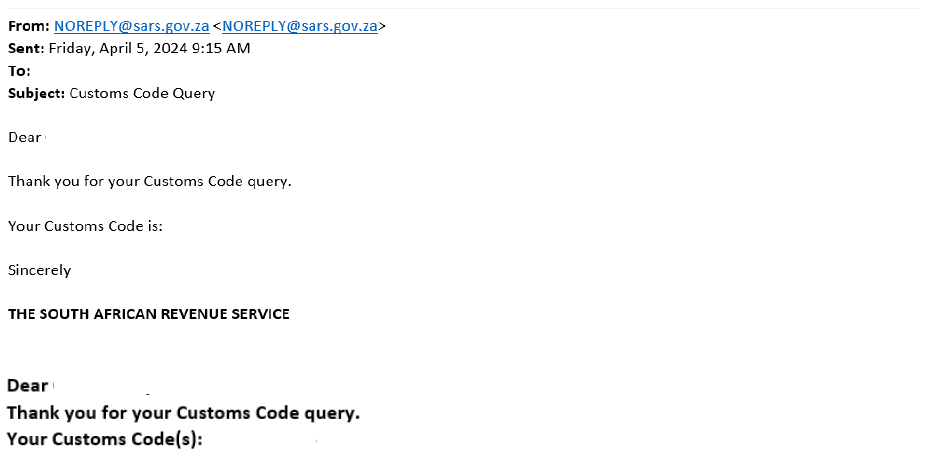
- Below is an example of an email and SMS communication that will be sent, to provide the user with the Custom Code, depending on the type of communication channel that was selected:
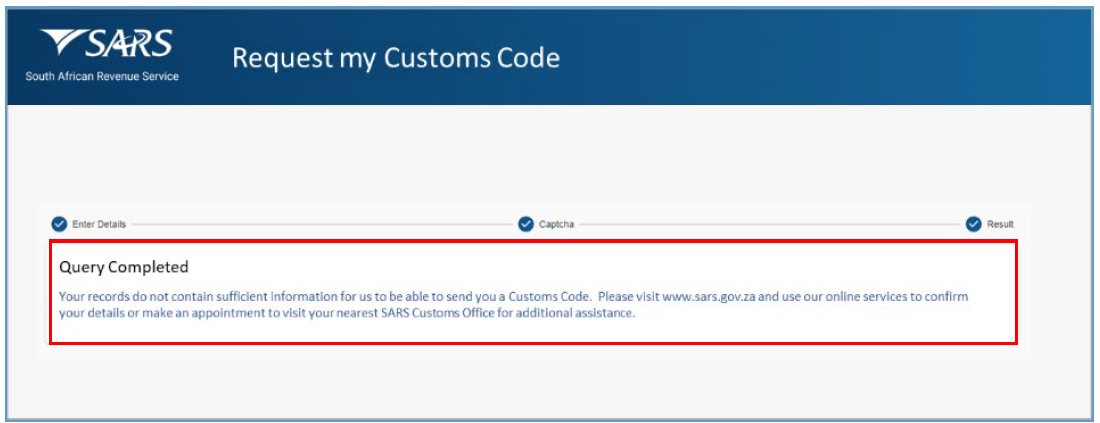
- A Query Completed screen will appear to show that the process is complete, as displayed below:

- If information is incorrectly completed. The following screen will be displayed:

- If the information captured does not match the SARS records the following message will be displayed:
Request my RLA Application Status
A request to retrieve the status of an RLA Application Status can be made via the SARS Online Query System.
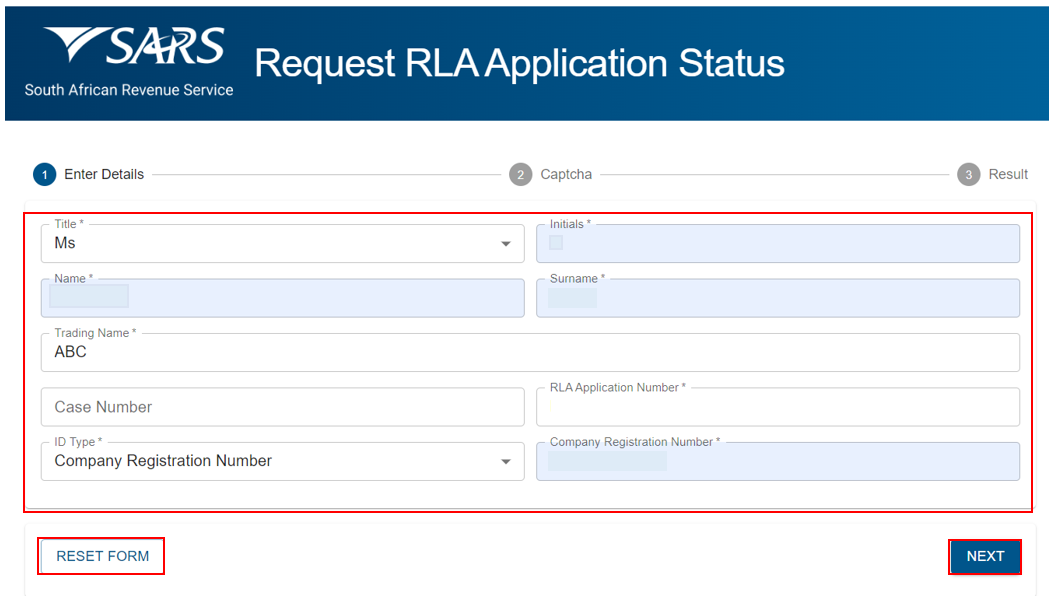
- The User must capture all the mandatory fields that will be used for identification purposes:
- Select the Title from the dropdown list. The following can be selected:
- Ms for women irrespective of the marital status.
- Mr for men.
- Mrs for married women.
- Rev for Reverend.
- Prof for Professor.
- Dr for Doctor.
- Adv for Advocate.
- Hon for Honourable.
- Capture the “Initials” in the Initials field.
- Capture the “Name” in the Name field.
- Capture the “Surname” in the Surname field.
- Capture the “Trading Name” in the Trading Name field.
- Capture the Case Number” in the Case Number field.
- Capture the “RLA Application Number” number in the RLA Application Number field.
- Capture the “ID Type” in the ID Type field.
- Capture the “ID No.” in the ID No. field.
- Select the Title from the dropdown list. The following can be selected:
- Click on “Reset Form” to clear all captured fields.
- Once completed the user must click on the Next button.
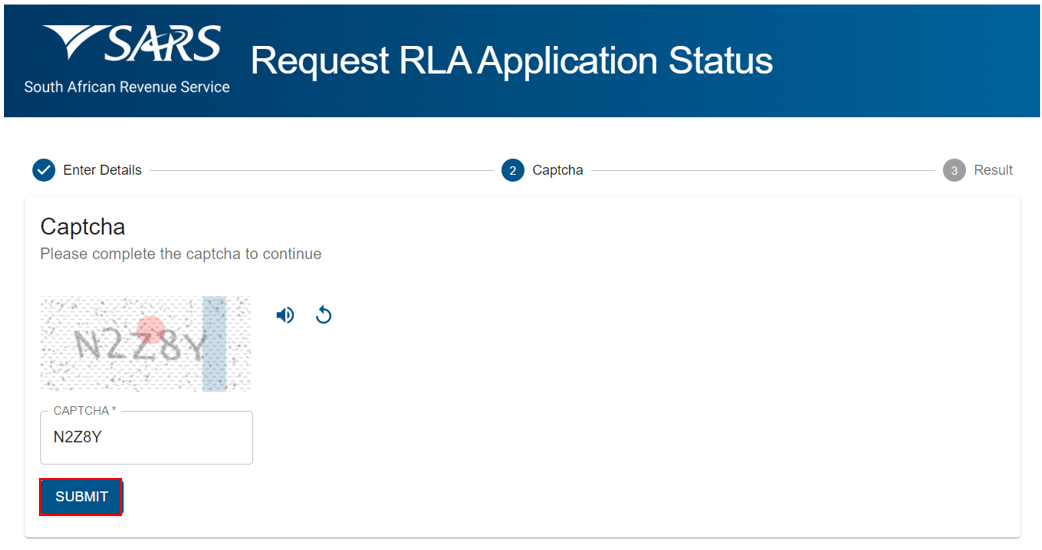
- The user will be required to complete the Captcha field before submission will be processed. Click on submit.
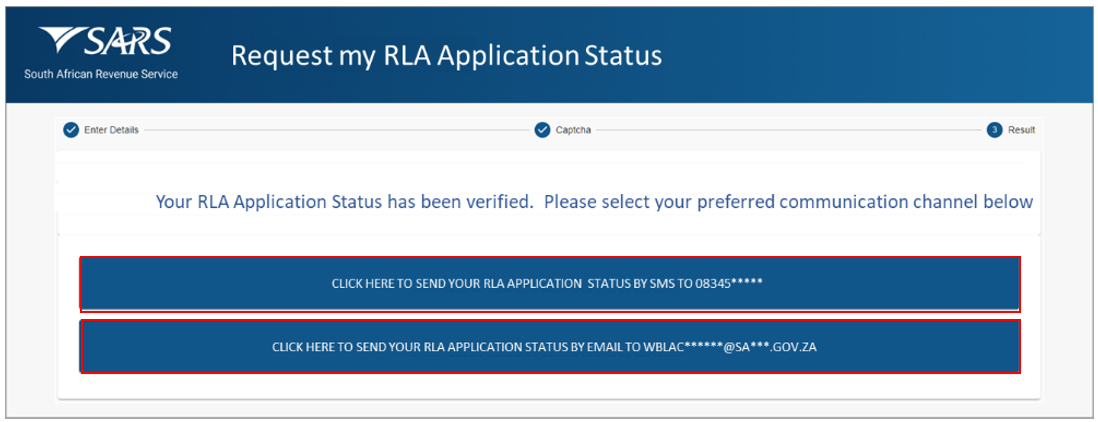
- Once the captured data has been successfully validated. The following screen will appear. User must select the type of communication channel through which to have the RLA Application Status sent to them. The communication information will be pre-populated and the Client will select their preference:
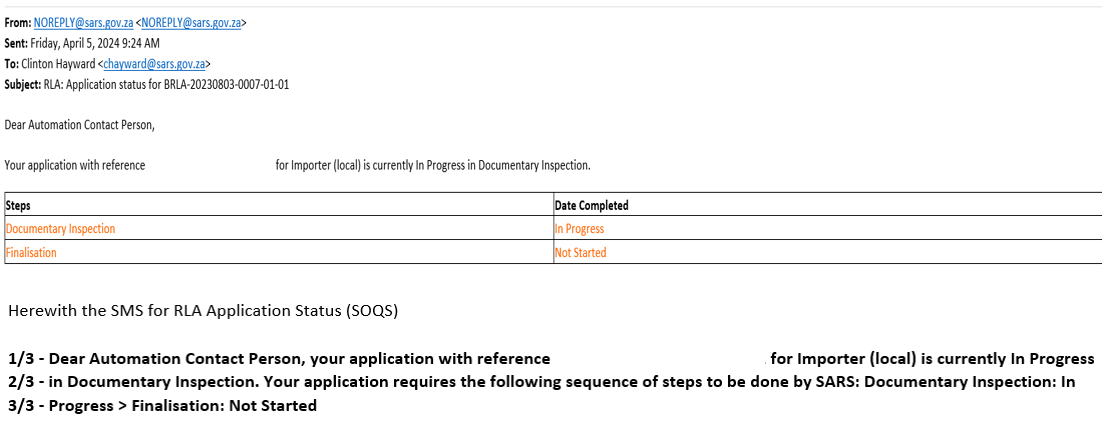
- Below is an example of an email and SMS communication that will be sent depending on the type of communication channel that was selected:
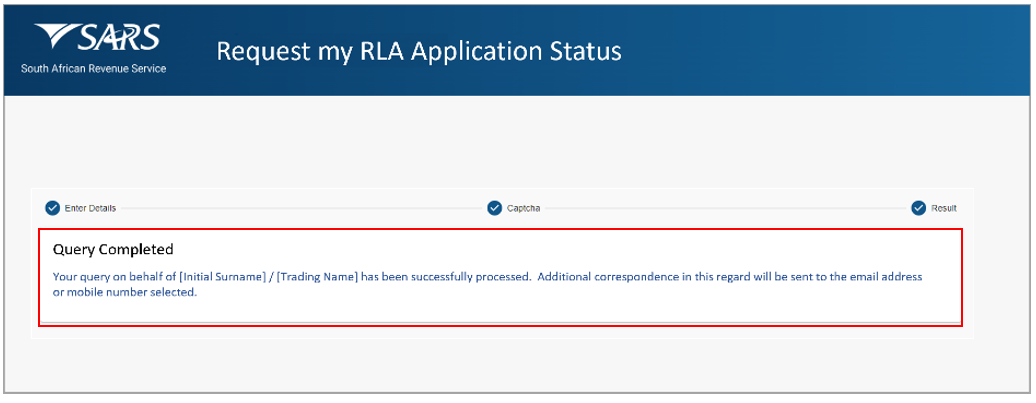
- A Query Completed screen will be displayed below to demonstrate to the user that the process is complete:
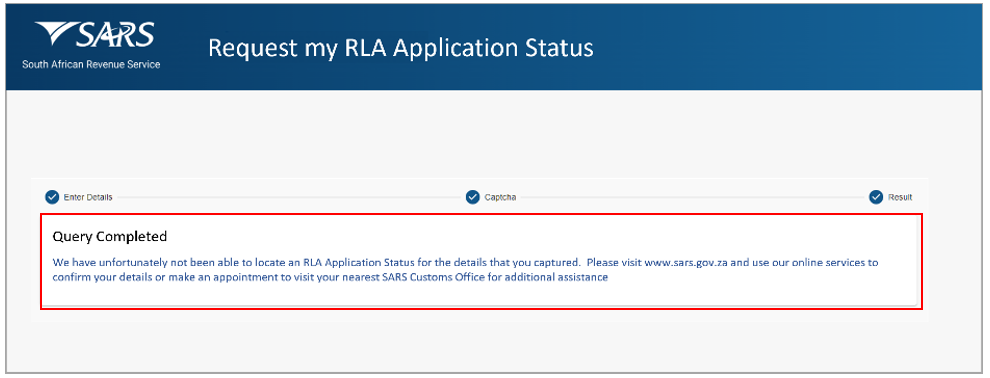
- Where RLA is unable to locate an RLA Application Status, an error message is returned to SOQS and the following screen will be displayed:
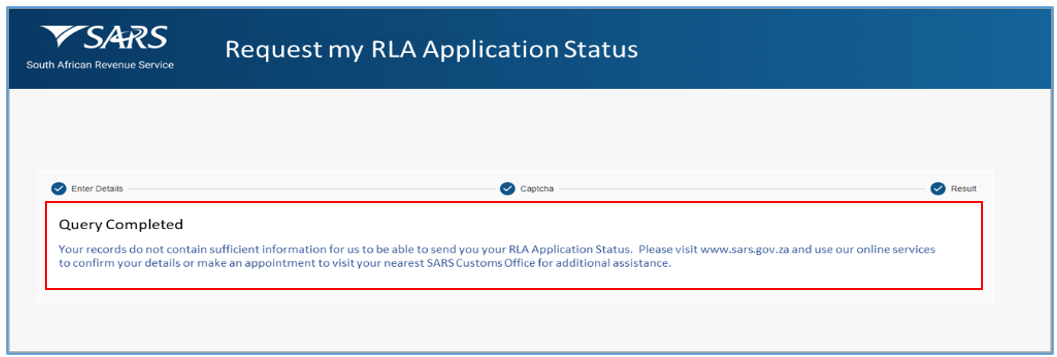
- In instances where the information captured does not match SARS records, the following message will be displayed:
Submit APT Supporting Documents
SOQS is an alternative channel to use when submitting documents. A new query has been added to allow for clients to submit supporting documents to SARS. The client must use the Submit Supporting Document Query to upload them along with a set of mandatory data.
- User must capture all the mandatory fields that will be used for identification purposes:
- Select the Title from the dropdown list. The following can be selected:
- Ms for women irrespective of the marital status.
- Mr for men.
- Mrs for married women.
- Rev for Reverend.
- Prof for Professor.
- Dr for Doctor.
- Adv for Advocate.
- Hon for Honourable.
- Capture the “Initials” in the Initials field.
- Capture the “Name” in the Name field.
- Capture the “Surname” in the Surname field.
- Capture the “Trading Name” in the Trading Name field.
- Capture the “Email” in the Email field.
- Capture the “Tax Type” in the Tax Type field.
- Capture the “Tax Number” in the Tax Number field.
- Select the Title from the dropdown list. The following can be selected:
- Click on “Reset Form” to clear all captured fields.
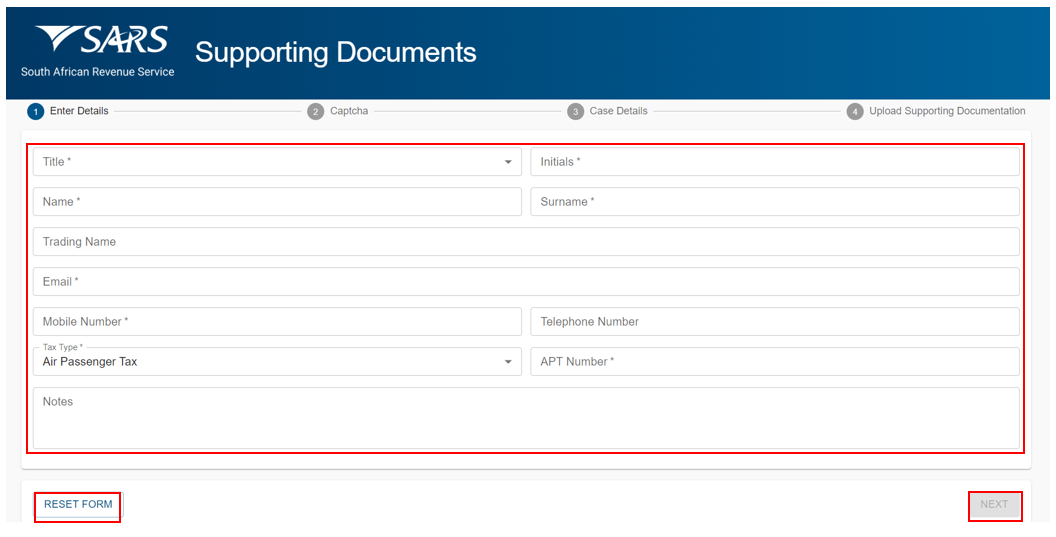
- Click on “Next” button once all the mandatory fields have been completed. The Captcha screen will be displayed. Click on “Submit” button once completed.
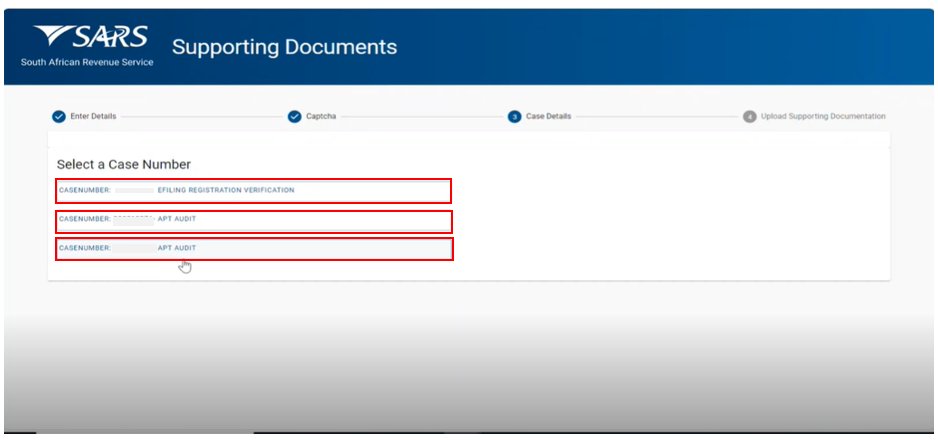
- Select case number for which the upload your supporting documents is required.
- Once the document to be uploaded has been selected, click on the Upload button.
- User can view or delete documents uploaded by Clicking on the “Submit To SARS” button.
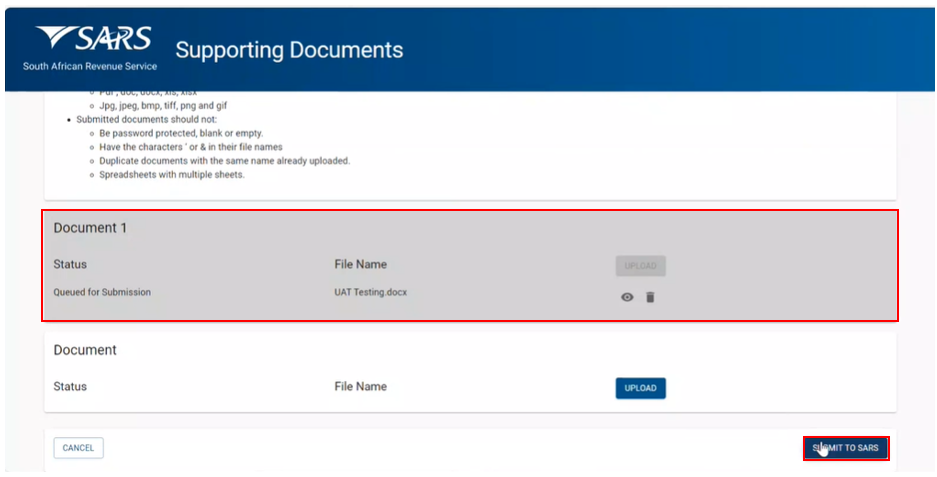
- The following screen will be displayed.
- SARS will send an email with a message to notify whether the documents have been successfully received or that there is an error. The emails will provide specific messages relating to the error and the action that is required by the client.
Submit RLA Supporting Documentation
- RLA related supporting documentation can be submitted directly through the SARS Online Query System.
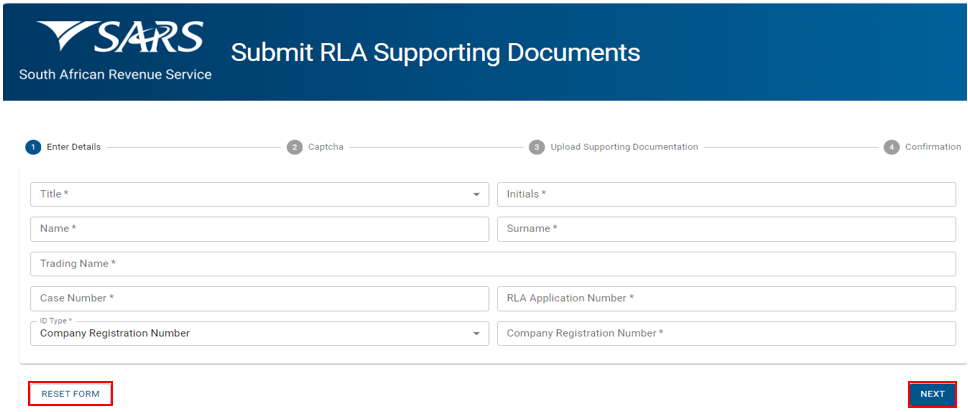
- A designated person captures the mandatory information that will be used for identification purposes:
- Select the Title from the dropdown list. The following can be selected:
- Ms for women irrespective of the marital status.
- Mr for men.
- Mrs for married women.
- Rev for Reverend.
- Prof for Professor.
- Dr for Doctor.
- Adv for Advocate.
- Hon for Honourable.
- Capture the “Initials” in the Initials field.
- Capture the “Name” in the Name field.
- Capture the “Surname” in the Surname field.
- Capture the “Trading Name” in the Trading Name field.
- Capture the “Case Number” in the Case Number field.
- Capture the “RLA Application Number” in the “RLA Application Number” field.
- Capture the “ID Type” in the ID Type field.
- Select the Title from the dropdown list. The following can be selected:
- Click on “Reset Form” to clear all captured fields.
- The user must click on the Next button after capturing information.
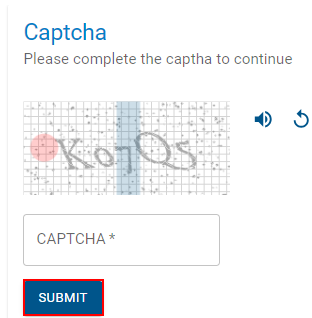
- If the information captured matches the SARS records the following CAPTCHA screen will be displayed.
- Submission will not be accepted if the Captcha is not correctly replicated.
- An audio version of the Captcha is also available when the user clicks on the speaker icon.
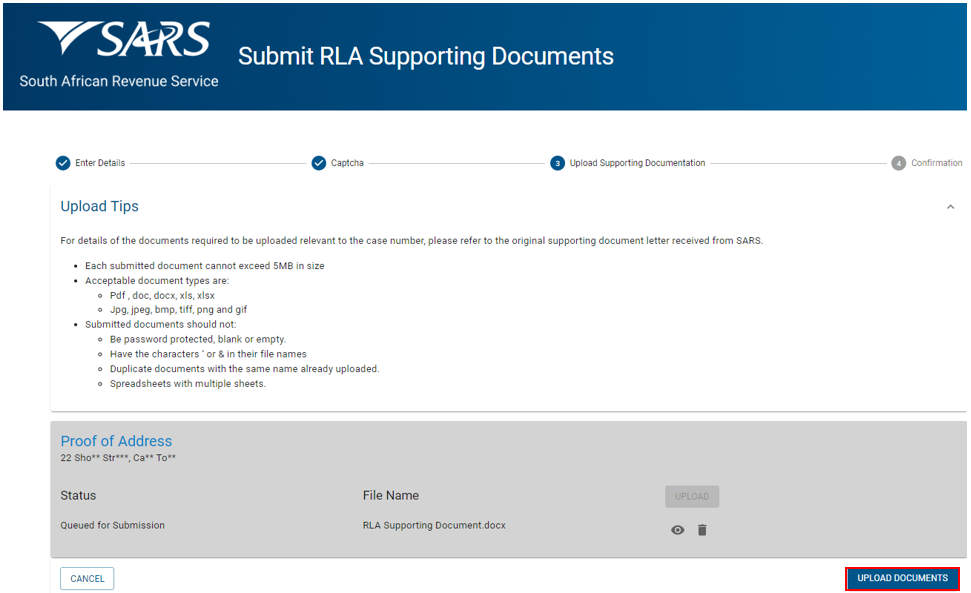
- Should RLA request at least one required supporting documentation record, the user is presented with the SOQS Document Upload screen:
- Click on the Upload button.
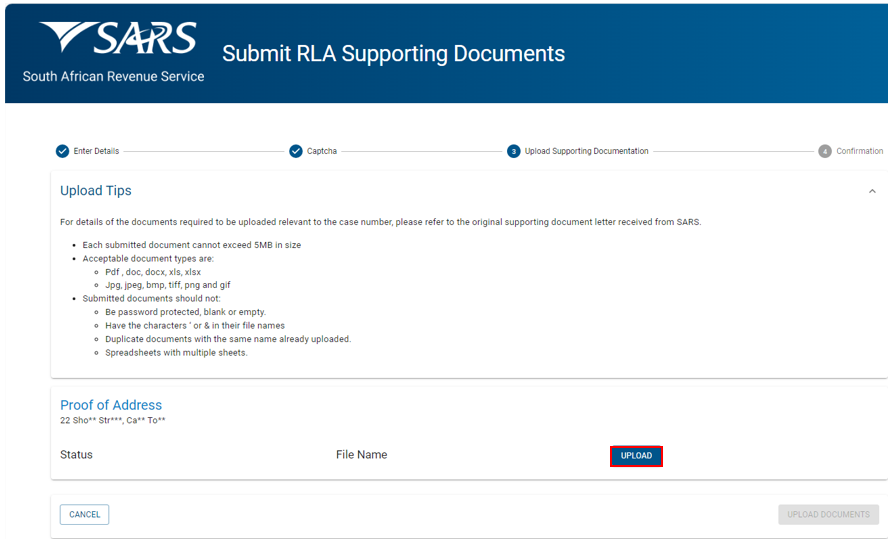
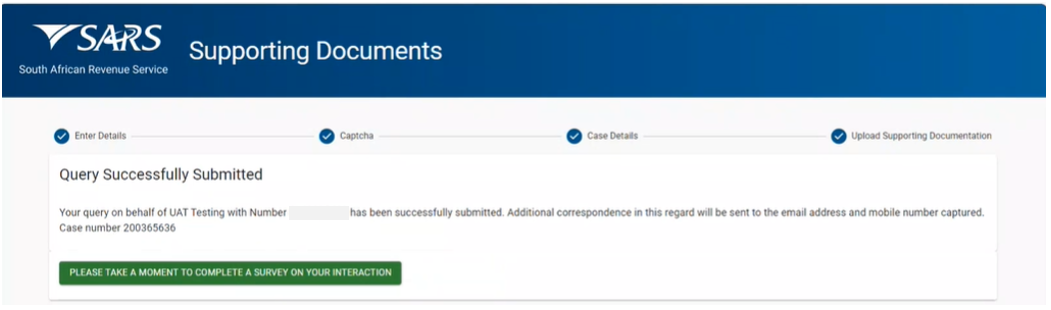
- The following screen will appear. Click on “Upload Documents” button.
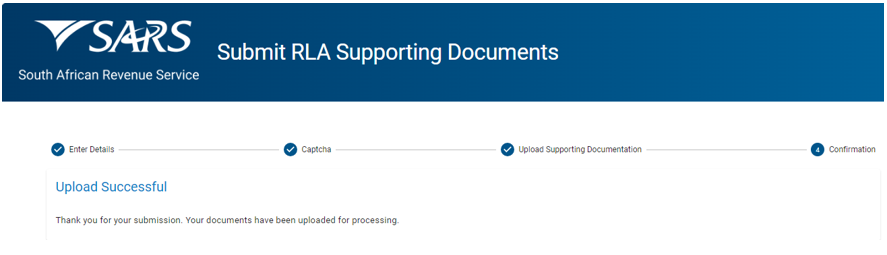
- The following screen will appear to show documents uploaded successfully.
View RLA Documents
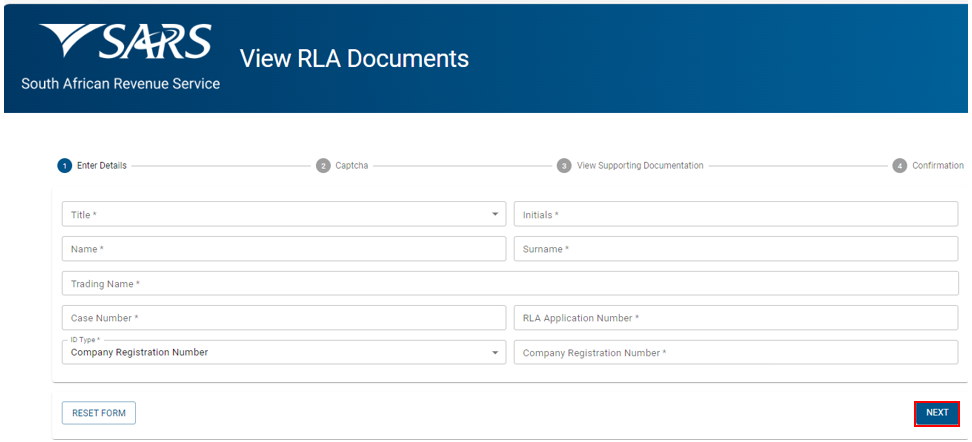
- A designated person captures the mandatory information that will used for identification purposes:
- Select the Title from the dropdown list. The following can be selected:
- Ms for women irrespective of the marital status.
- Mr for men.
- Mrs for married women.
- Rev for Reverend.
- Prof for Professor.
- Dr for Doctor.
- Adv for Advocate.
- Hon for Honourable.
- Capture the “Initials” in the Initials field.
- Capture the “Name” in the Name field.
- Capture the “Surname” in the Surname field.
- Capture the “Trading Name” in the Trading Name field.
- Capture the “Case Number” in the Case Number field.
- Capture the “RLA Application Number” in the RLA Application Number” field.
- Capture the “ID Type” in the ID Type field.
- Select the Title from the dropdown list. The following can be selected:
- Click on “Reset Form” to clear all captured fields.
- The user must click on the Next button after capturing information.
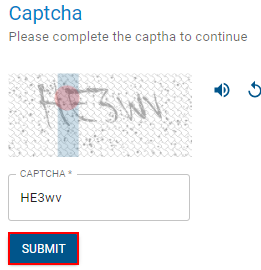
- If the information captured matches the SARS records the following CAPTCHA screen will be displayed.
- Submission will not be accepted if the Captcha is incorrectly replicated.
- An audio version of the Captcha is also available when the user clicks on the speaker icon.
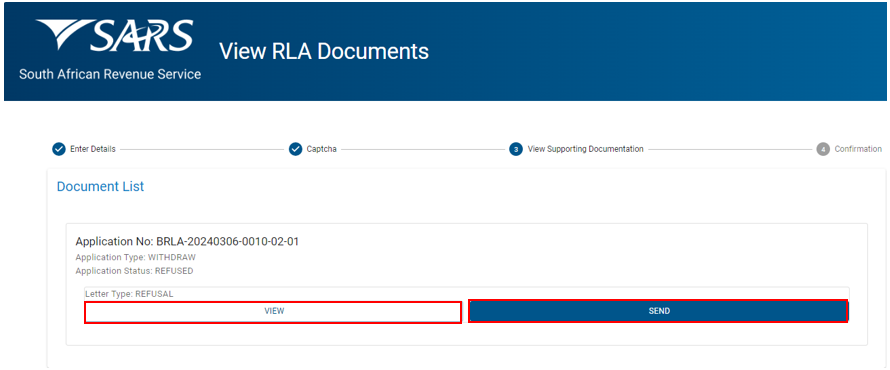
- RLA will return the set of available documents (letters and certificates), which will be displayed in a list showing basic details about each one and allowing the user to either view or send to own email (please note these are not documents that were uploaded through SOQS. These documents are generated by RLA).
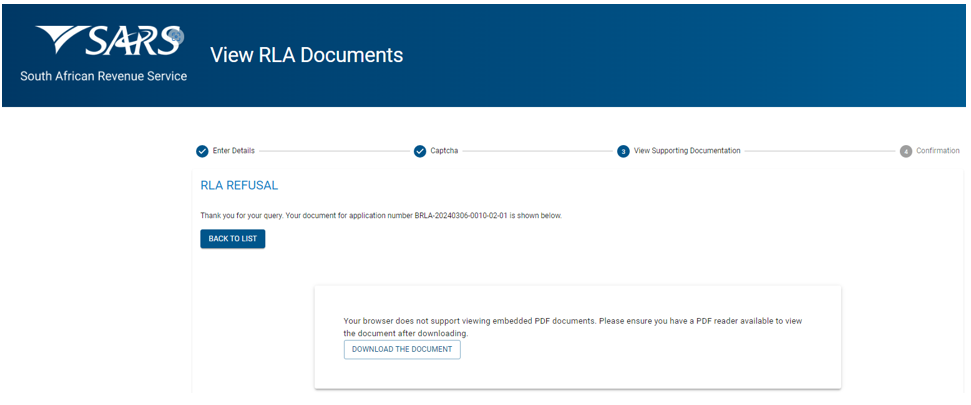
- Should the user select to view a particular document, SOQS will use the Documentum ID supplied by RLA as part of the document list to retrieve the file and display for the user to view the document is displayed within a PDF Viewer plug-in that enables the user to view, print and download it.
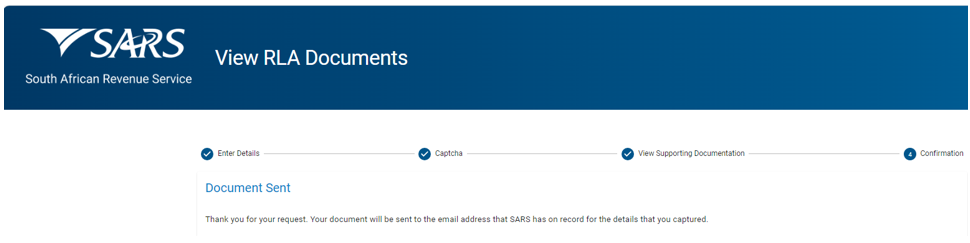
- The screen displayed will indicate that the document be sent to the email address that SARS has on record.
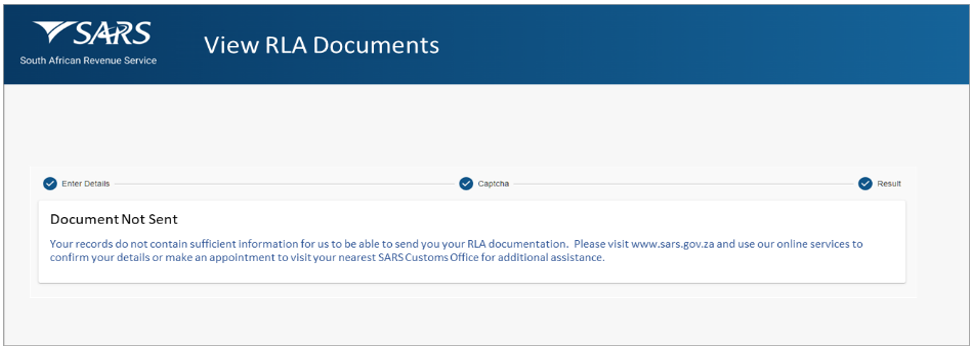
- Where an email address cannot be found by SOQS, the following screen will be displayed:
Definitions, acronyms and abbreviations
The definitions, acronyms and abbreviations can be accessed here – Glossary webpage.
Legal disclaimer: In the event of conflict or inconsistency between this webpage and the PDF version of the guide, the latter shall prevail.