
Summary
This webpage is designed to facilitate the process of declaring Global Minimum Tax (GMT) through eFiling for Multinational Enterprises (MNEs) and through the Global Information Return (GIR).
The purpose of the GIR is to streamline administrative processes by implementing a standardized filing framework that allows jurisdictions to share a single filing via information exchange.
The GIR plays a critical role in supporting transparency and enforcement within the global minimum tax framework, enabling jurisdictions to identify low-taxed profits and apply top-up tax rules accurately.
Introduction
- The Global Anti-Base Erosion (GloBE) rules were created by the OECD/G20 Inclusive Framework, to address concerns about MNE shifting profits to low-tax jurisdictions, which undermines the tax base of countries where real economic activity occurs.
- The GloBE Model Rule—Pillar Two sets out a system for calculating effective tax rates and applying top-up taxes when ETRs are below 15%.
- The Global Information Return (GIR) is introduced as a comprehensive return that contains the information on the tax calculations made by the MNE Group, to determine their Top-up Tax liability or to justify the absence of such a liability.
Note: Implementing jurisdictions may use GIR information differently and might not require all details filed. For example, MNE Group’s Parent Entities could face Top-up Tax liability in only a few jurisdictions. Each jurisdiction calculates and allocates this tax based on the group’s structure and applicable rule order.
- The Inclusive Framework has implemented a focused dissemination strategy for every MNE Group according to the GIR.
- The jurisdiction of the Ultimate Parent Entity (UPE) will be provided with the GIR.
- The jurisdictions with taxing rights under GloBE Rules will get GIR sections covering ETR, Top-up Tax calculation, allocation, and attribution, including those with Qualified Domestic Minimum Top-up Tax (QDMTT).
- All implementing jurisdictions where Constituent Entities (CEs) operate will receive general corporate structure information and data required to assess their taxing rights as per GloBE Rules.
- The GIR for an MNE Group contains GloBE calculations from every jurisdiction with CEs, including those where the GloBE Rules have not been adopted. This method provides implementing jurisdictions that have taxing rights with complete information. How non-implementing jurisdictions manage GIR details will be clarified by the Inclusive Framework in the future.
How to file the GMT Return
- The GMT return will be Uploaded and filed via eFiling.
- The GMT return submission and payment periods are as follows:
- The first GIR submission will be in the prescribed form and manner no later than eighteen months after the end of the first reportable fiscal year.
- The second and subsequent GIR should be submitted no later than fifteen months after the end of the second and following reportable fiscal years.
- If an MNE only becomes liable to top-up tax after the 2024 fiscal year, it also has 18 months to file the GIR in respect of its first reportable fiscal year and thereafter 15 months for subsequent fiscal years.
How to access the Global Minimum Tax (GMT) Function on eFiling
- Navigate to the SARS website www.sars.gov.za and the following screen will be displayed.
- Click the “Login” button to log into eFiling and complete your ‘Username’ and ‘Password.’
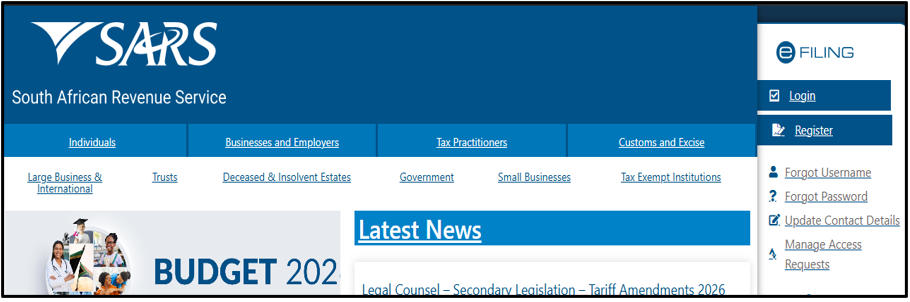
-
- Click the “Register” button to proceed to register as an eFiler if you are not registered.
Note: To access your Global Minimum Tax (GMT01 and GMT02) returns on eFiling, you are required to register with the Organisation for Global Minimum Tax (GMT).
- Once successfully logged onto your eFiling profile, ensure that GMT is activated under the ‘Tax Types’ and the ‘Manage Groups’ functions.
- ‘Tax Types’ and ‘Manage Groups’ will be discussed briefly in this webpage.
- For detailed information on how to use these functions, refer to the following guide on the SARS website: “GEN-ELEC-18-G01 – How to Register for eFiling and Manage Your User Profile – External Guide”
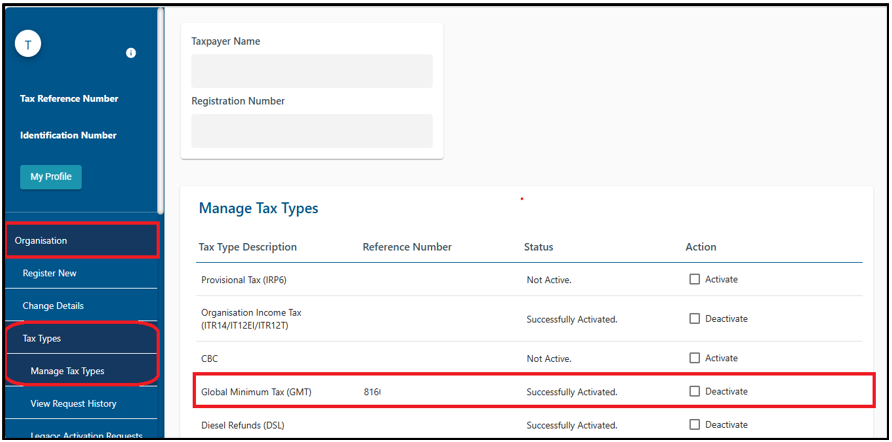
- To navigate to the ‘Tax Types’ function:
- Select Organisation from the menu on the top. On the menu on the left click on Organisation > Tax Types > Manage Tax Types.
- Select the option to activate ‘Global Minimum Tax (GMT).’
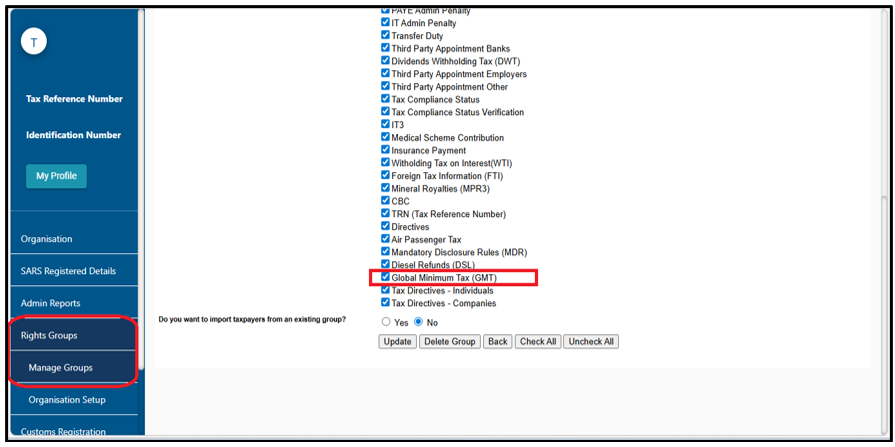
- To navigate to the ‘Manage Groups’ function:
- Select Organisation from the menu on the top. On the menu on the left click on Organisation > Rights Groups > Manage Groups.
- Select the tick box next to ‘Global Minimum Tax (GMT).’
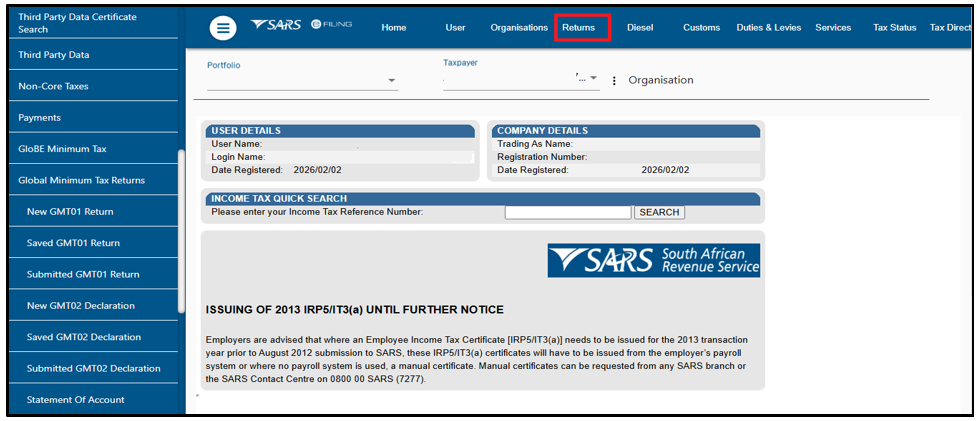
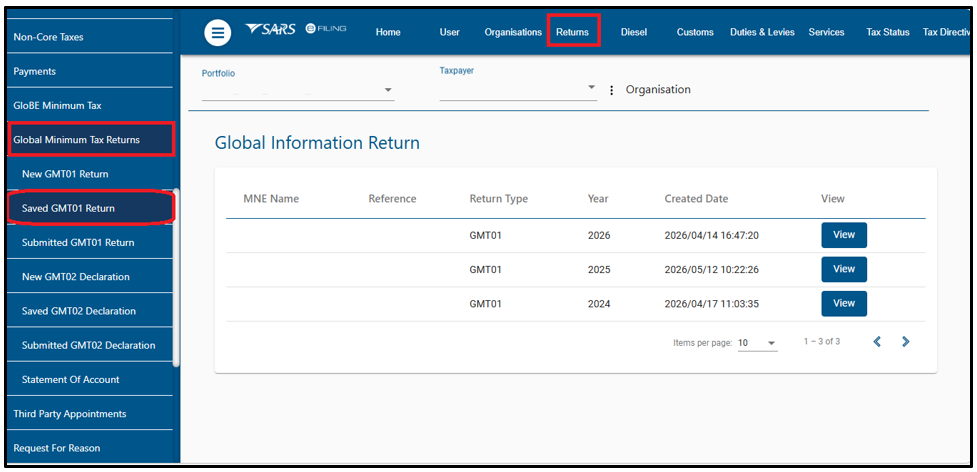
- To access your records on eFiling:
- Click on Returns > Global Minimum Tax Returns.
- You will be able to view the options for Global Minimum Tax Data, Returns and Statement of Account.
How to complete Global Minimum Tax on the GMT01 Return
- Each Constituent Entity in an implementing jurisdiction must submit a GIR to its local tax authority unless:
- A GIR meeting the requirements is filed by the Ultimate Parent Entity (UPE) or Designated Filing Entity (DFE), which has a Qualifying Competent Authority Agreement (QCAA) with the local jurisdiction as of the filing deadline for the Reporting Fiscal Year.
- Domestic Constituent Entities, Domestic Joint Ventures, or their subsidiaries must file a GloBE Information Return with the Commissioner. A Designated Local Entity may file the GIR on behalf of all Domestic Constituent Entities.
- A Domestic Constituent Entity must provide the Designated Local Entity with all information required for the Top-up Tax under the Global Minimum Tax Act. Every Domestic Constituent Entity must file the GIR if:
- There is no designation as per subsection.
- The Designated Local Entity leaves the MNE Group without an alternative being appointed.
- The Designated Local Entity does not submit the return.
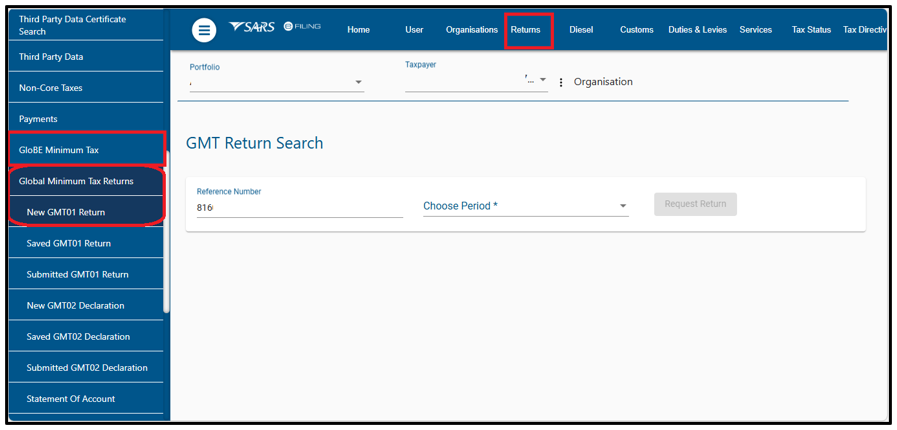
How to access the GMT01 Return on eFiling
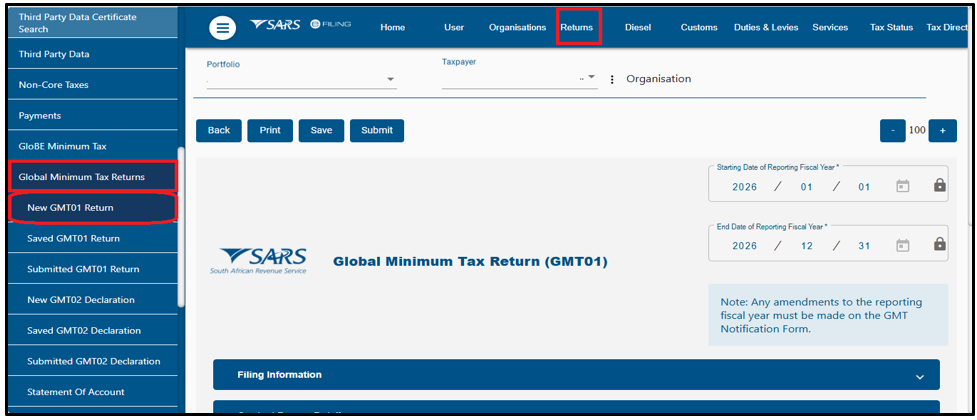
- Select Returns from the menu on the top.
- On the menu on the left click on Global Minimum Tax Returns per eFiling, select “New GMT01 Return”, thereafter.
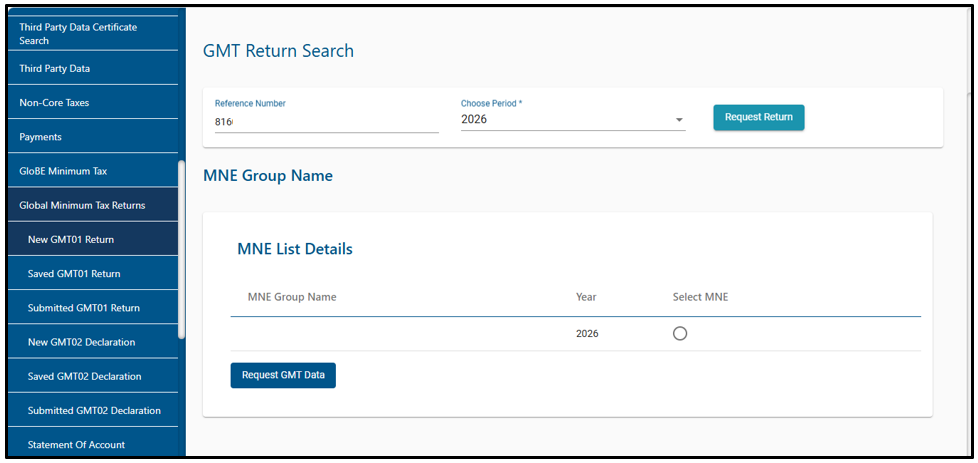
- Select a period on the drop-down list and request the return.

- A MNE list Request will be displayed:
- Choose the relevant MNE Group. If a DCE is part of multiple groups, select the one for which the user will submit the return.
- Only one selection is allowed at a time.
- The MNE name will be prepopulated on the return and remain consistent across all versions, including corrections and duplicates made by other DCEs.
Note: When DCE1 is registered as “FNB” and DCE2 as “First National Bank,” these entities will be considered separately according to their individual registration details. Each must submit their respective returns to prevent duplication and avoid multiple charges on a single account. For the given fiscal year, the MNE group will use the name reported by the first filer in the group.
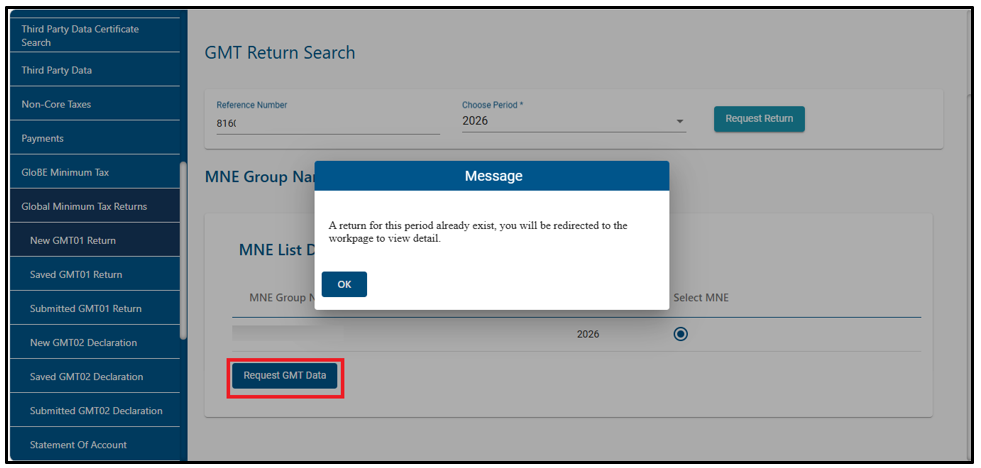
- Select the MNE you are filing the return for and click on the ‘Request GMT Data.
- If a return already exists, the message will be displayed and click ok.
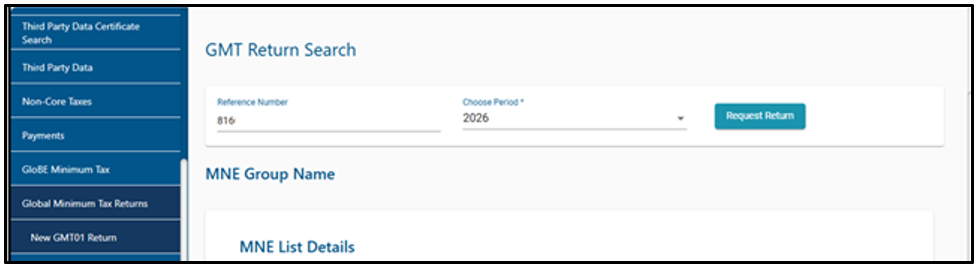
- If no return exists, User has an option to upload the GMT data file or complete the GMT01 return.
How to Upload Data File on eFiling
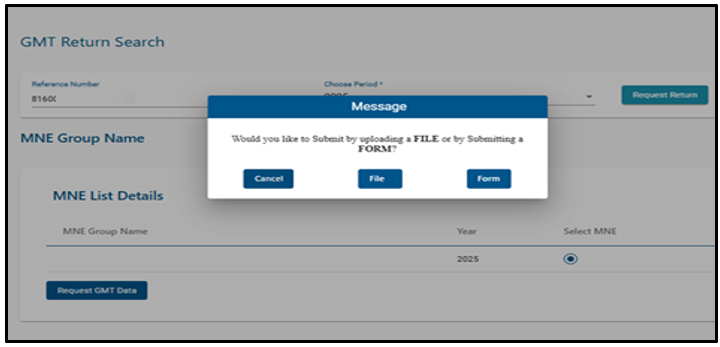
Access the displayed screen, select the applicable financial year from the drop-down list, open the MNE List, and choose the relevant MNE Group.
- The DCE can choose to submit the GIR by completing the GMT01 or by uploading the GMT data file. The following pop-up message will be displayed:
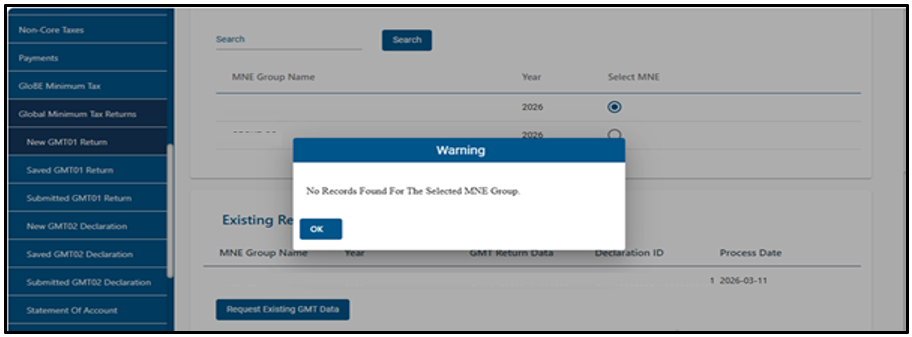
- If the user selects to submit by uploading the GMT data file option and no information is available, the message below will be displayed:
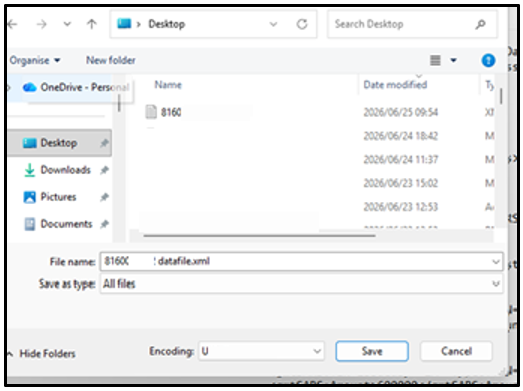
- The user must upload the file from its saved location and should be in an XML file format.
- After uploading the XML file, the message below will be displayed:
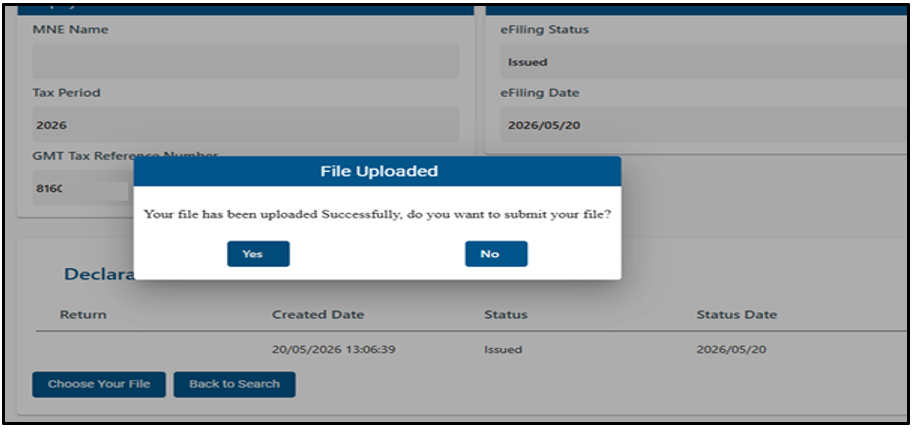
- If the user selects the “No” button, the file will be saved but not submitted.
- If the user selects “Yes” button, the below screen will display:
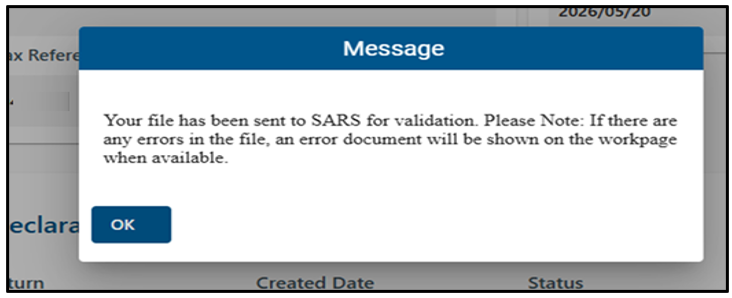
Once the GMT01 data file is submitted successfully and the filing entity will receive a Pass or Fail response based on the validation outcome:
- Failed – the return failed validation, and all errors can be accessed through the return work page.
- If the return fails submission, it is saved on the system with a different status. The errors will be accessed and saved on the return work page.
- Accepted/Passed – the return was submitted successfully with no errors. The return status is displayed on the return work page.
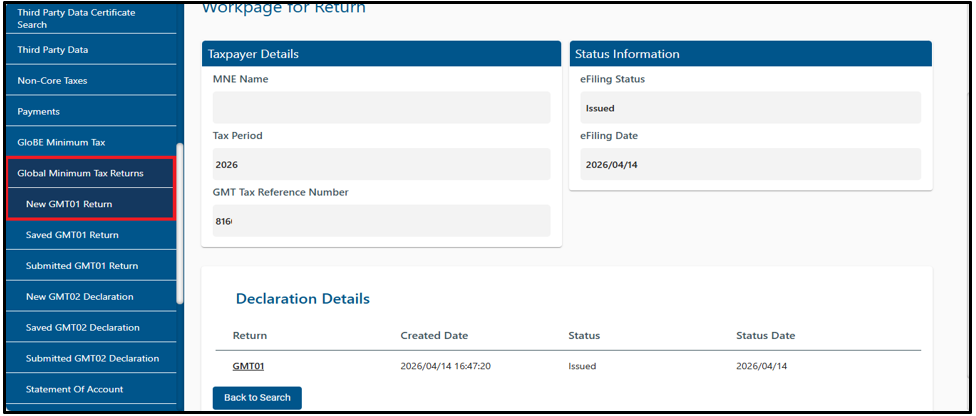
Once a file has been validated, A notification letter will be issued to the filing entity and a response message confirming that processing is completed. The outcome can be viewed on e-Filing.
The return will be available for the user to open.
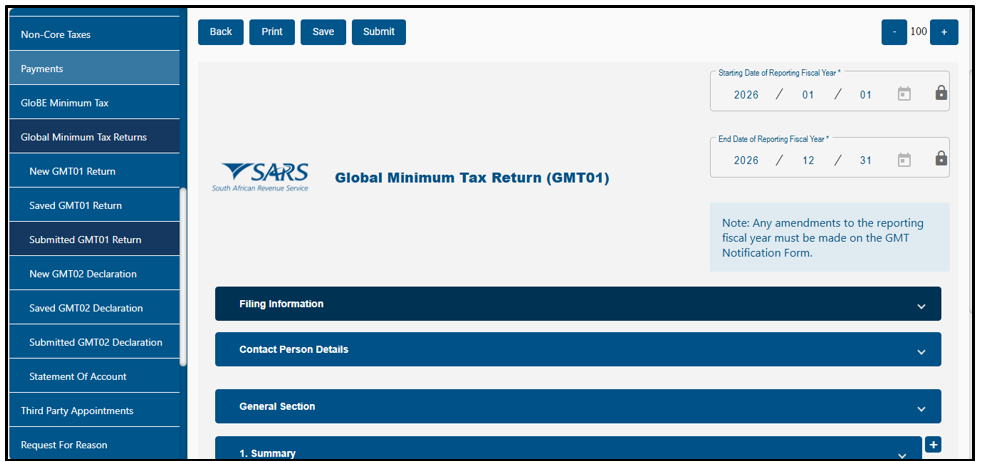
- If completing a form, the return will be displayed as follows for the user to capture and complete the return.
Save, File and Print the Return
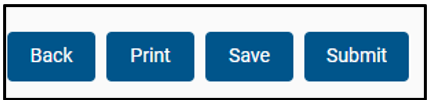
- The following buttons are displayed above the GMT01 Return:
- Back – When you need to go back to the return, click the “Back” button.
- Print – Click on Print to print the HTML return in PDF format.
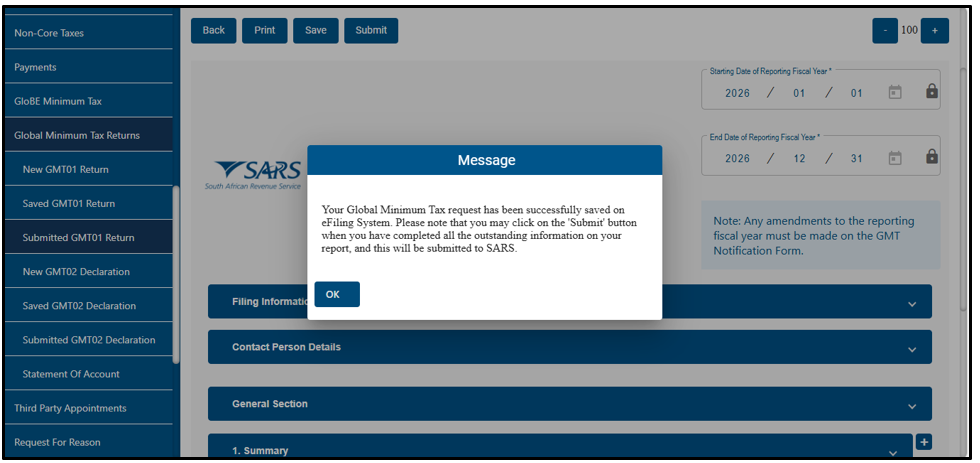
- Save – After the completion of the return and selection of the “Save Return for Filing” button, means a saved version of the return will be available to request the changes on.
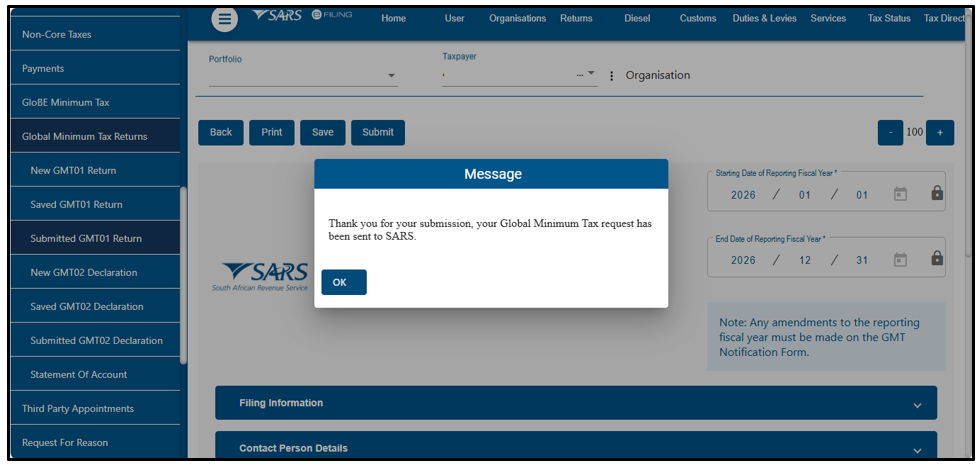
- Submit – Once you have captured all the information on the return and you are ready to submit it to SARS, simply click “Submit return to SARS.”
Saved Return
- A saved version of the return will be available to request the changes on and submit to SARS as per normal process.
Request for Correction (RFC)
- This will only be available to the filing entities that are in SA jurisdiction since they are able to access SARS system.
- Request for correction will be initiated when the filing entity needs to make amendments on the return that was previously submitted.
- To access the RFC functionality:
- The filing entity will access the return by selecting the “returns” menu bar. The return will display under the “Submitted GMT01 Return”.

-
- Click on the request for correction link to open the GMT01.
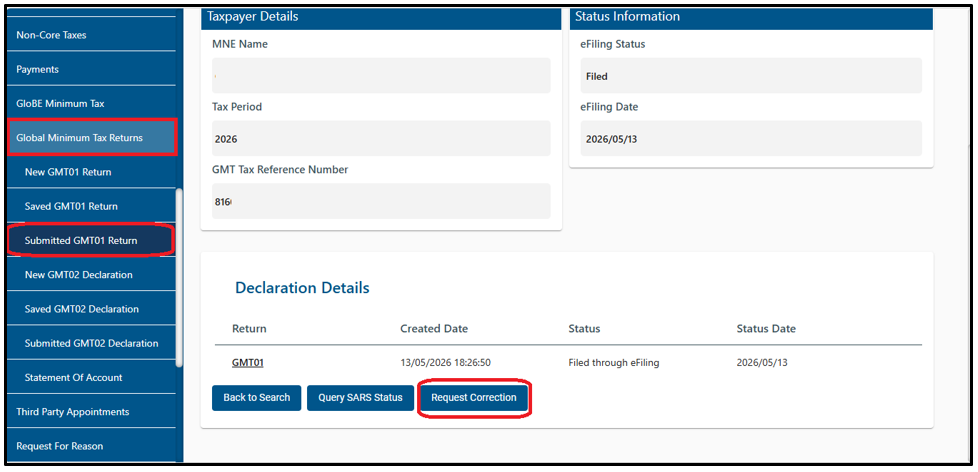
-
- Once “Submitted GMT01” is selected and the return process completed, RFC permission will be granted.
- If no original return has been submitted, a blank GMT01 will be presented.
- If an original submission exists, extra validation checks will be performed in eFiling to verify whether the designated local entity is authorised to make corrections. If these validations are successful, the previously submitted return will appear. The filing entity can then amend and resubmit the GMT01 return.
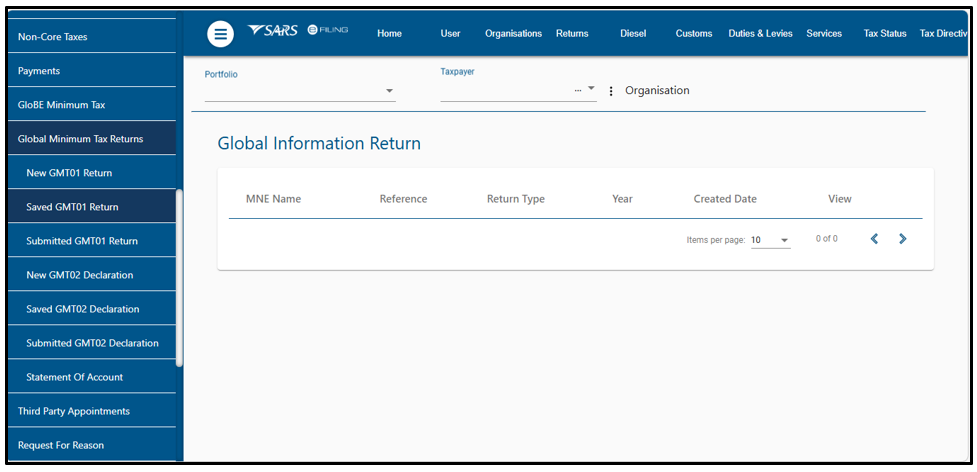
- If a return is saved and not submitted, a message will be displayed:
- Once GMT01 has been amended and submitted, a message will be displayed to acknowledge the submission and then click ‘Ok’.
Request for Query Status
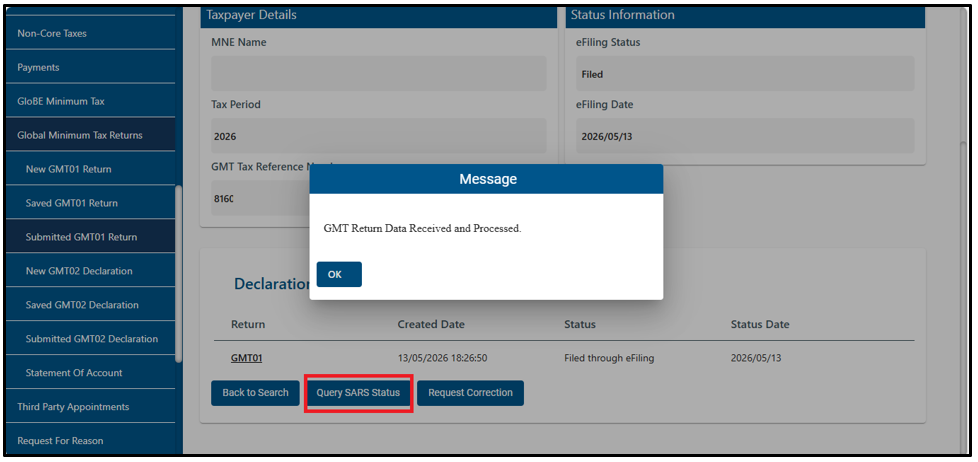
- Clicking the “Query SARS Status” button, the return will be displayed, enabling you to check its status.
- If the Return is submitted, the status on the return will be indicated as displayed.
Back to Search
- Click on the “Back to Search” button to be able to go back and search for returns.
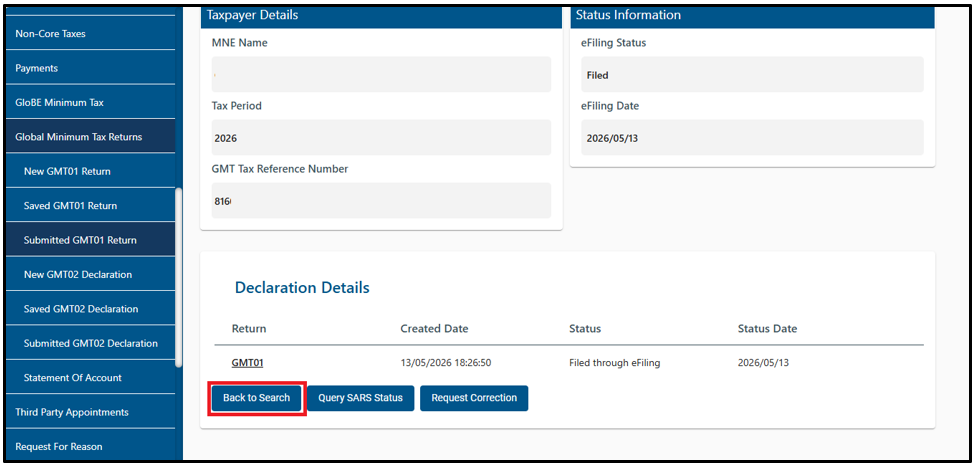
- When you click on the “Back to Search” button the returns will be displayed and enabling you to view the returns.
How to complete the Global Minimun Tax Return (GMT02)
- After the GMT01 has been submitted and processed, the Declaration Summary or Global Minimum Tax (GMT02) must be completed and submitted.
Note: The Global Minimum Tax (GMT02) will be pre-populated with the information submitted via GMT01.
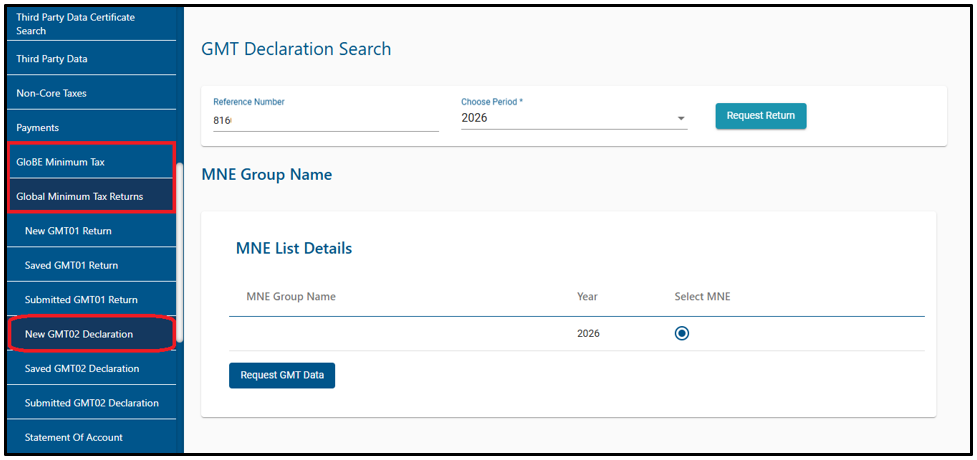
- To access the GMT02 return, select Returns from the menu on the top.
- On the menu on the left click on Global Minimum Tax (GMT02) > New GMT02 Declaration.
- Select the tax period from the dropdown list and click on ‘Request Return.’
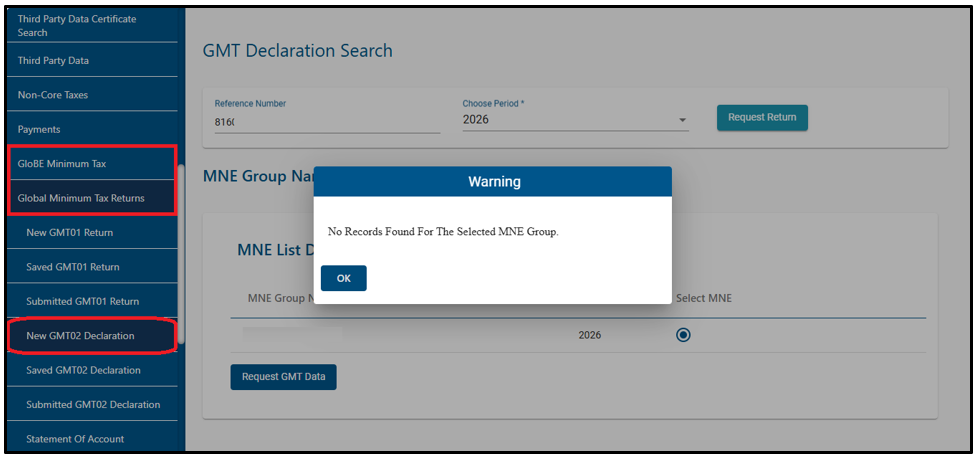
- If GMT01 is not captured and submitted, the system will not generate GMT02. A warning message will be displayed; click ok.
- If GMT01 has been submitted and processed, GMT02 will be displayed.
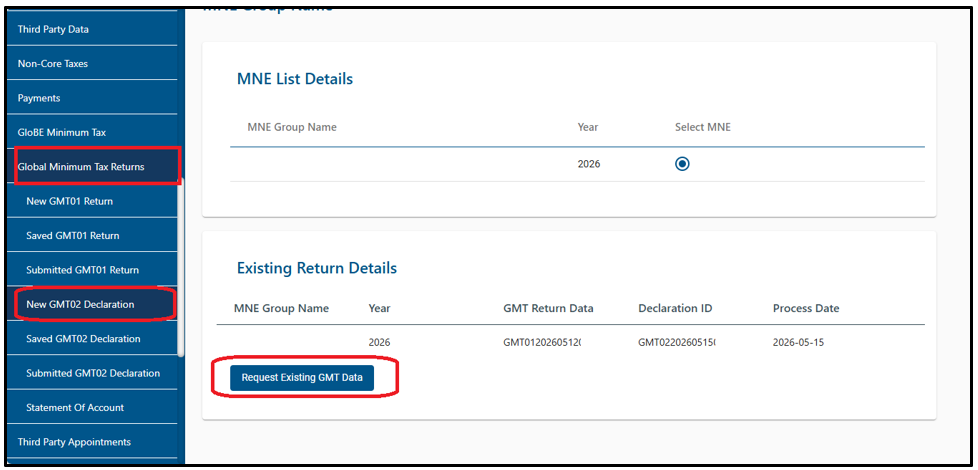
- Click on “Request existing GMT Data” and click on the GMT02 Returns link to open the GMT02.
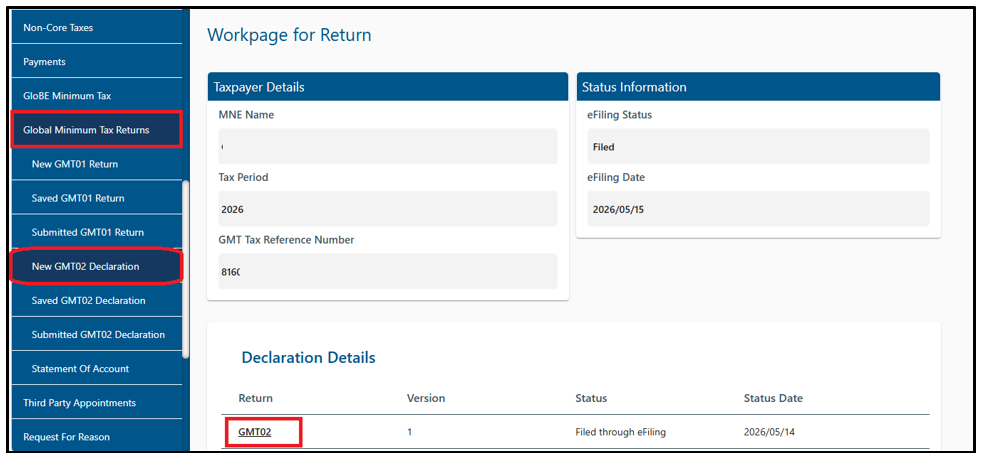
- Click on the link and the GMT02 return will be displayed as follows:
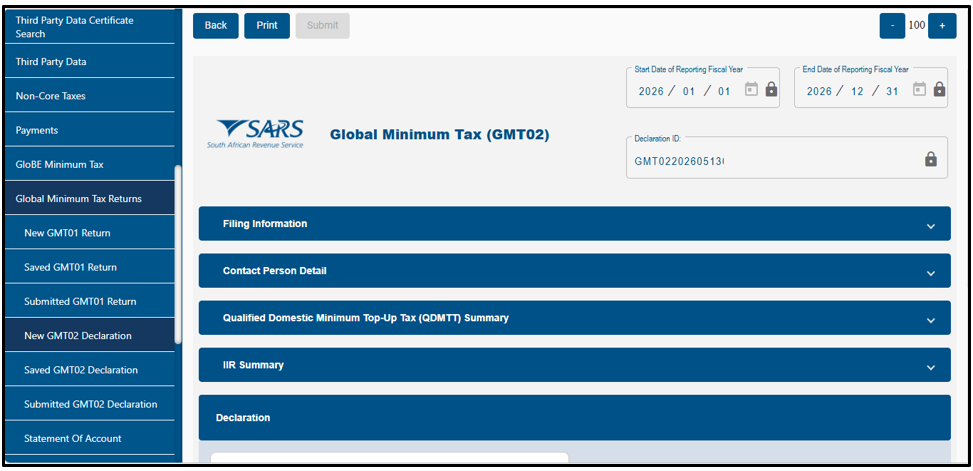
Note: GMT02 is finalised. To make changes, amend GMT01.
- Submit the declaration summary.
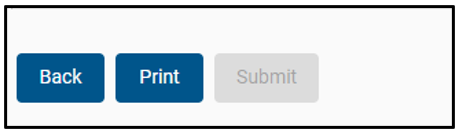
Back, Print and Submit the Return
- The following buttons are displayed above the GMT02 Return:
- Back – When you need to go back to the return, click the “Back” button.
- Print – Click on “Print” to print the HTML return in PDF format.
- Submit – After the completion of the return and click on the “Submit” button to submit the return.
Saved Return
- A saved version of the return will be available to request the changes and submit to SARS as per normal process.
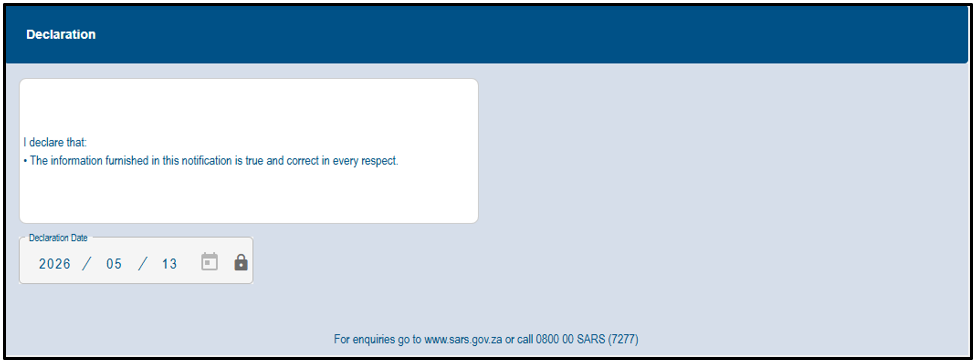
Declaration and Notes
- Please make the declaration and notes on the return.
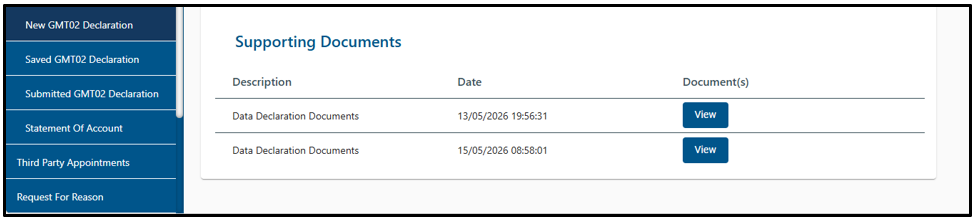
Supporting Documents
- Once the user chooses to upload supporting documents, the “Upload Documents” page appears.
- A supporting documents tab will be created to upload all required supporting documents to SARS. Click the relevant hyperlink as displayed below to proceed to upload documents.
- The supporting documents must be the uploaded as part of the GMT02 submission.
- The user will be able to upload multiple documents (limited to 20).
- After uploading at least one document, the user will be able to submit the documents to SARS (as a group).
- The file will be indicated in the “Upload Supporting documents” section. Click the “Upload” button to continue.
- Audited financial statements.
- Organogram.
- Financial schedule.
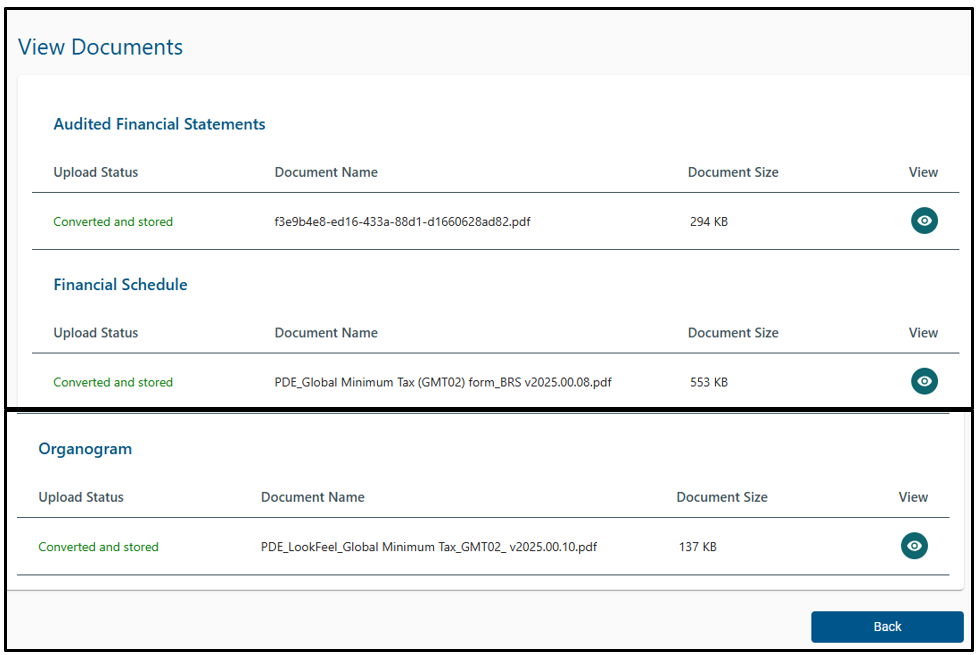
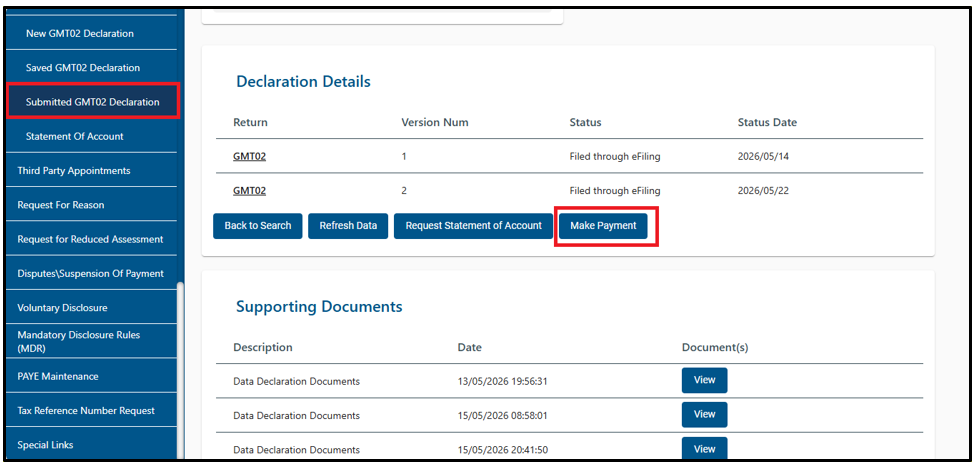
- When you have submitted the return, it will be displayed as follows:
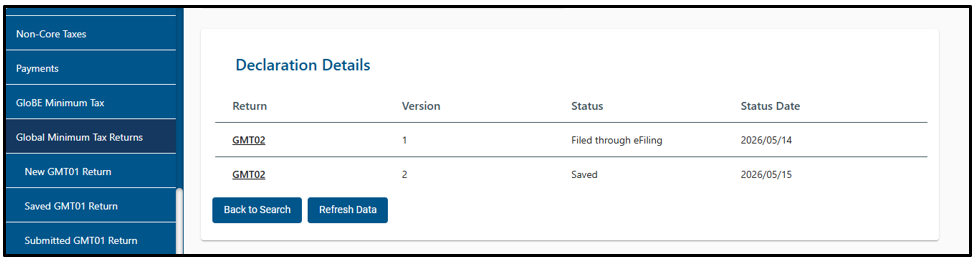
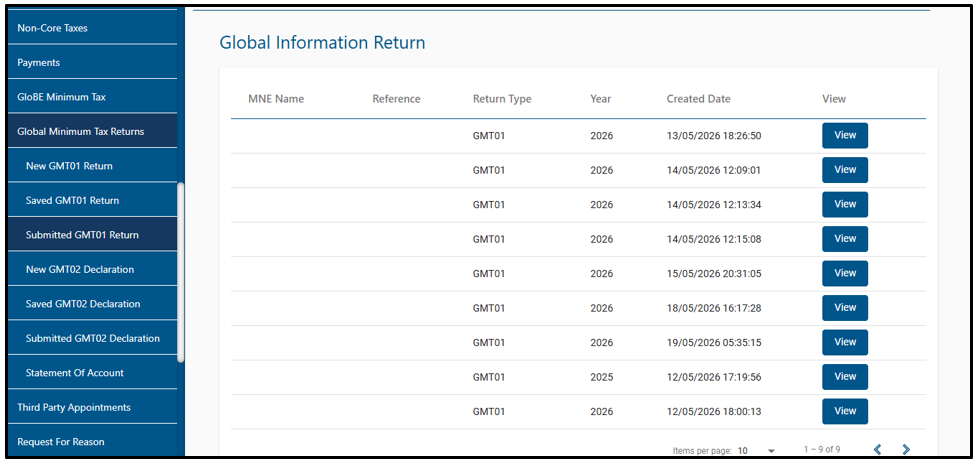
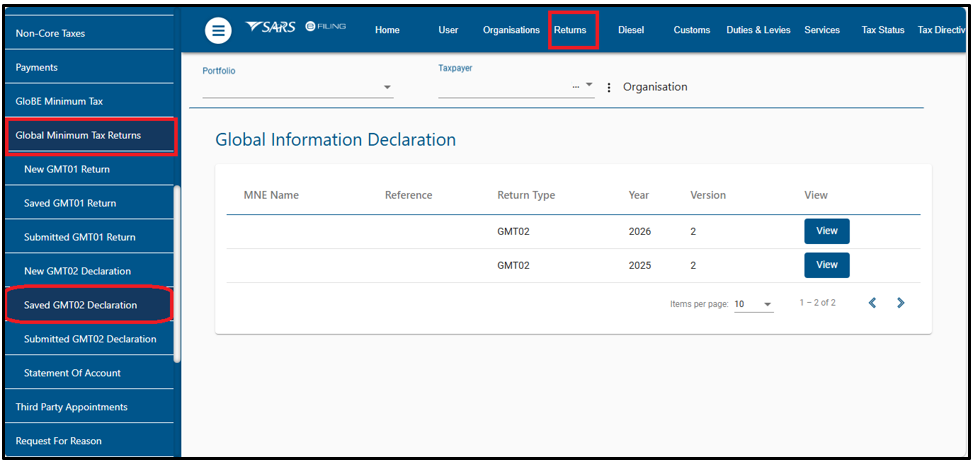
Submitted GMT 02 Return
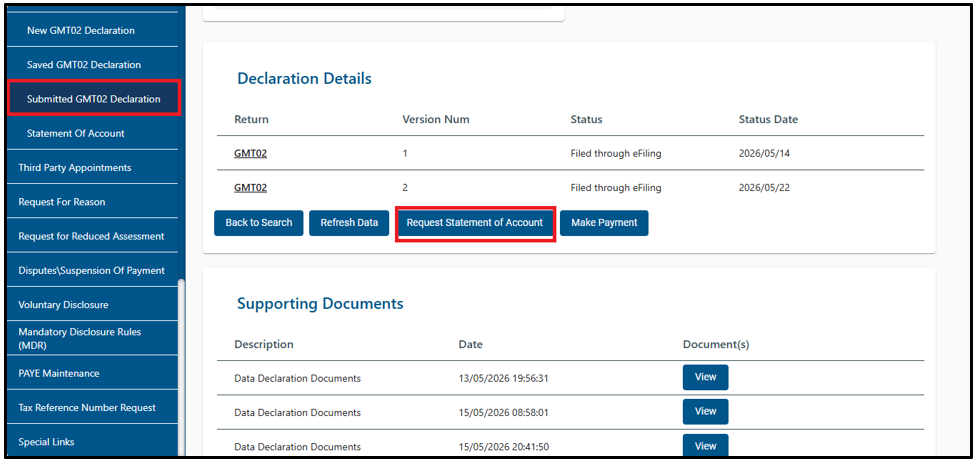
- The submitted returns will be displayed, can be amended and resubmitted to SARS.
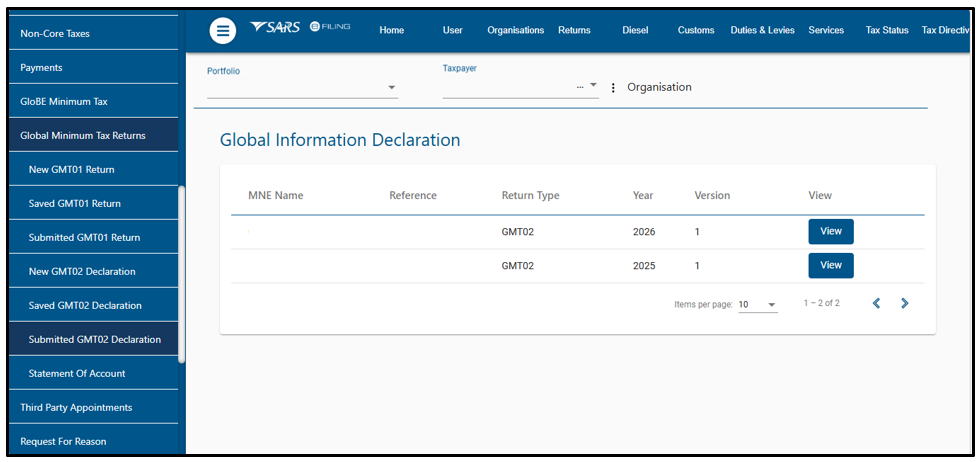
- Click on the “View” hyperlink to open and the following screen will be displayed.
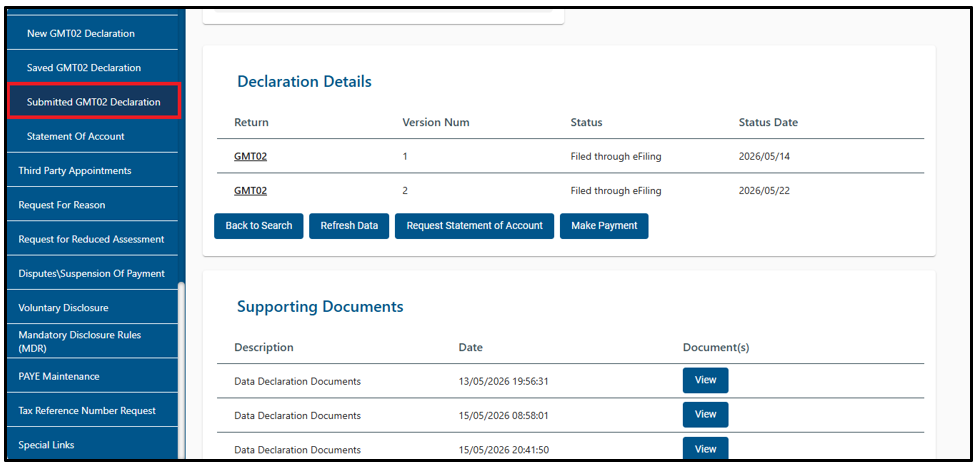
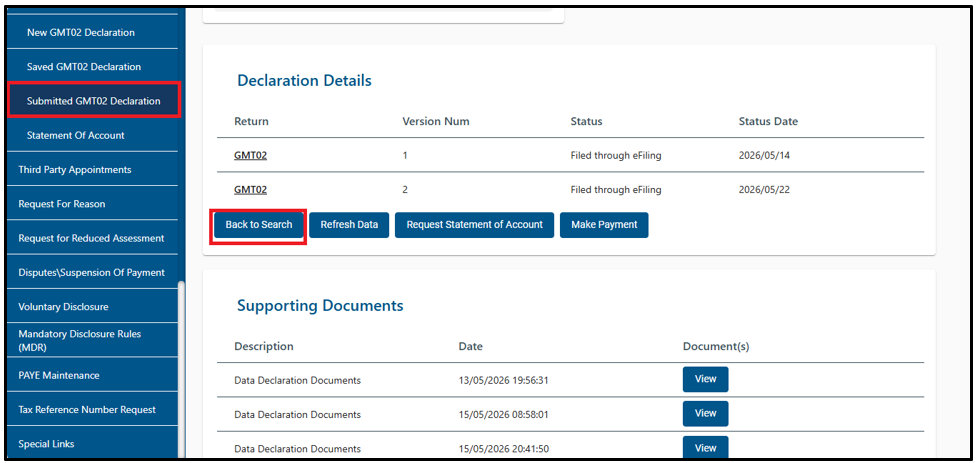
- Click on “Back to Search,” if you need to go back to the return.
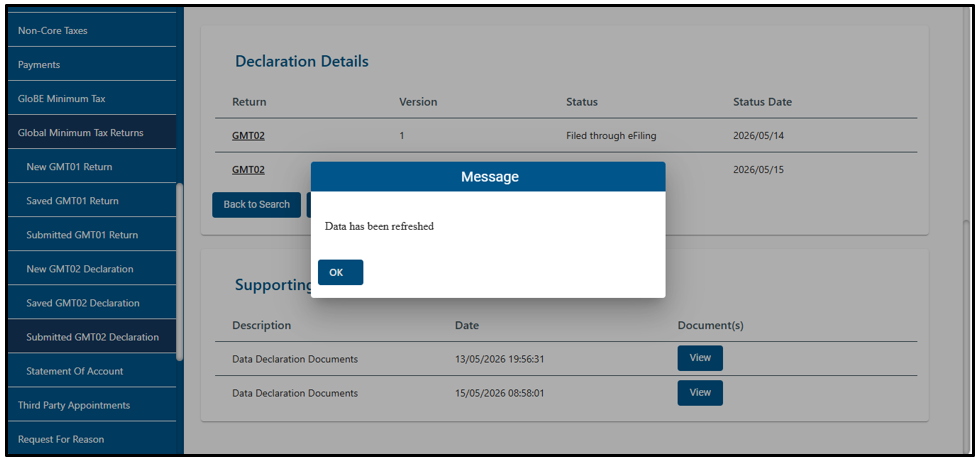
- Click the “Refresh Data” tab to ensure that you populate the return fields with the latest information,

- A message will be displayed, click “Ok.”
Note: When you have refreshed your data and need to submit the GMT02 refer to Section HOW TO COMPLETE THE GLOBAL MINIMUM TAX RETURN (GMT02).
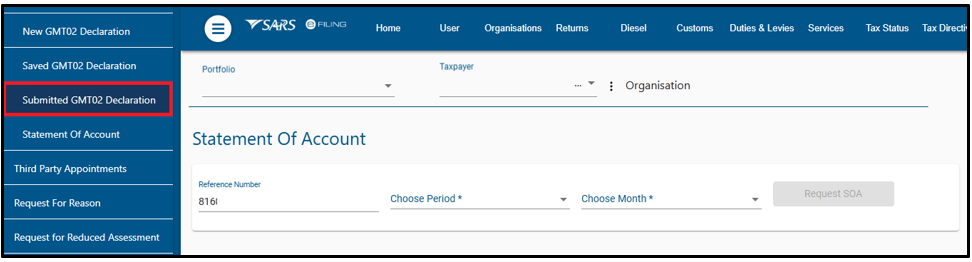
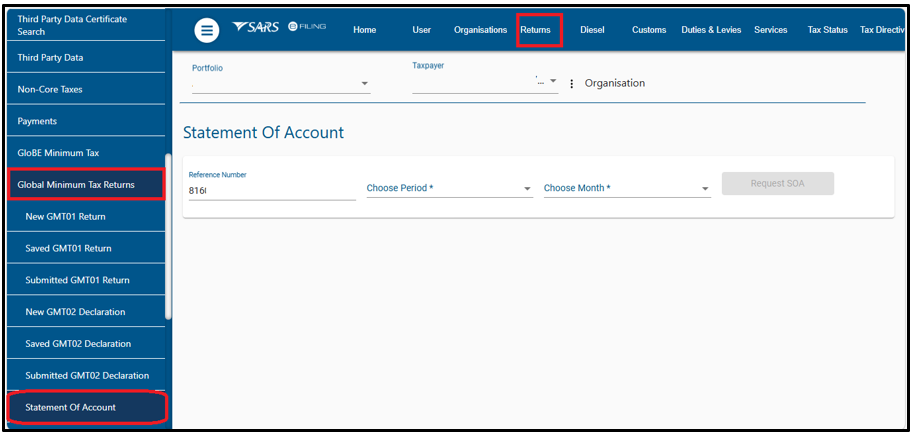
- Click on the ‘Request Statement of Account’ tab and the following screen will be displayed.
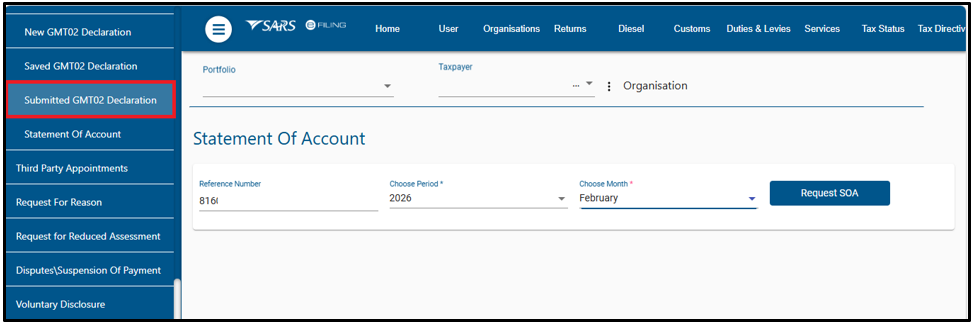
- Click on the drop-down list to select the period/month and click on <Request for SOA> to view your statement of account.
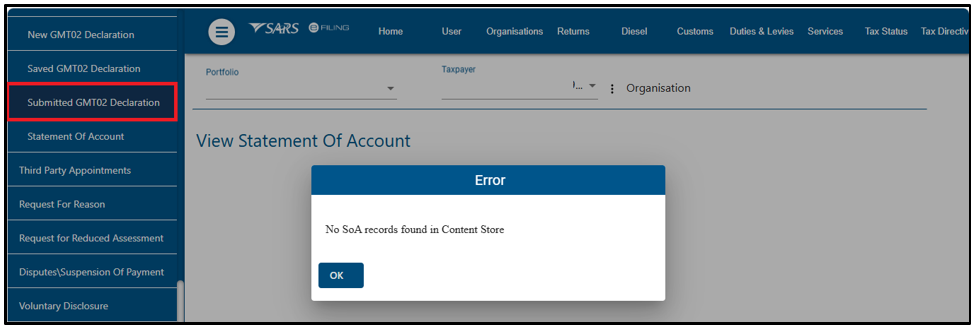
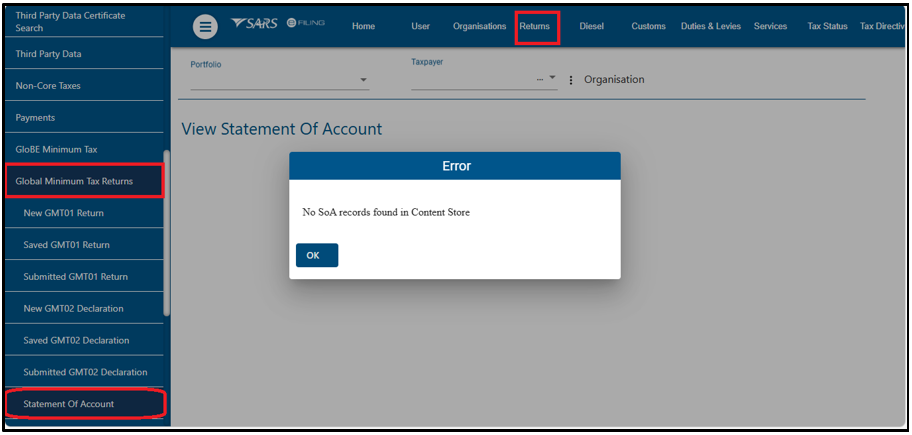
- If there is no statement of account, a message will be displayed, click ‘Ok.’
- Click on the drop-down list to select the period/month and click on <Request for SOA> to view your statement of account.
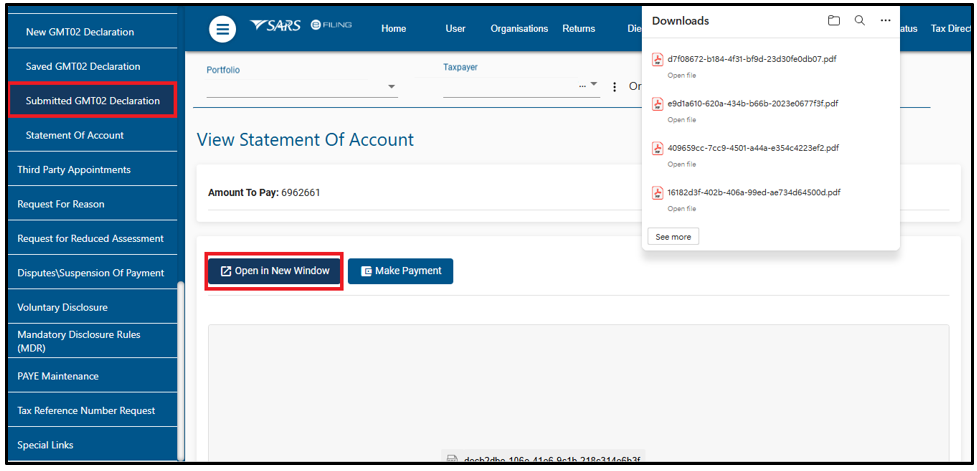
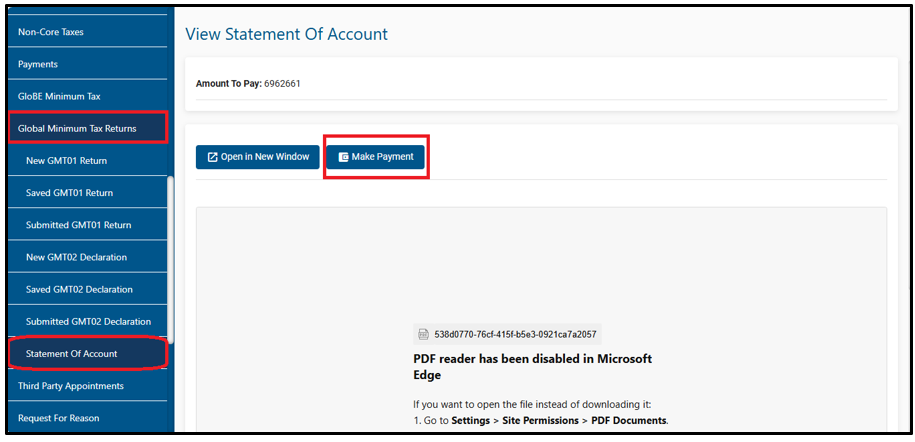
- A statement of account will be displayed.
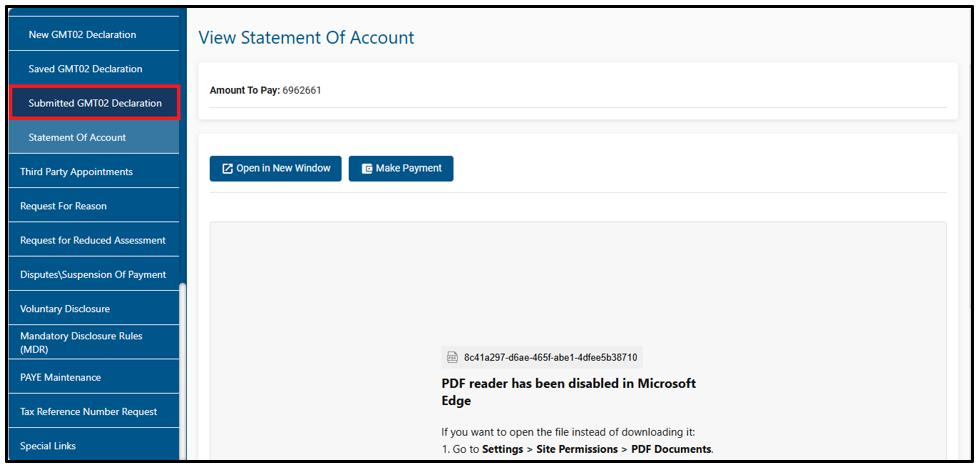
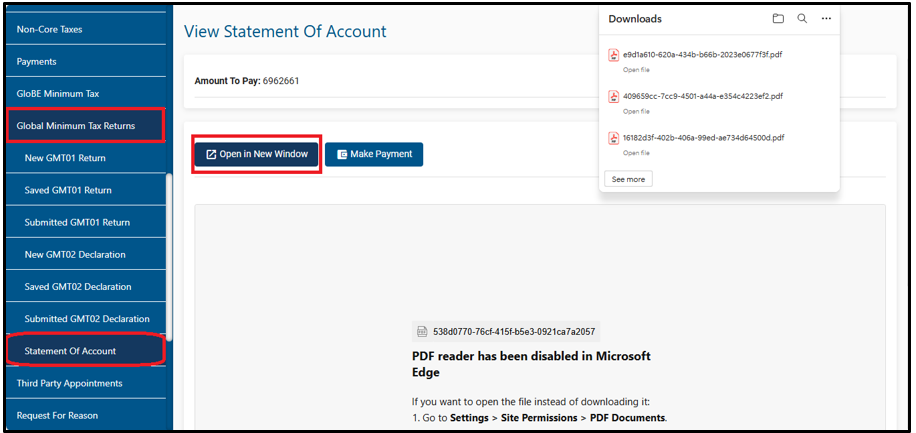
- If you choose “Open in New Window,” your statement of account will be downloaded for viewing.
- If you choose “Make Payment” button, you will start the payment process.
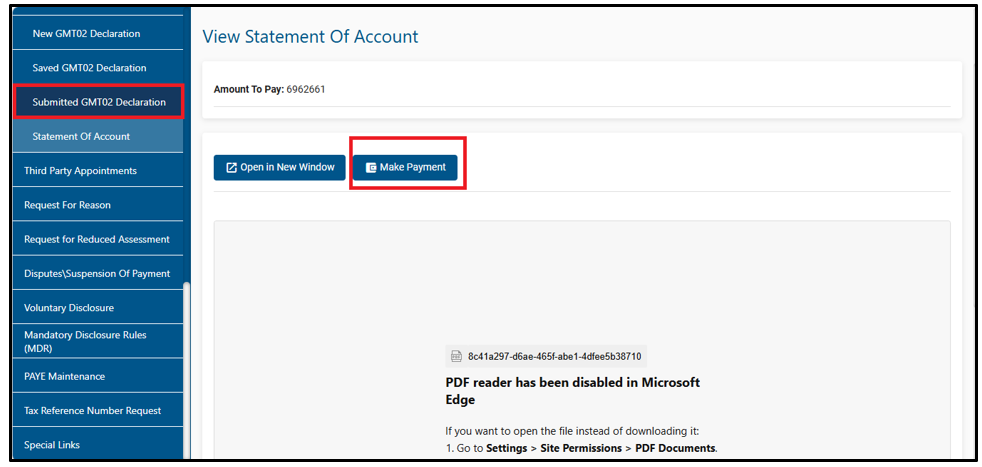
- Click on the ‘Make Payment’ tab and the following screen will be displayed. Refer to Section HOW TO MAKE A PAYMENT.
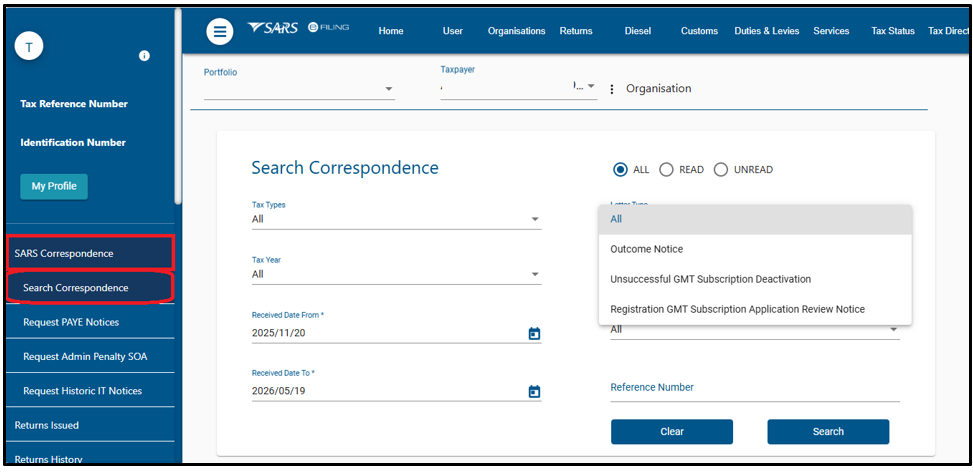
SARS Correspondence
- Click on “Search Correspondence” and the search fields will be displayed. Complete the relevant search fields and click “Search” to proceed.
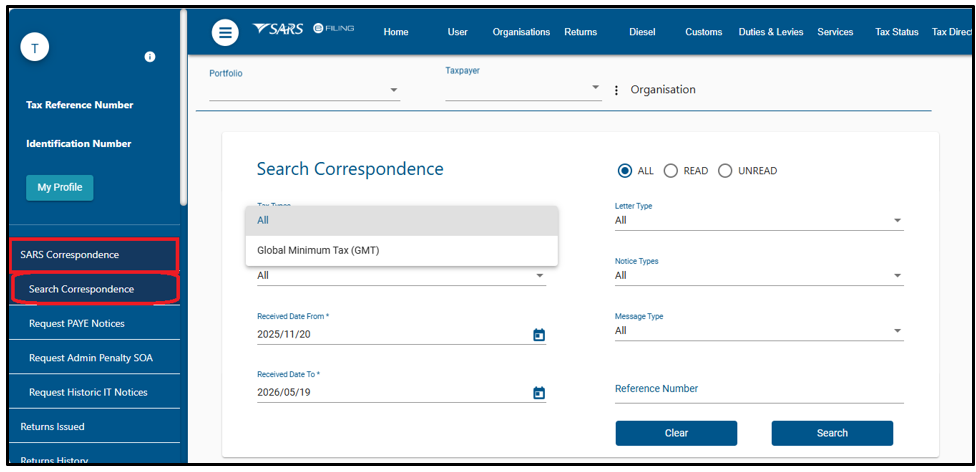
- Note: Ensure that the correct date is selected before clicking on the search button.
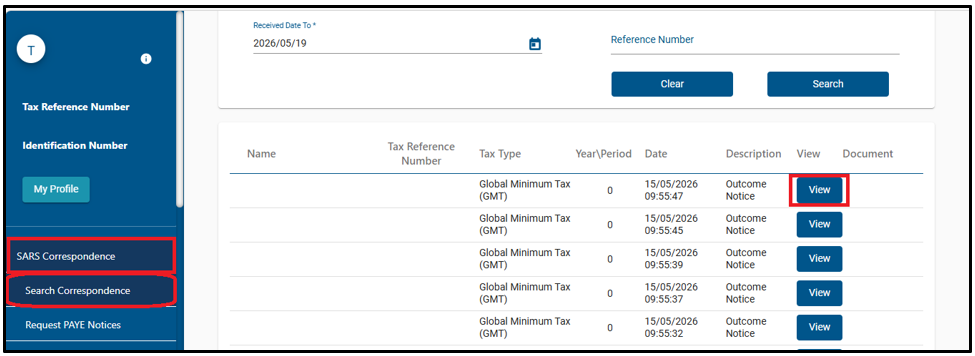
- The correspondence issued will be listed. To open and view the correspondence, click on the “View” button.
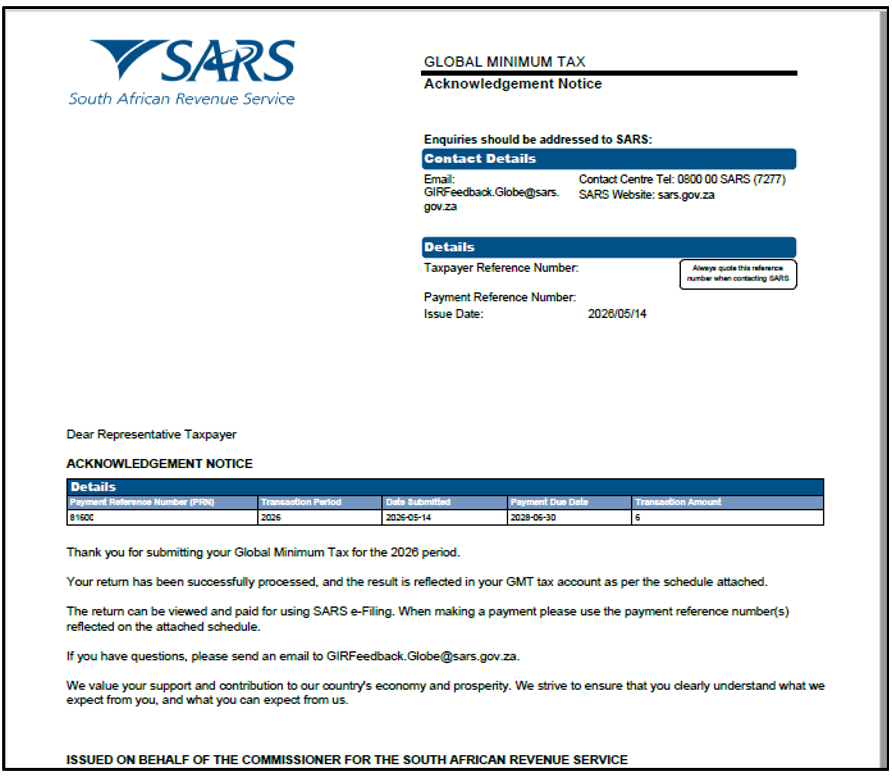
- The acknowledgement letter will be generated on eFiling. The letter will be sent to all DCEs within the MNE group.
- The acknowledgement letter will consist of two payment reference numbers (PRN).
- A GMT PRN will be linked with all Domestic Constituent Entities (DCEs) associated with the submitted return or the relevant MNE group. This PRN will be used when an entity is making one payment for multiple entities.
- The PRN must be 19 digits. It will follow modulus 10 calculation:
- The first 10 digits must be the account number determined from the filer of the return with the following format 816******#.
- followed by tax type (B).
- PRN type identifier (1).
- Next 6 digits from 13 to 18 will be an incremental number.
- Digit 19 will be a check digit number for the overall PRN.
- A unique PRN will be generated for each DCE. This PRN will be used when an entity is making a payment for a single entity.
- The first 10 digits must be the account number determined from the filer of the return with the following format 816******#.
- followed by tax type (B).
- PRN type identifier (2).
- followed by the tax period e.g., 202502.
- followed by a check digit for the overall PRN.
Note: This PRN can also be used to make the existing bulk payments ONLY on e-filing system.
How to make a Payment
- After you select ‘Make Payment‘, the following screen will be displayed.
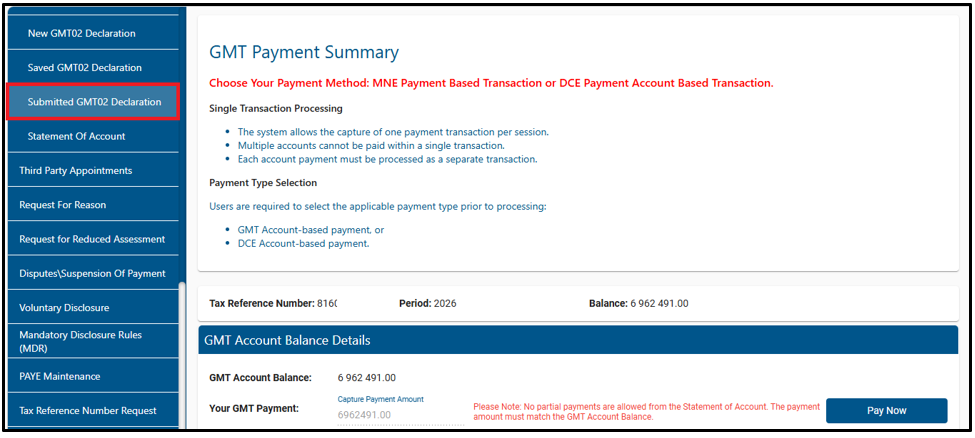
- Select the payment you want to make and click the “Pay Now” button.

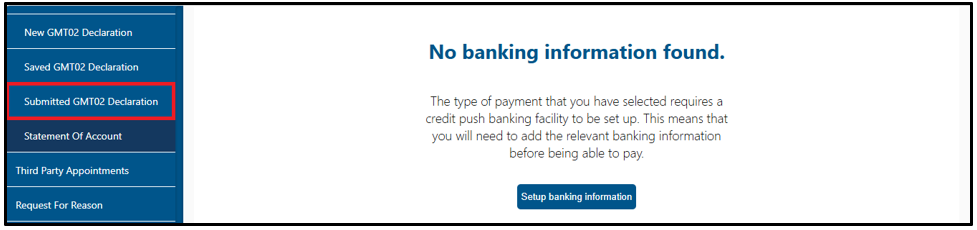
- If your banking details have not yet been provided, ensure that you set up your banking information.
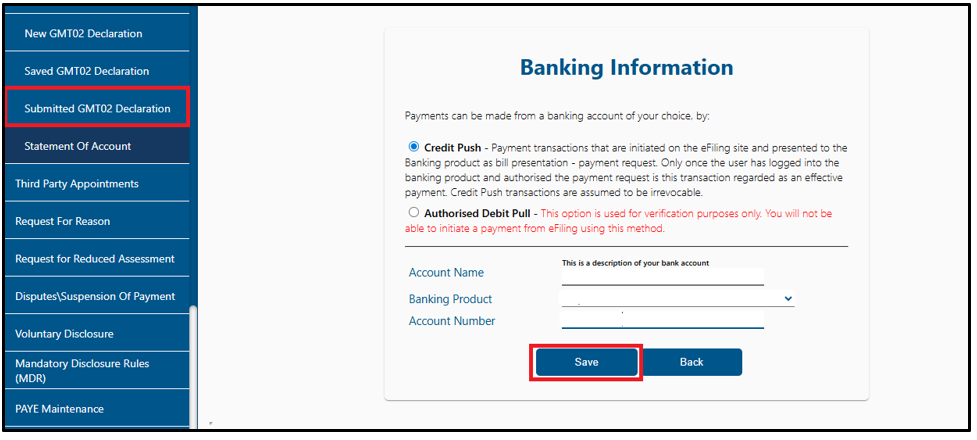
- To set up the banking information, the account name and product must be completed and saved.
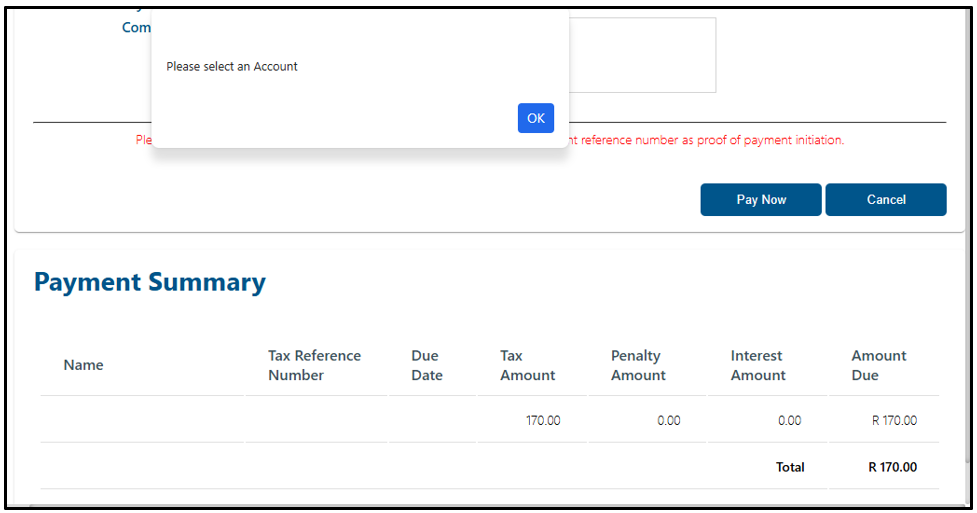
- Once you have saved your banking details, the following screen will be displayed.
- Click on the ‘OK’ button to continue and complete the information as per request.
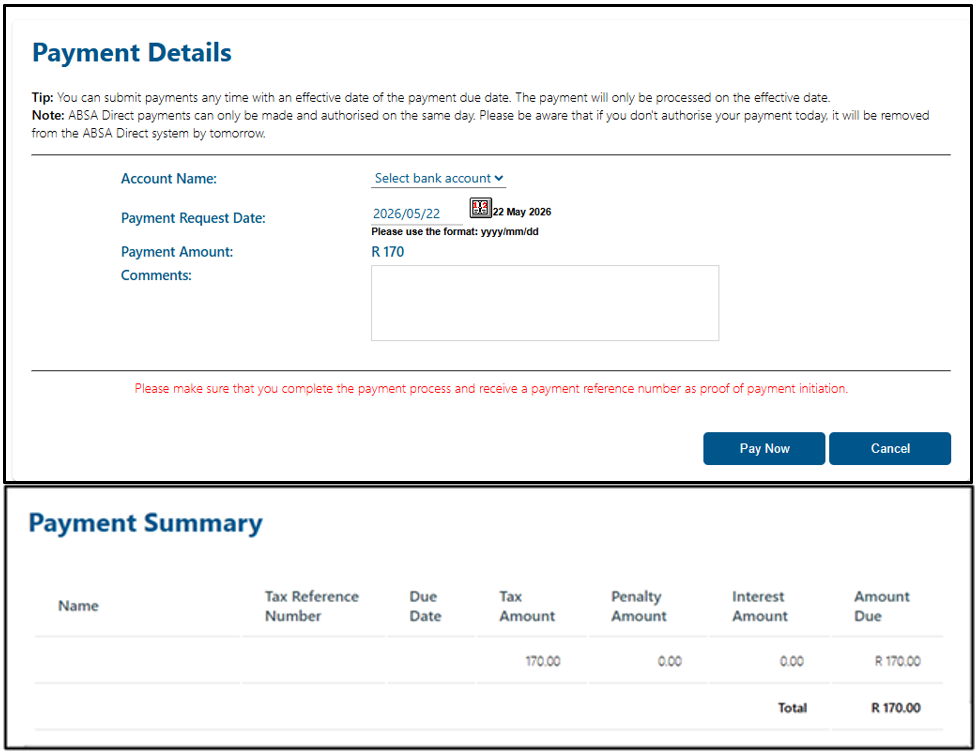
- Once all the information is completed the payment details screen will be displayed.
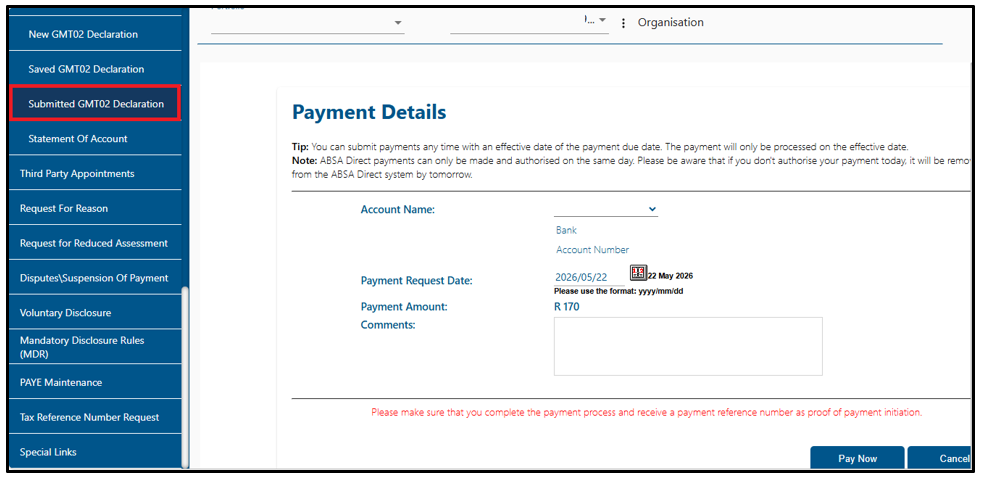
- Click on the ‘Pay Now’ button and the following screen will be displayed.
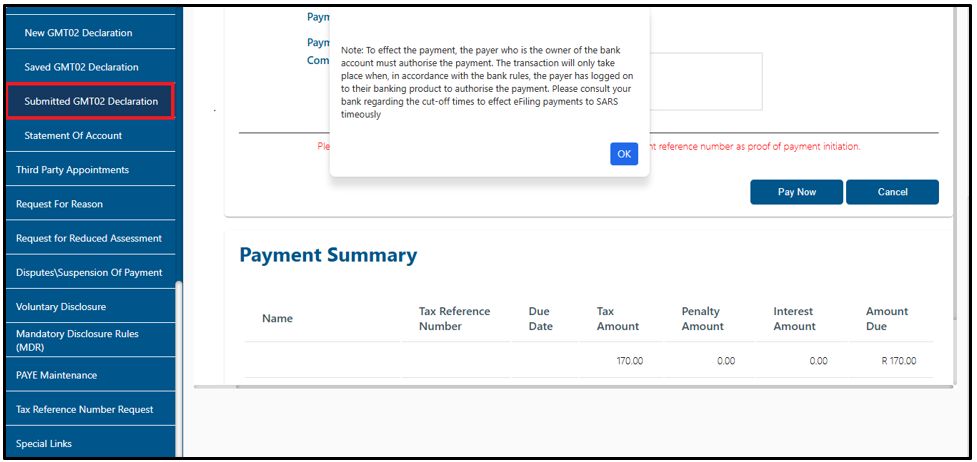
- Click on the “Ok’ button to continue making payment.
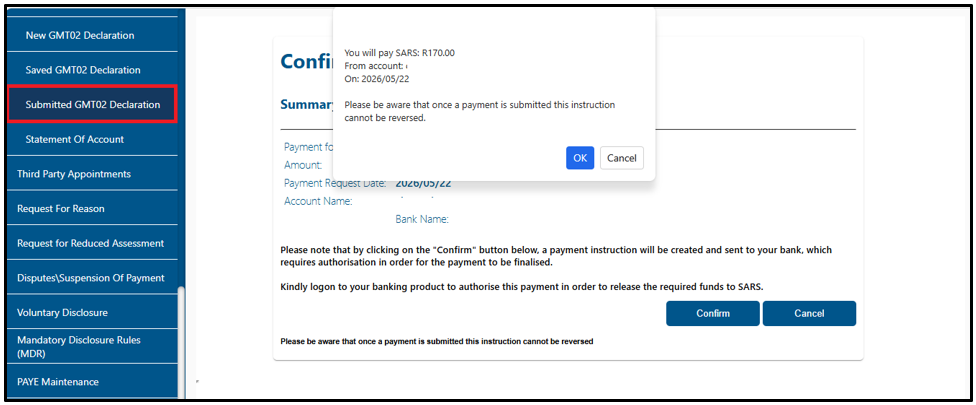
- Click the ‘Confirm’ button to ensure you agree with the payment amount.
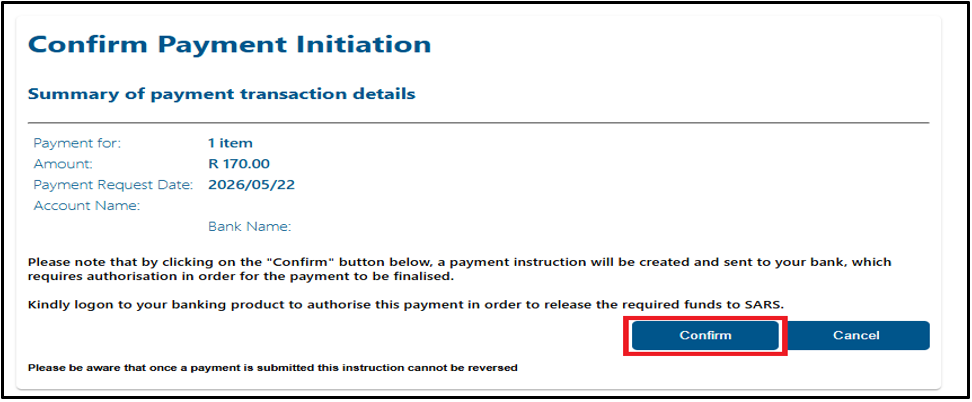
- Select the ‘Ok‘ button to complete the payment process, note that once you confirm by clicking ‘Ok‘, the declared amount is final and cannot be reversed.
- If your is not sure about the payment amount, you can click the ‘Cancel’ button.
- Check your payment details and click ‘Confirm’ to proceed. Once submitted, the payment cannot be reversed.
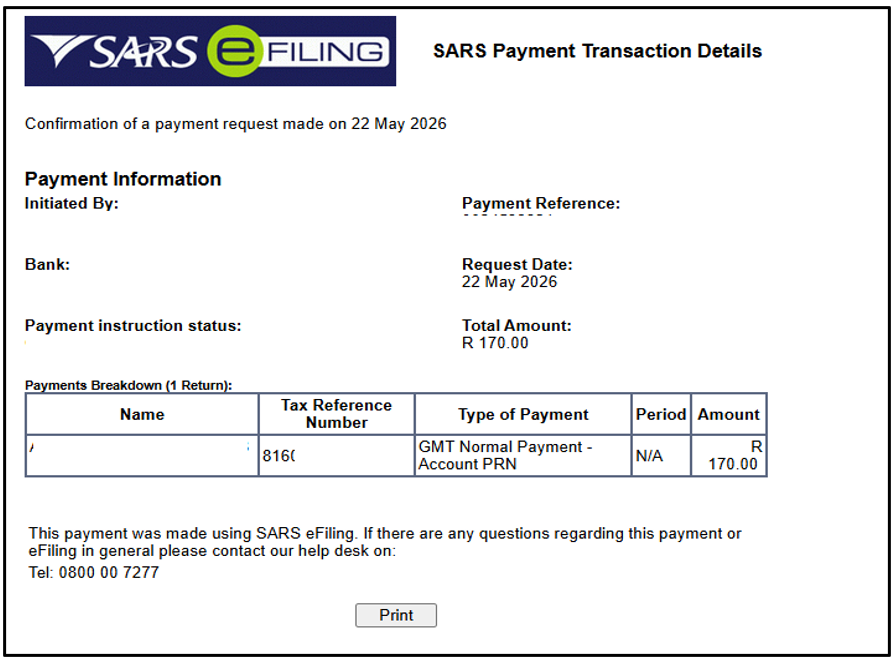
- Once payment has been completed and you require confirmation, select the ‘Print Confirmation’ button. The following screen will then be displayed.
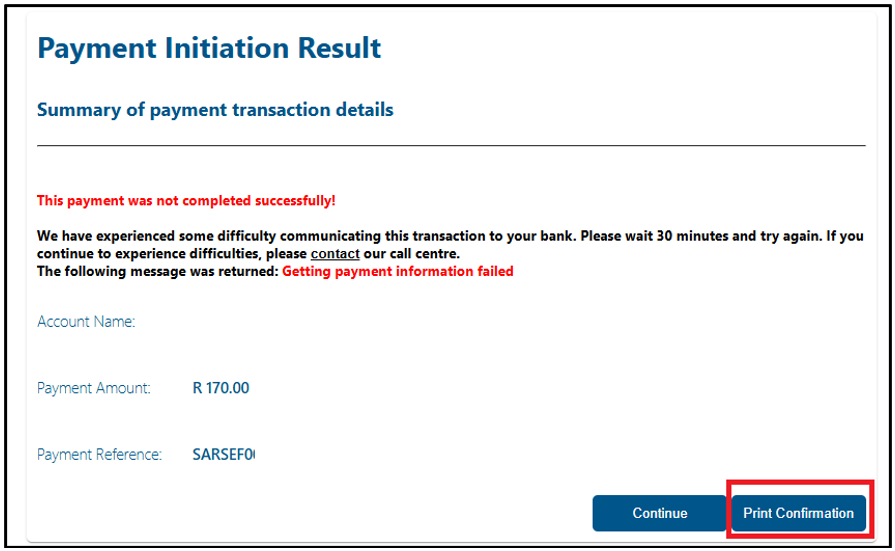
- The screen will be displayed as follows.
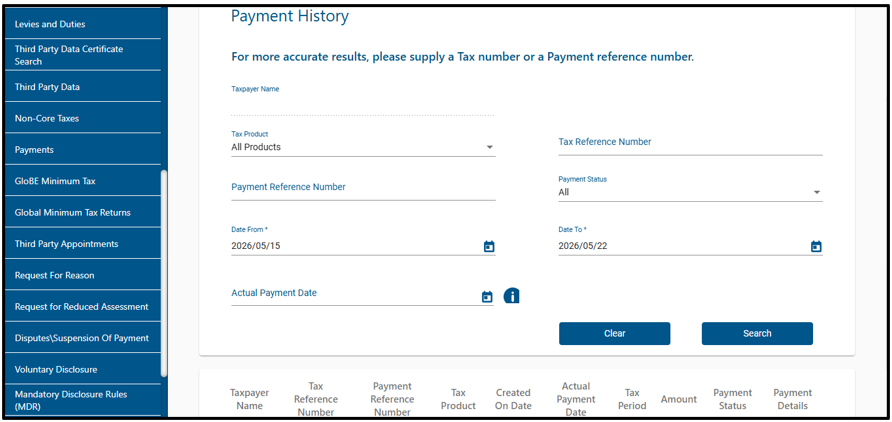
- By selecting the ‘Continue‘ button, you will be directed to the Payment History page.
Make a Request for Statement of Account(SOA)
- Click on the drop-down list to select the period/month and click on <Request for SOA> to view your statement of account.
- If there is no statement of account, a message will be displayed, click ‘Ok.’
- Click on the drop-down list to select the period/month and click on <Request for SOA> to view your statement of account.

- A statement of account will be displayed.
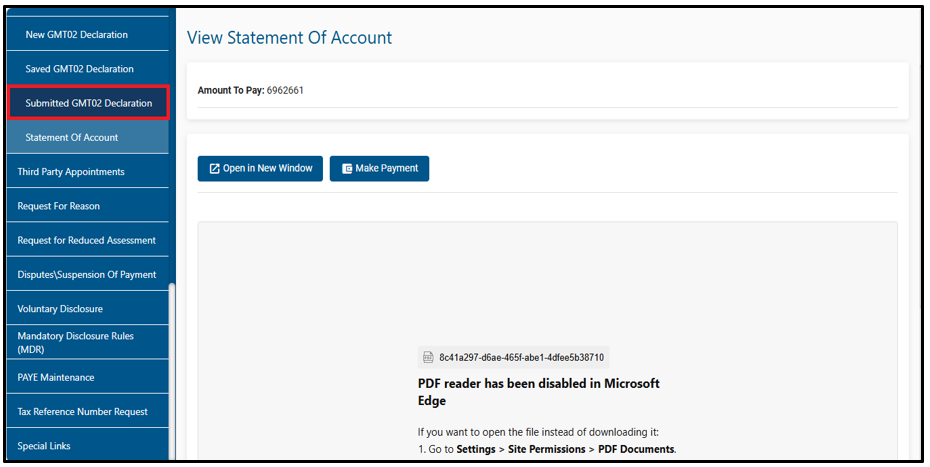
- If you choose “Open in New Window,” your statement of account will be downloaded for viewing.
- If you choose to make payment, select “Make Payment” button and refer to Section HOW TO MAKE A PAYMENT.
Definitions, acronyms and abbreviations
The definitions, acronyms and abbreviations can be accessed here – Glossary webpage.
Legal disclaimer: In the event of conflict or inconsistency between this webpage and the PDF version of the guide, the latter shall prevail.