
Summary
- Every operator liable for Air Passenger Tax (APT) is required to file a return and make payment, in accordance with Section 47B (7).
- The requirements for return submission are described in APT-02.
- The accounting period is one (1) calendar month, commencing from the first day and ending on the last day of the month.
- Operators must submit their return and make payment, within twenty-one (21) days following the end of each accounting period. Where the last day for submission of the account and payment falls on a weekend or public holiday, the account and payment must be submitted on the last official working day before that day.
- All the operators/agents must be registered for eFiling as the submission of the payments and uploading of passenger manifests can only be made via eFiling.
- The operators/agents can now pay for the contraventions amounts stated on the Letter of Demand using eFiling.
- For the licensing and registration requirements, refer to SC-CF-19.
APT Registration on eFiling
- The operator logs onto the eFiling platform as described in SC-CF-42.
- The system displays the operator’s dashboard. The portfolio type reflects as Organisation

- If operators are unable to access the eFiling service, they must contact the SARS Contact Centre for
assistance.
- The APT tax type must be activated on eFiling to allow for the submission of returns
- The operator selects:
- Organisations;
- Tax types; and
- Manage tax types.

- The operator ticks Request Activation and clicks the Submit button.

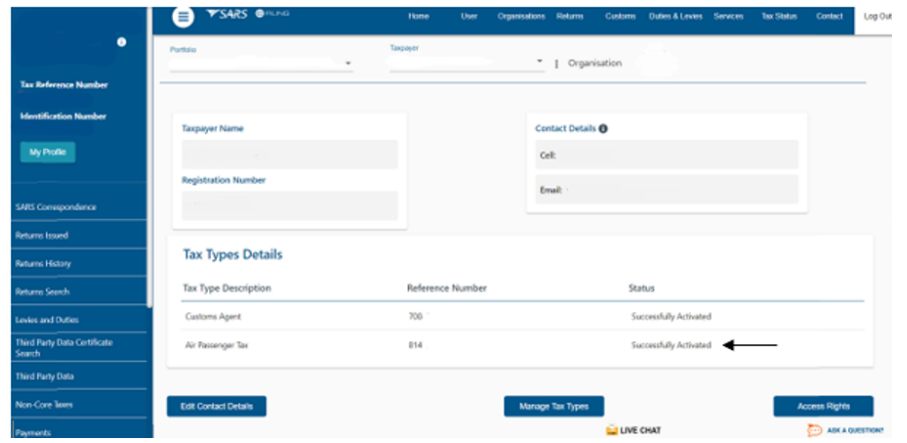
- The APT tax type will now be successfully activated (The air Passenger tax will be activated)
- In instances where the tax type is activated by a representative of an operator, the activation request
routed for authorisation.

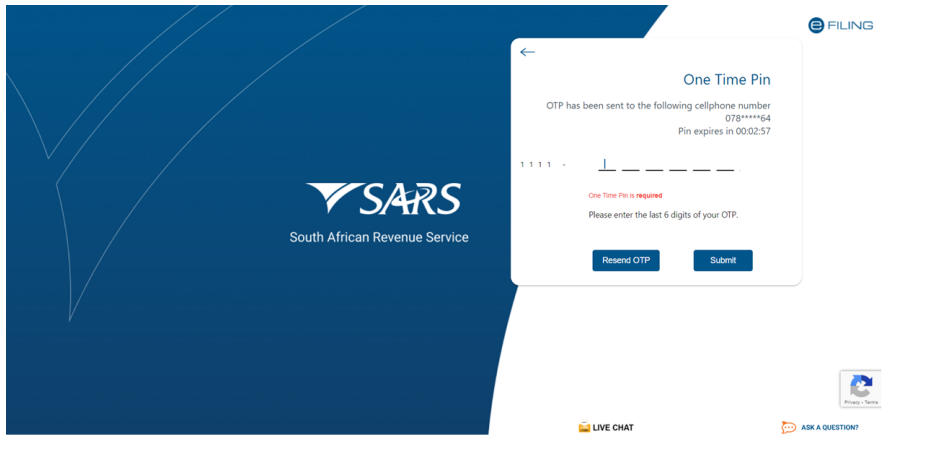
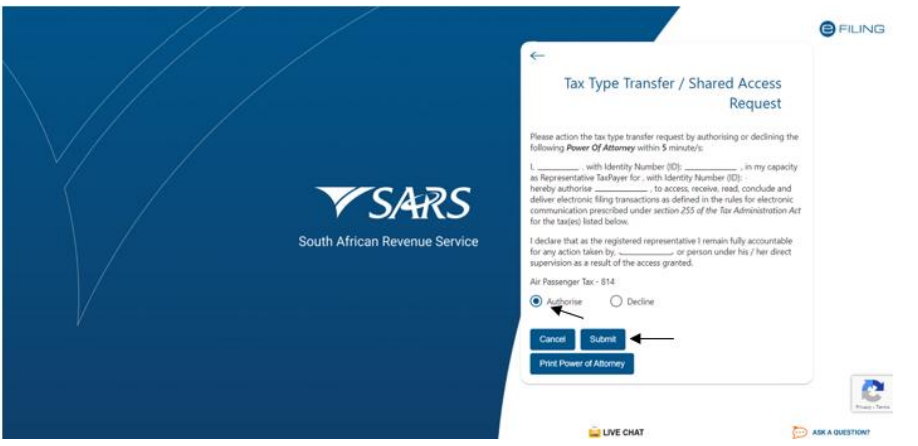
- The operator is notified of the authorisation request via email and/or SMS. The operator logs in to the
Tax Type Transfer/Shared Access Request.

- The operator chooses their preferred channel and clicks the Ok button.

- A one-time pin (OTP) is sent to the chosen channel and the operator
- Captures the OTP; and
- Clicks the Submit button.
- The operator selects authorise and clicks the Submit button.
- The operator updates the user rights for the submission of returns as described in SC-CF-42.
- The operator logs off eFiling to allow for the changes to refresh.
- The operator can now log in to submit returns.
APT Return Submission
Submit APT Return
- The operator selects:
- Returns; and
- Returns issued.
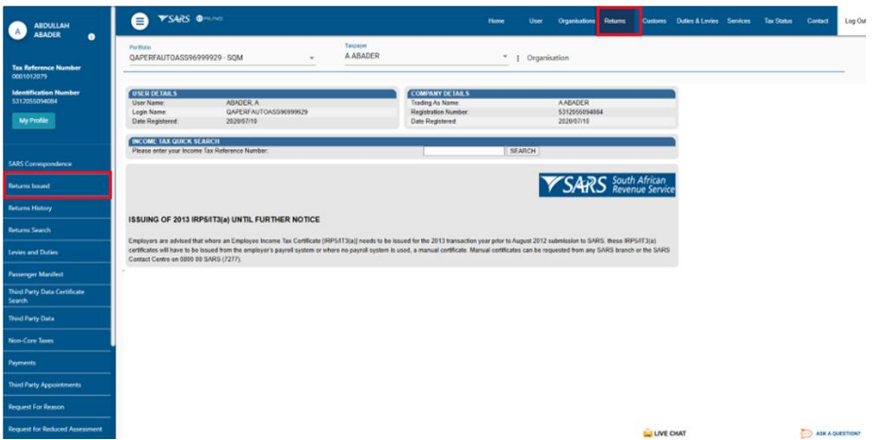
- The list of tax types for which the operator is registered displays, and the operator:
- Selects Air Passenger Tax (APT201);
- Chooses the correct year and period; and
- Clicks the Request Return button.
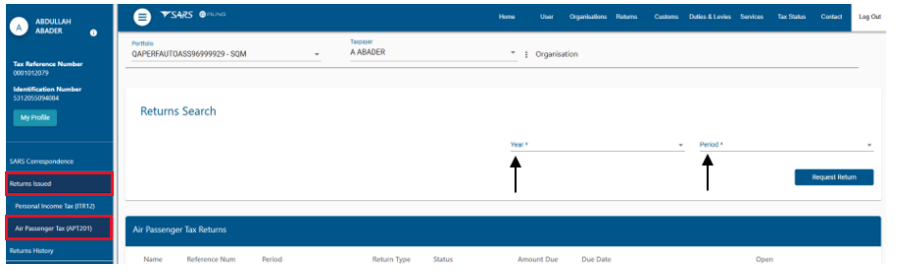
- The return for the chosen period displays and can be accessed through the hyperlink.
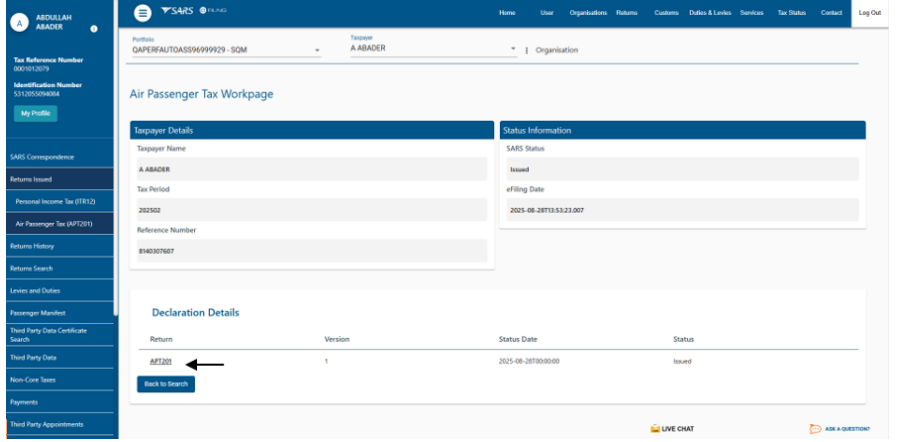
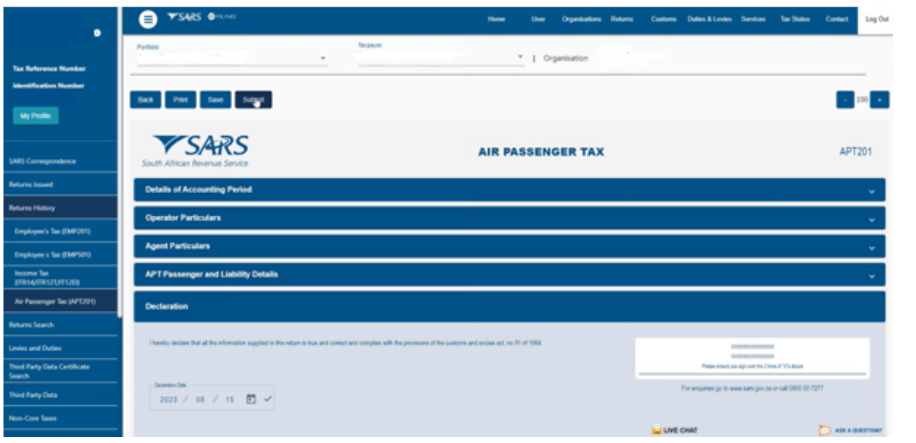
- The APT 201 return displays and the operator confirms the information under:
- Details of Accounting Period;
- Operator Particulars; and
- Agent Particulars.
- The operator completes the mandatory fields under APT Passenger and Liability details by expanding:
- Standard Rate Departures; and
- Lower Rate Departures.
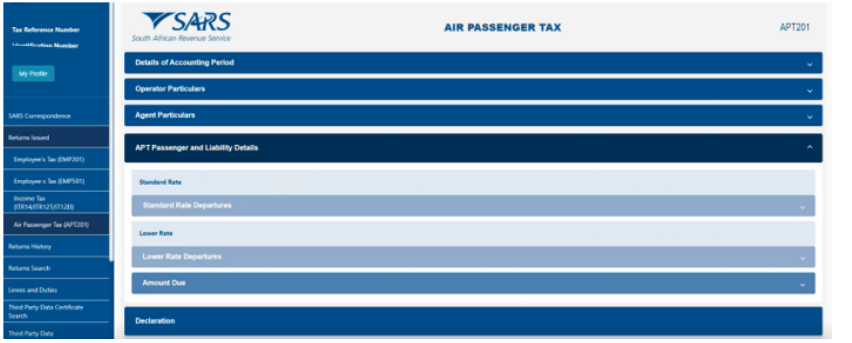
- Once all mandatory fields are updated, the amount due is calculated.
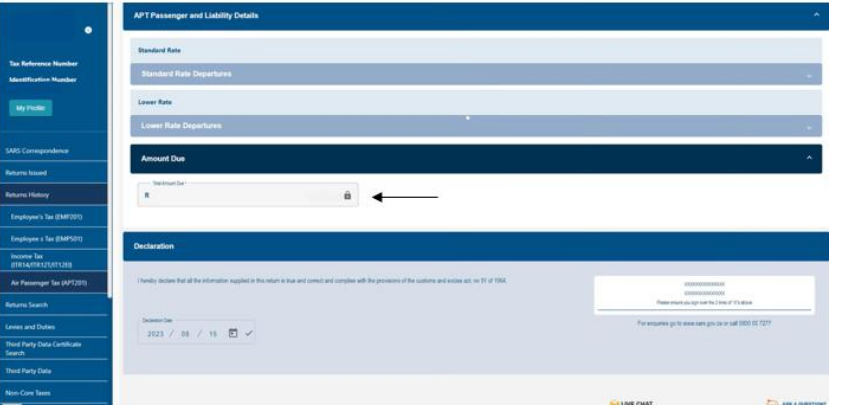
- Once the return data is captured, the operator clicks the Submit button. By clicking on submit, the
operator declares that all information on the return is true and correct.
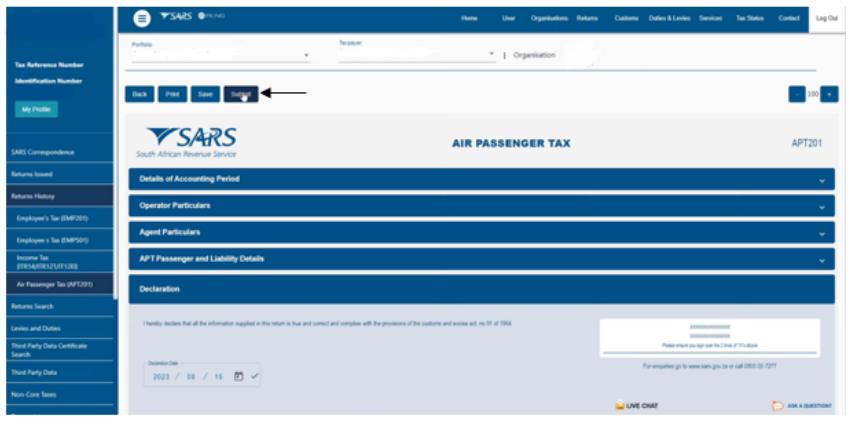
- The return status changes to filed.
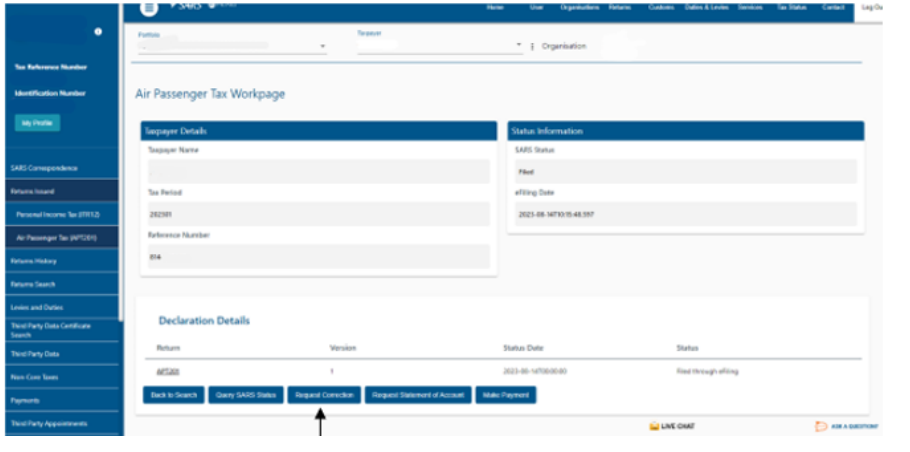
Request for Correction
- A maximum of three (3) corrections are permitted on a return for an accounting period
- Corrections on a return must be submitted prior to making payment. Once a payment is processed, no
corrections can be submitted. - If a correction is required on the return, the operator clicks the Request Correction button.
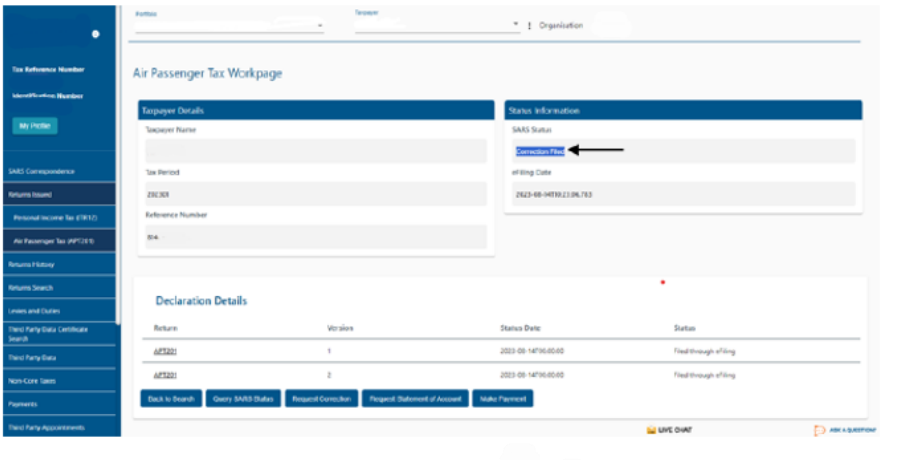
- The return opens pre-populated with the data captured when the return was filed. The amendments will
be updated, and the return is re-submitted.
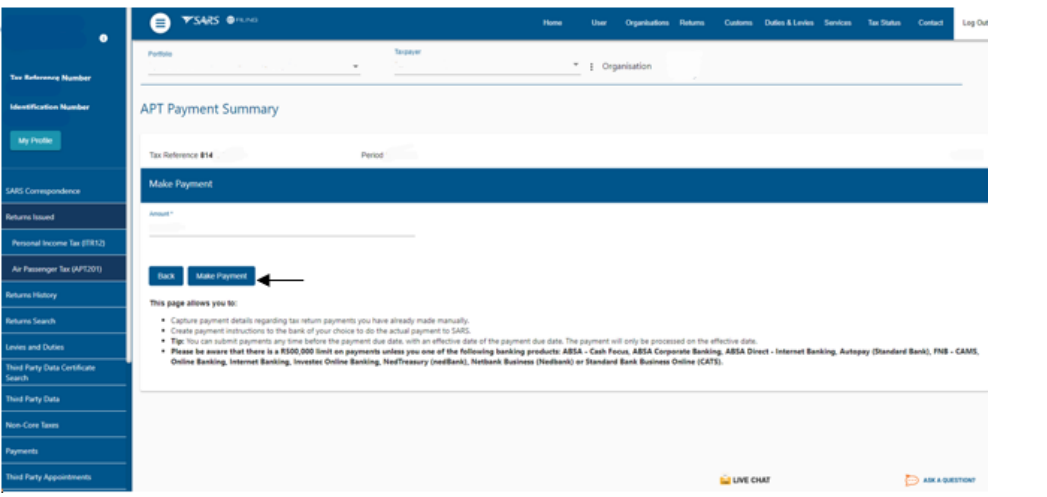
- Once the return is submitted, the operator clicks the Make Payment button.
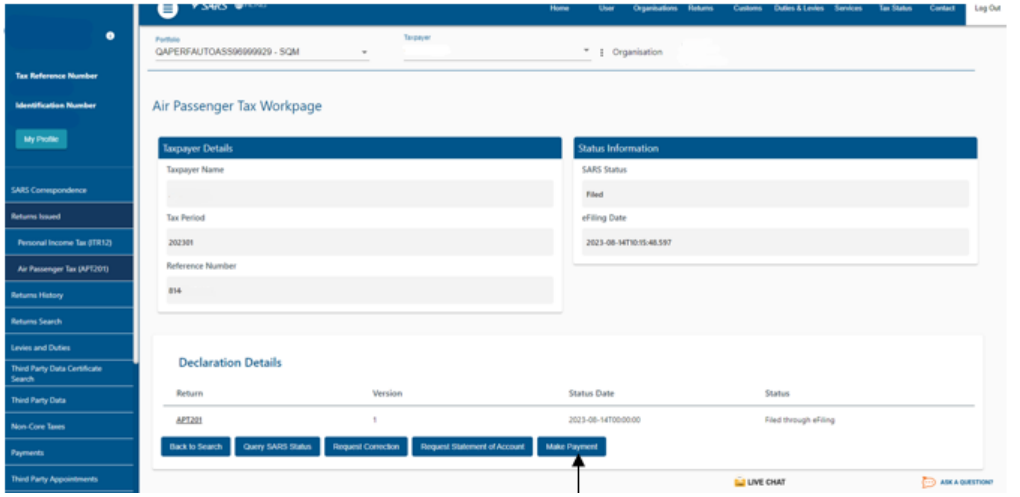
- The operator confirms the amount due and clicks the Make Payment button again.
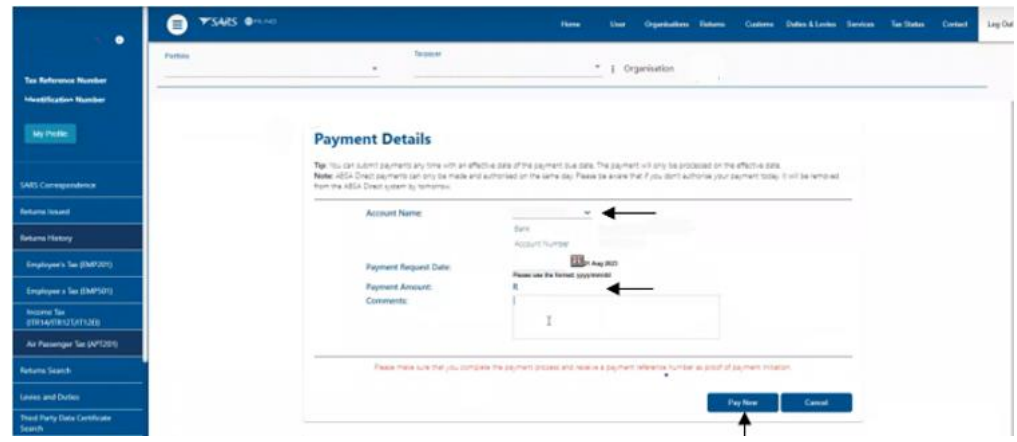
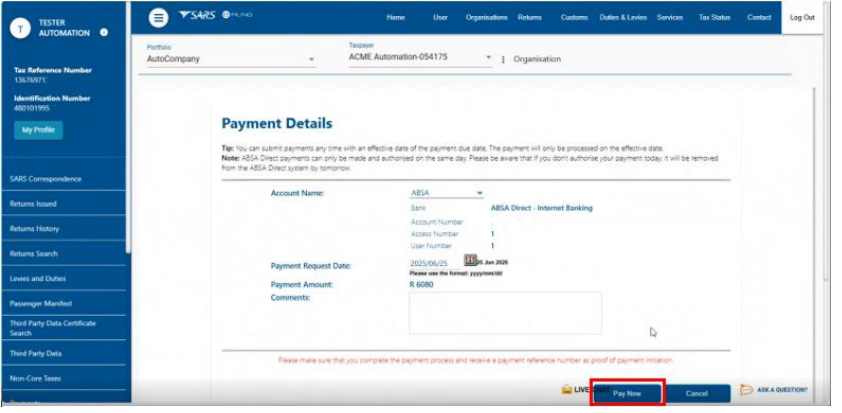
- The payment details displays and the operator:
- Selects the saved bank account from the dropdown box;
- Confirms the payment details; and
- Clicks the Pay Now button.
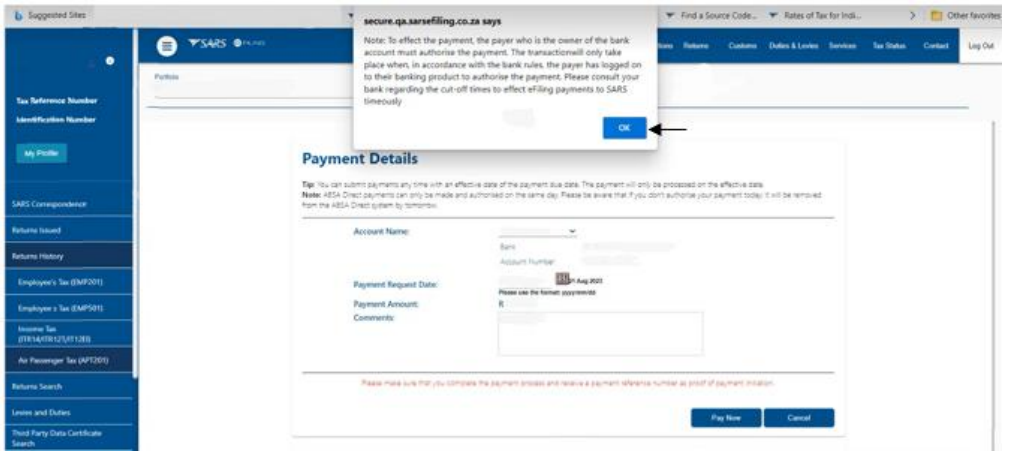
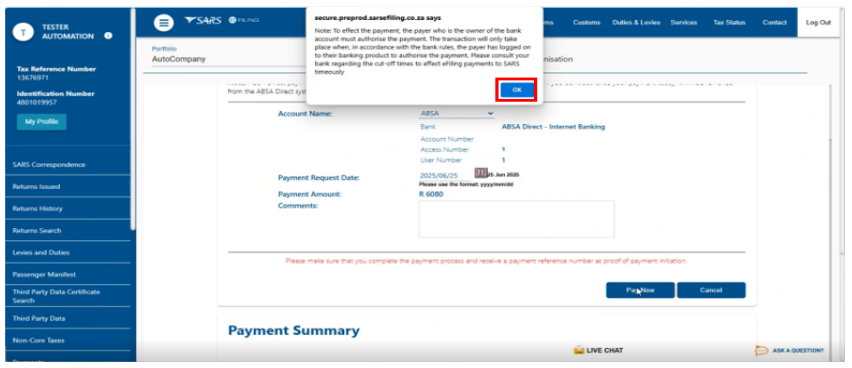
- The operator clicks Ok in the pop-up box.
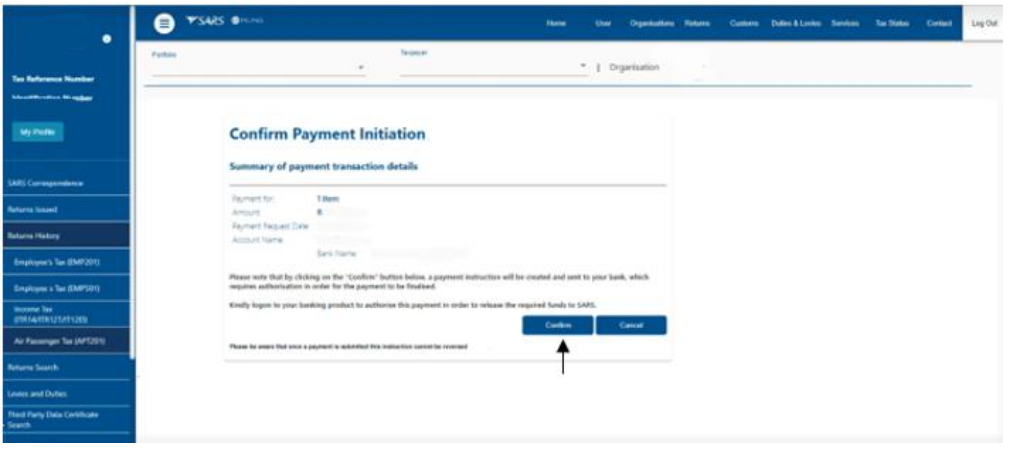
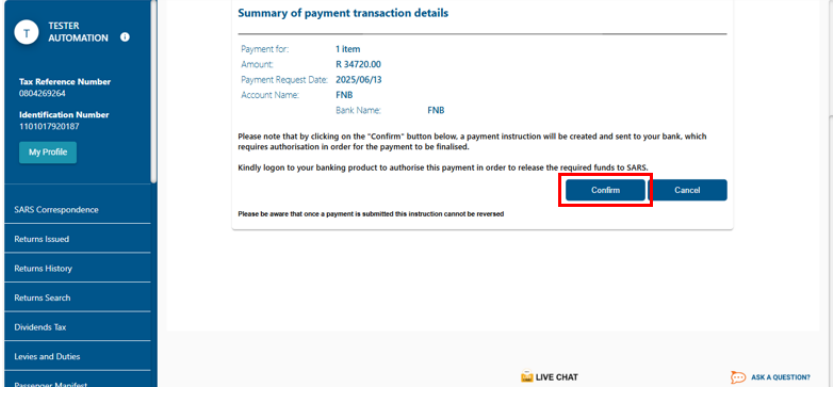
- The summary of payment displays, and the operator clicks the Confirm button.
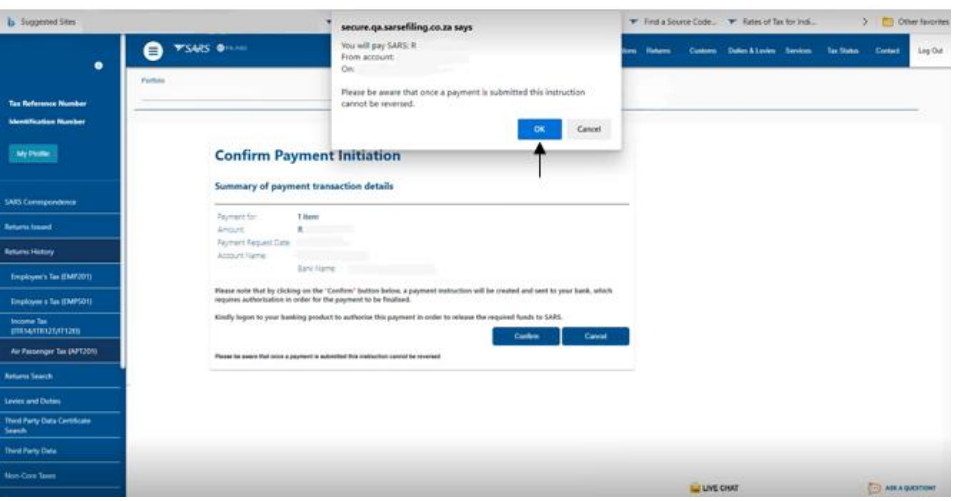
- The operator clicks Ok in the pop-up box.
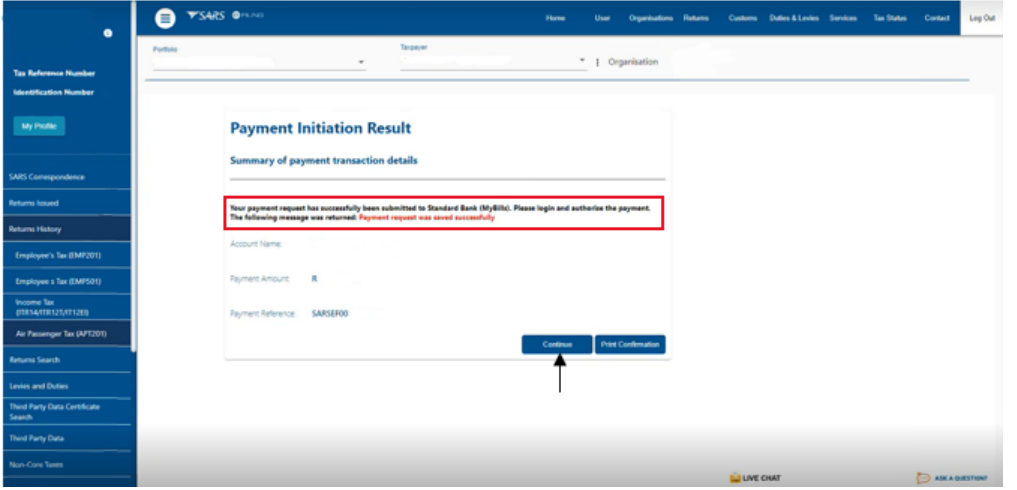
- The payment will be submitted to the operator’s bank for approval of payment.
- The operator clicks the Continue button. The operator will also have the option to print the summary of
payment.
- The operator logs into their nominated bank and approves the payment.
Statement of Account (SOA)
- The statement of account will be emailed to the operator monthly.
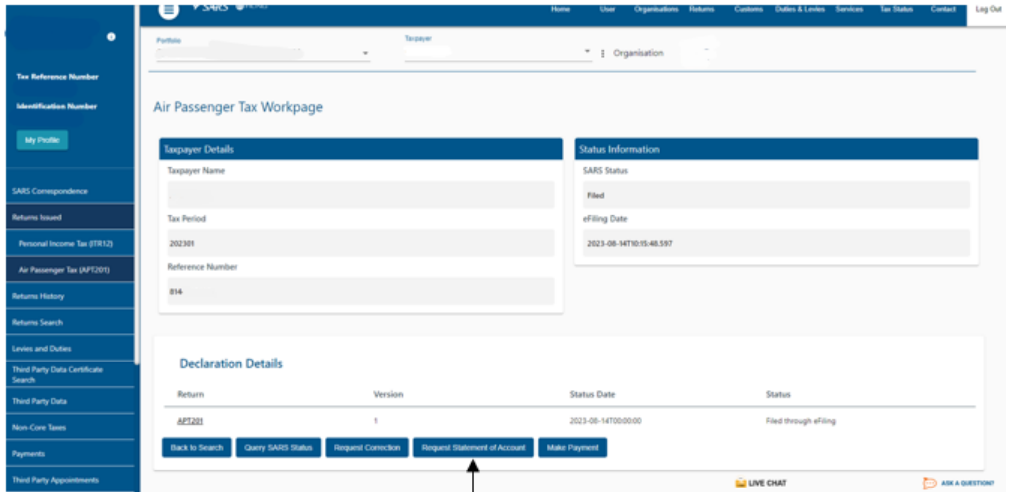
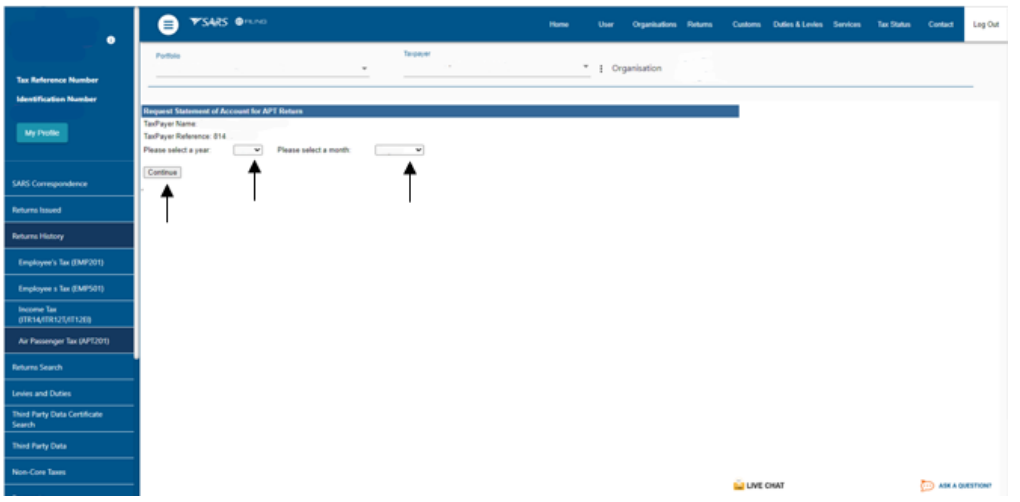
- Alternatively, the operator can click on the Request Statement of Account button to view their account.
- The operator selects the year and month and clicks the Continue button.
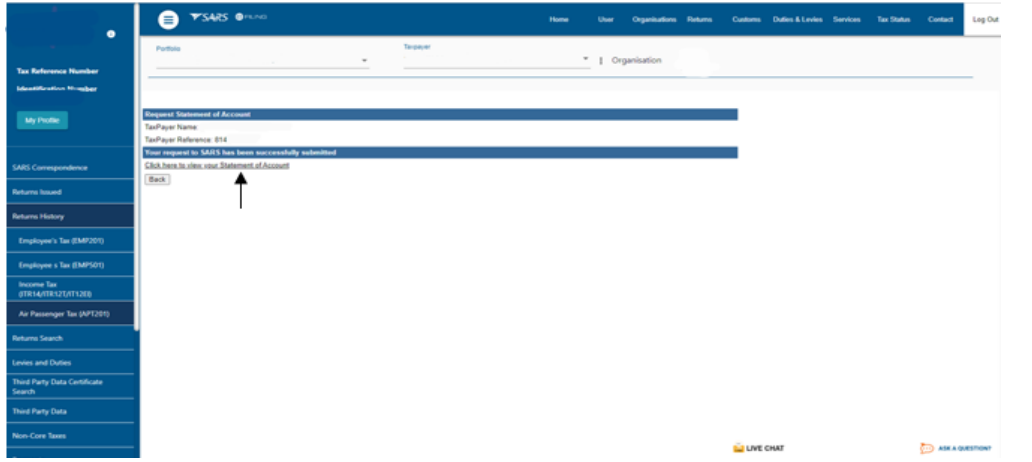
- The operator clicks the hyperlink to view the Statement of Account.
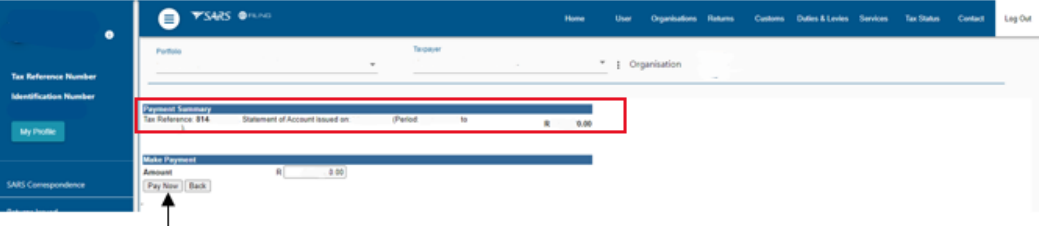
- The amount due for the selected period will display. The operator can make payment through the
statement of account by clicking the Make Payment button.

- The operator reviews the payment details and clicks the Pay Now button.
- The operator clicks Ok in the pop-up box.
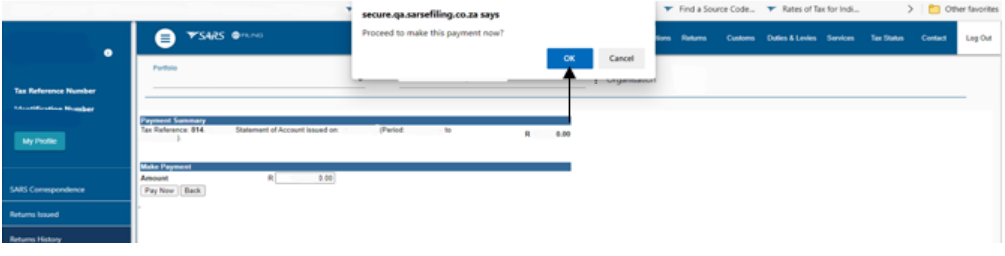
- The operator continues to process payment as described in Make Payment
Converting Excel File into CSV File
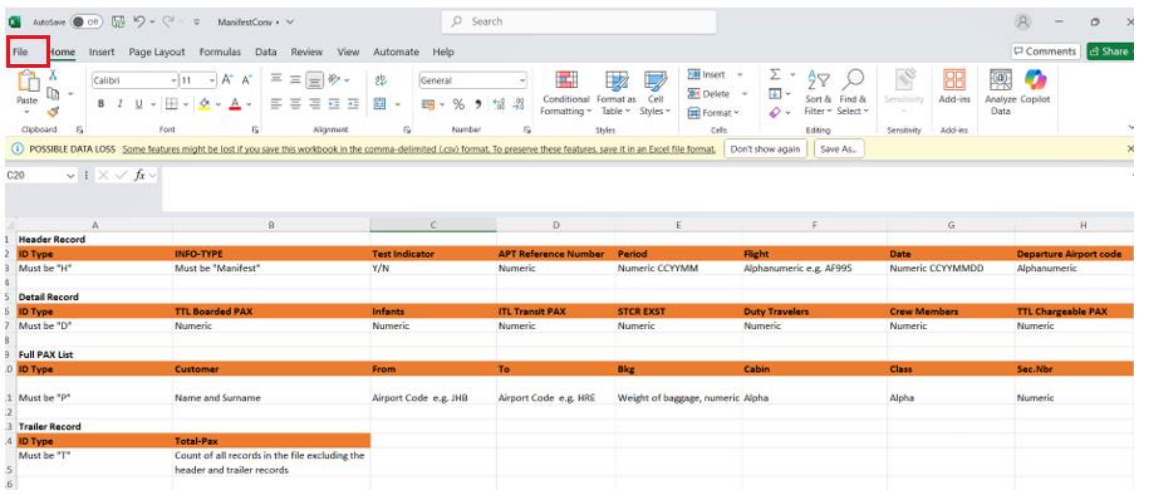
- The operator must ensure that, they have captured the manifest information as specified in APT-02-A02
on Microsoft Excel. - The operator must open the Excel passenger manifest file that needs to be converted and click ‘File’.
- The operator must click ‘Save a Copy’ or Save As.
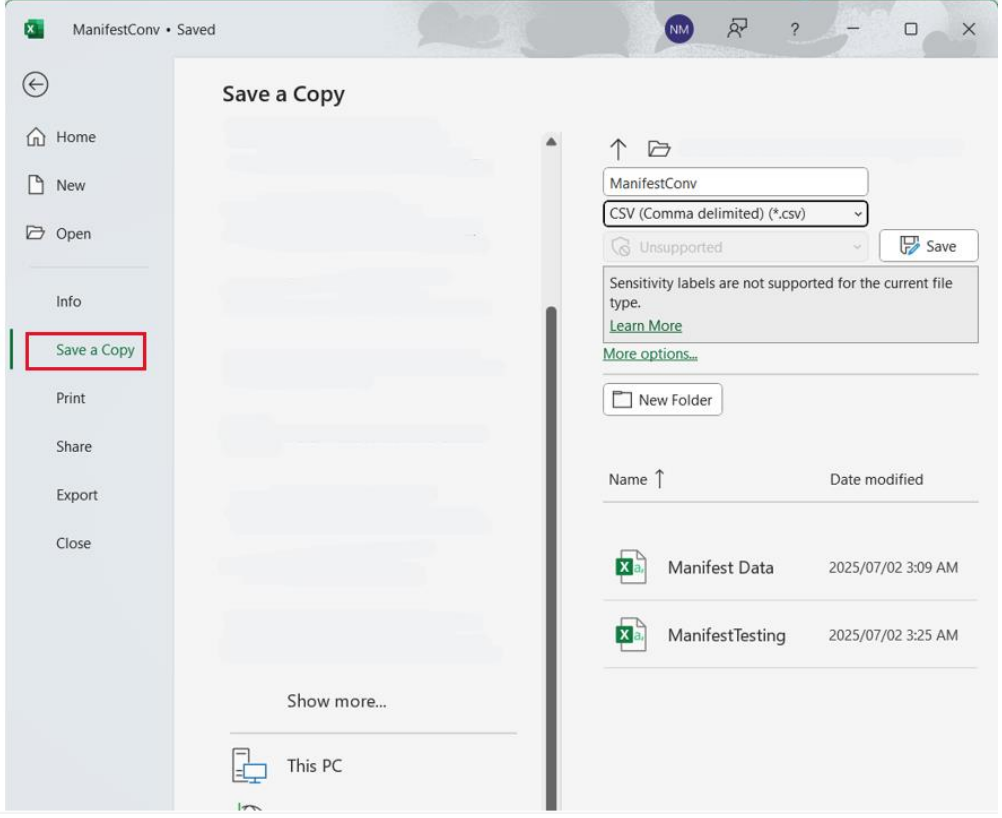
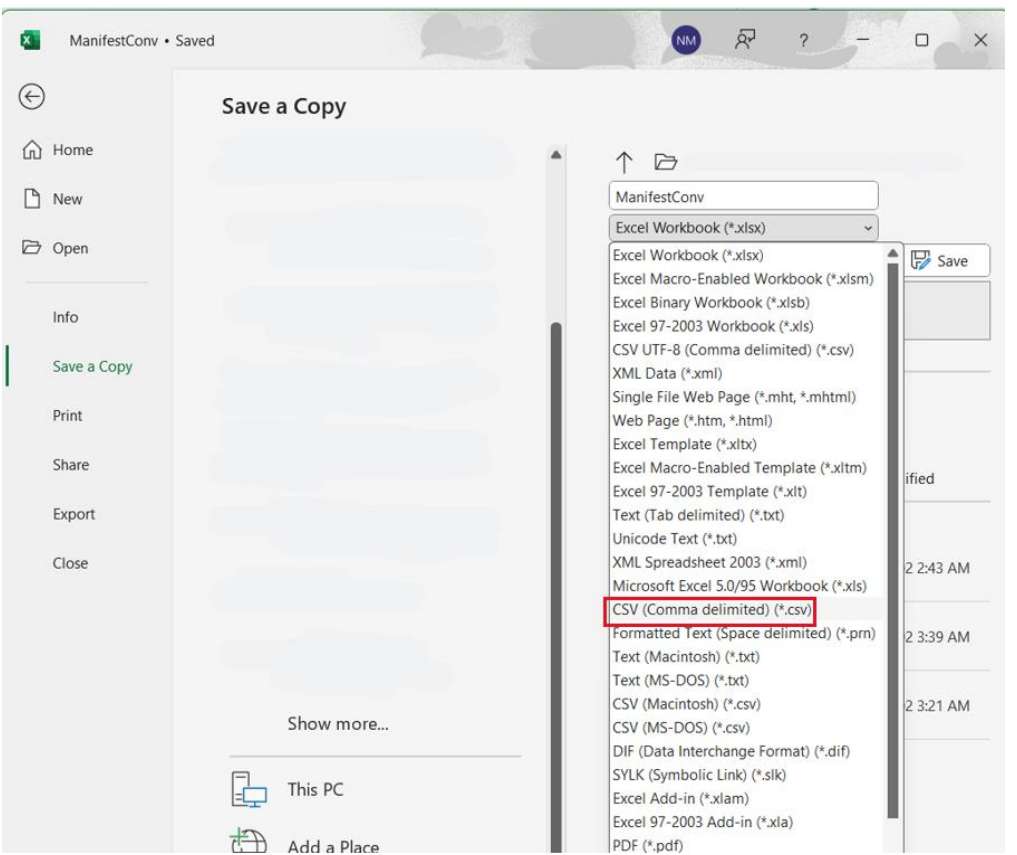
- Choose ‘CSV (Comma delimited) (*.csv)’ in the ‘Save as type’ dropdown menu. The default delimiter
must be changed before clicking ‘Save’.
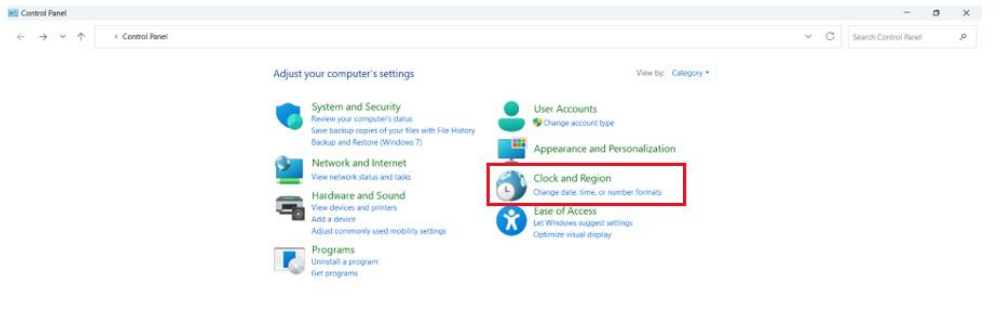
- In order to convert an Excel file into CSV file, the default delimiter must be changed from a comma to a
pipe character (|). - To effect this change required, the operator must open the Control Panel on the computer and click
‘Clock and Region’.
- The operator must click ‘Region”.
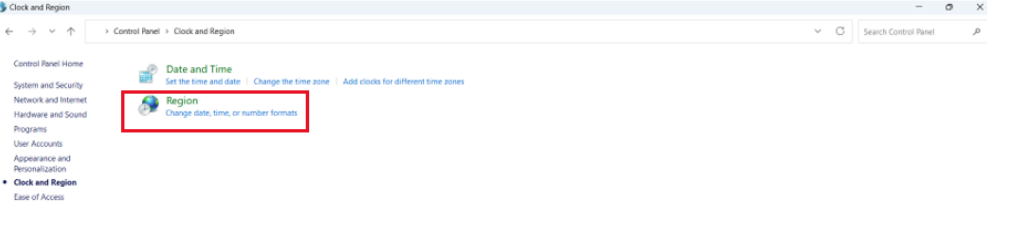
- The operator must click ‘Additional settings’.

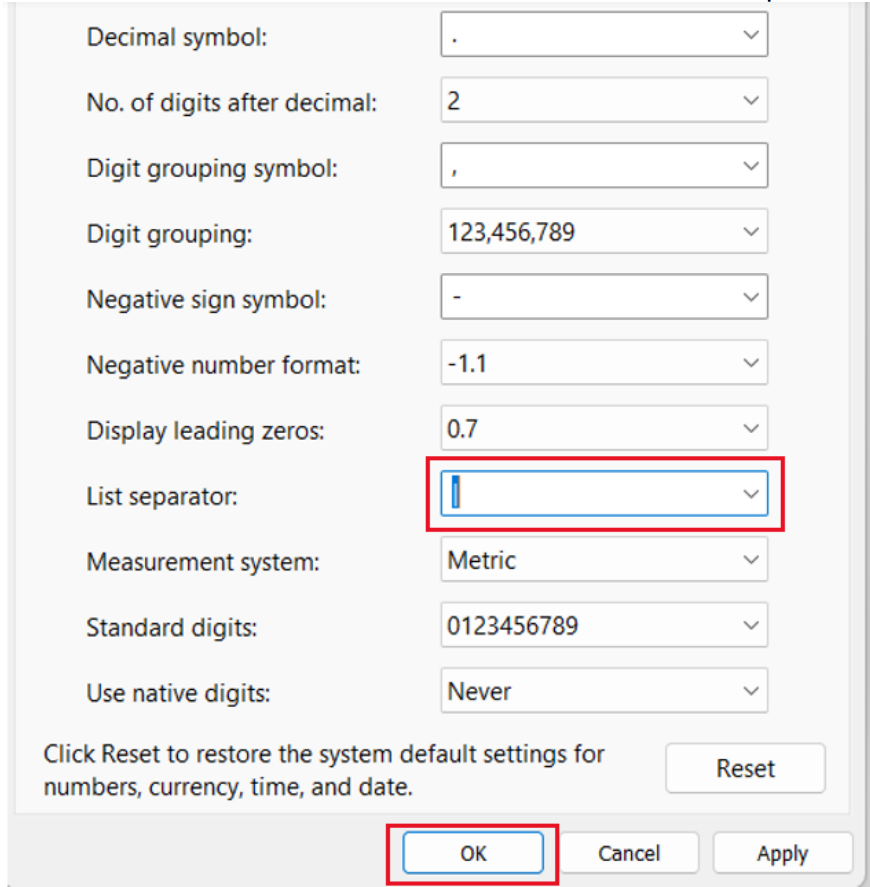
- The operator must check the ‘List separator’ field for the pipe character currently in use:
- If the pipe character is a ‘,’ then the operator must change it to an ‘|’ which is located on top of the
Enter button on the keyboard or select ‘|” from the dropdown menu.
- If the pipe character is a ‘,’ then the operator must change it to an ‘|’ which is located on top of the
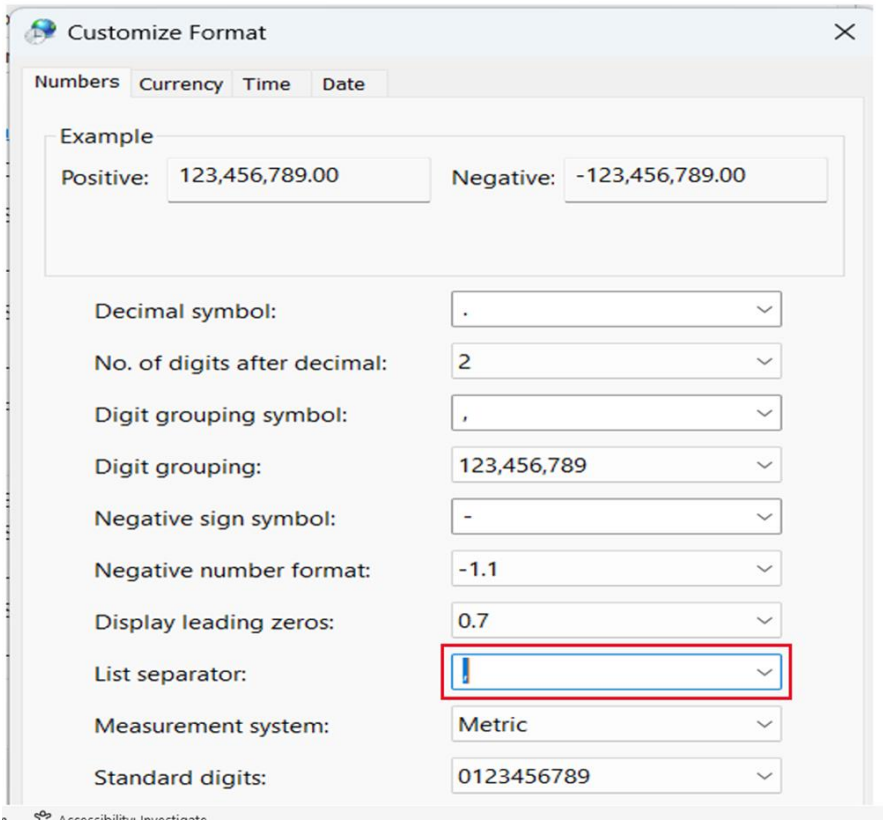
- If the pipe character is a ‘|’ the operator does not need to make any changes.
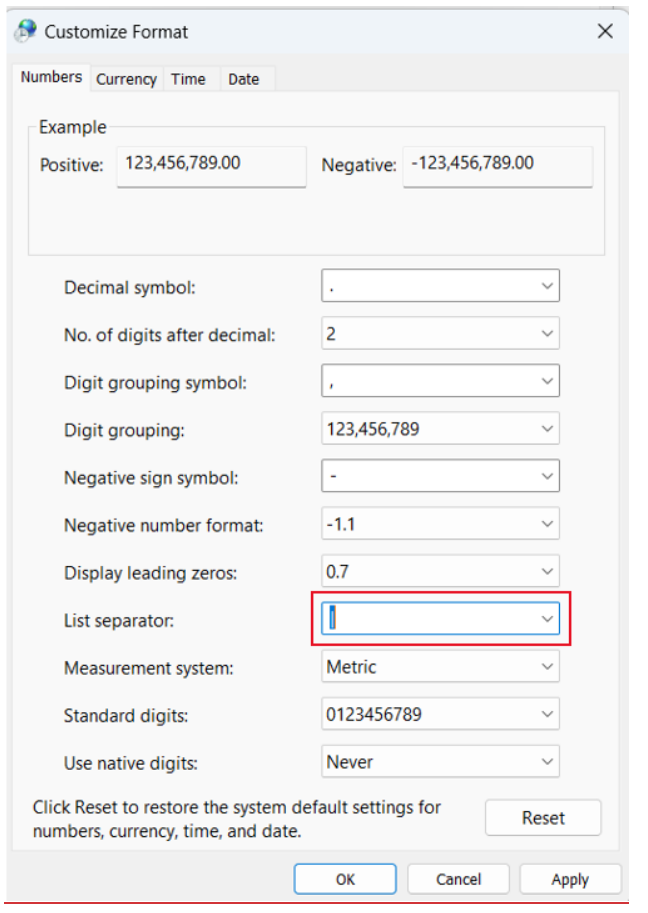
- The operator must click ‘Ok’ to save changes made.
- The operator can now save the file. It will be saved as a CSV file, with pipe characters as delimiters
instead of commas. - To verify the convention, the operator must open the saved file in a text editor like Notepad to ensure
that the data is separated by pipe characters.
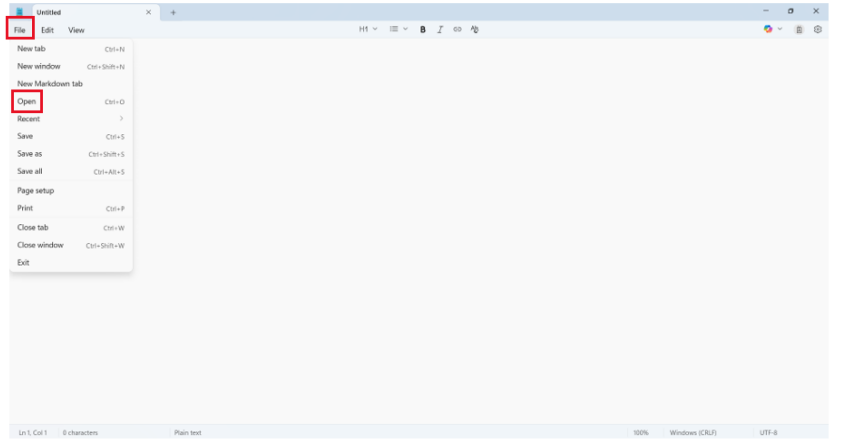
- The operator must click ‘File’ and then ‘Open’
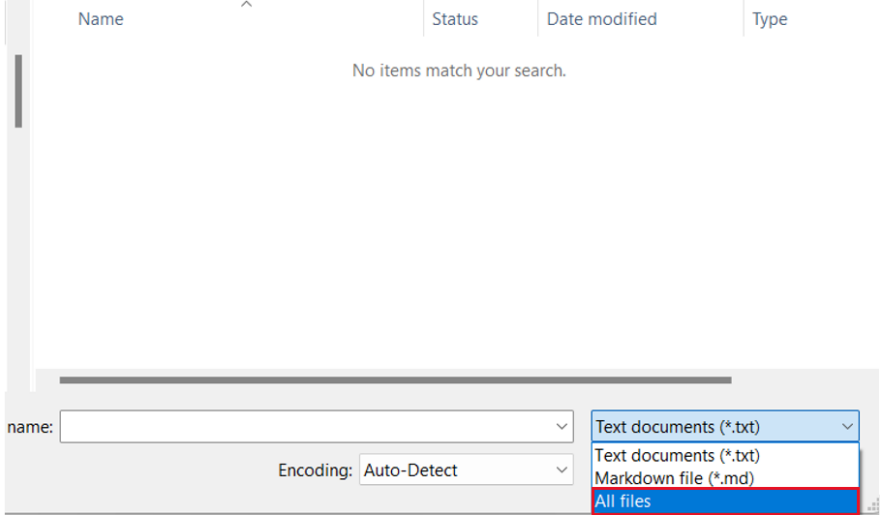
- The operator must select ‘All files’ from the dropdown menu of file type.
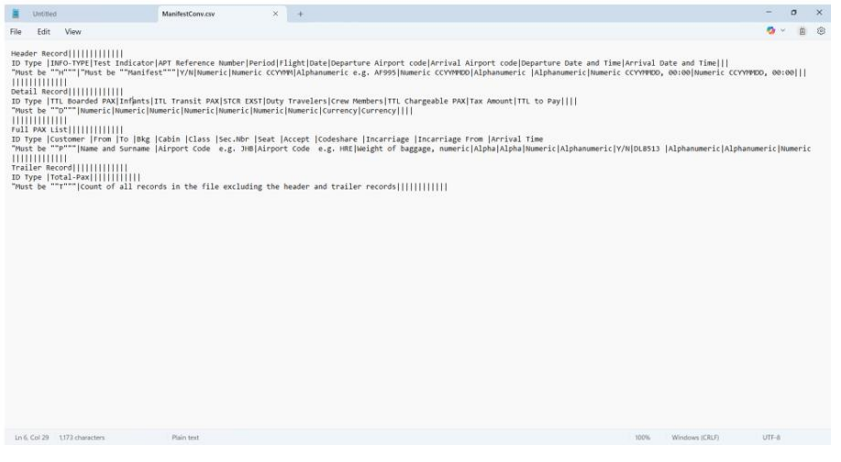
- The list of files will appear, and the operator must select the CSV file that has been just converted
- If converted correctly the data will be separated by pipe characters (|) as reflected below. The CSV file
is ready to be uploaded using efiling.
Upload of Passenger Manifest
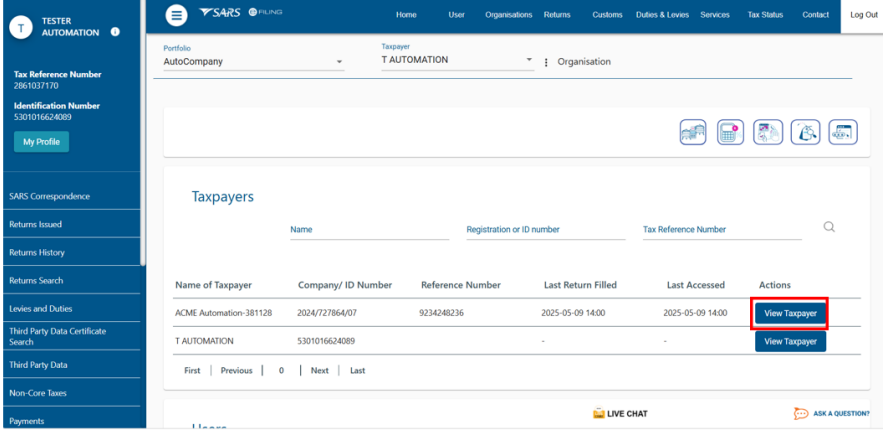
- The operator must login into eFiling as specified in Log in to eFiling
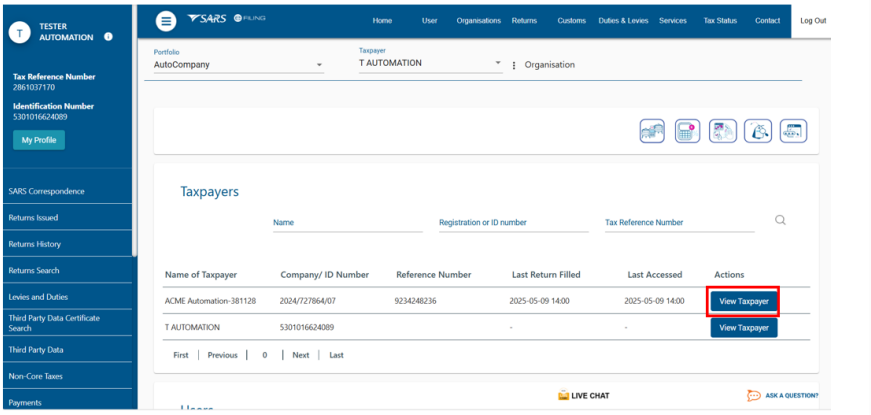
- Select the applicable profile and click on ‘View Taxpayer’.
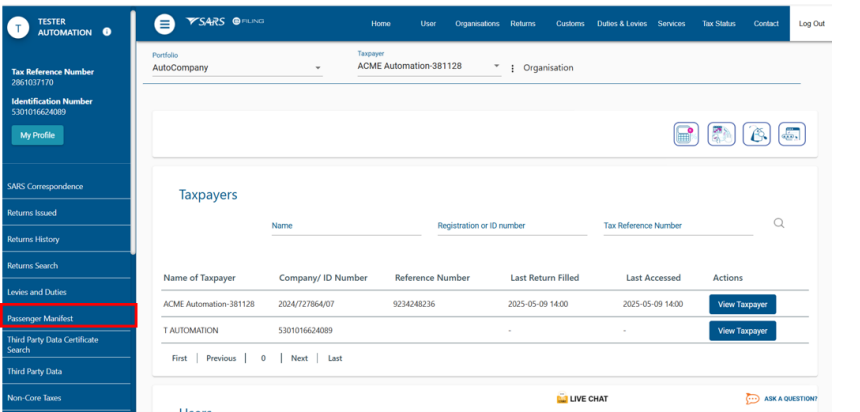
- The operator must click on ‘Passenger Manifest’.
- The operator must click ‘Update Passenger Manifest’.
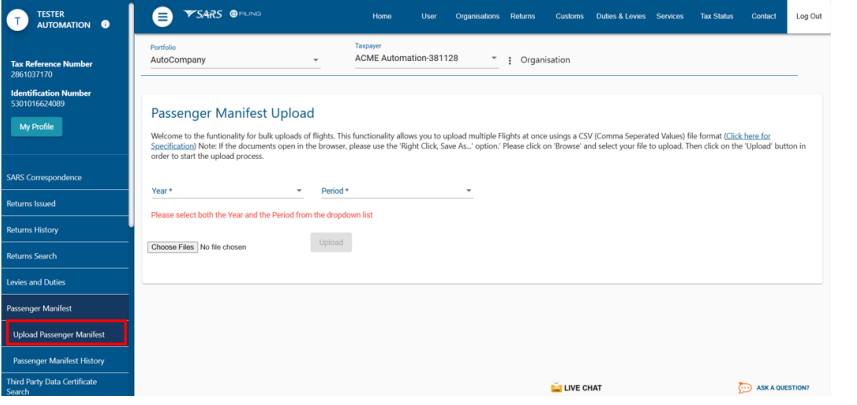
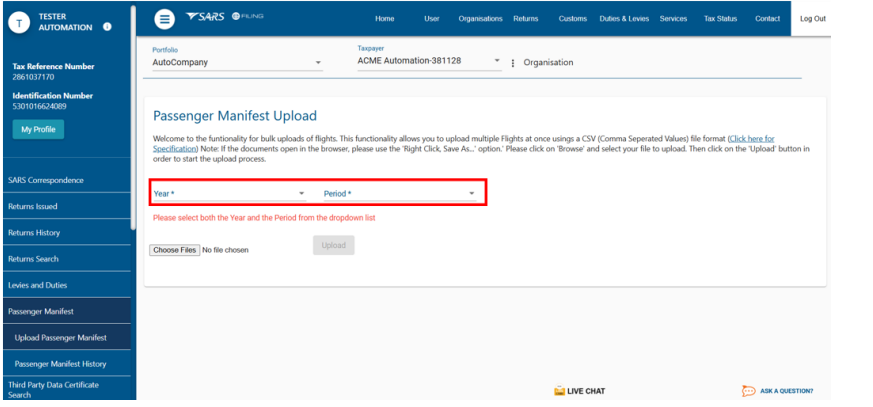
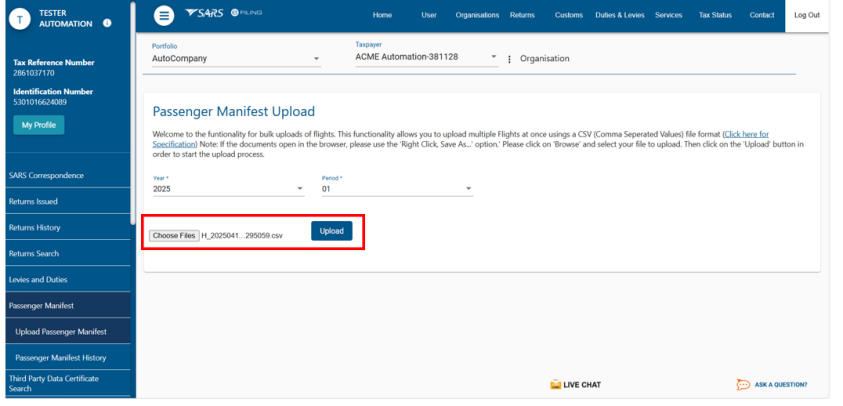
- Select ‘Year’ and ‘Period’ of the passenger manifest being uploaded.
- Choose the CSV file to upload and select ‘Upload’.
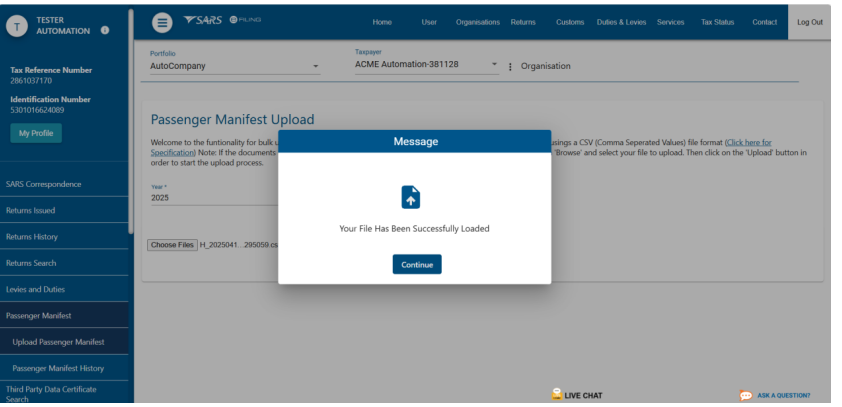
- The screen below will display after a successful upload of passenger manifest.
- The operator may click ‘Passenger Manifest History’ to view previously uploaded passenger manifests.

Initiate Payment From Contravention Letters
- The operator must login into eFiling as specified in Log in to eFiling
- Select the applicable profile and click ‘View Taxpayer’
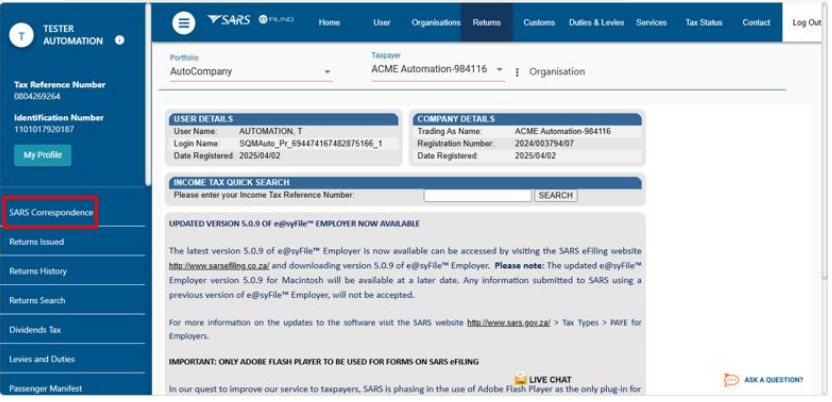
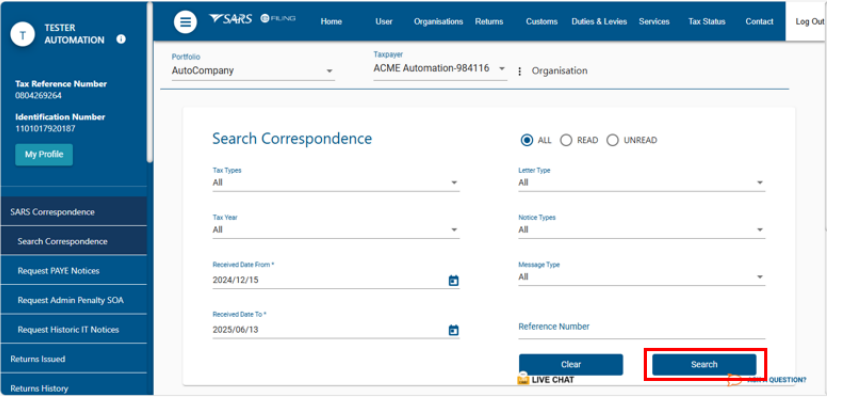
- The operator must then click the ‘SARS Correspondence’ option.
- The operator is prompted to enter the search criteria then click on ‘Search’
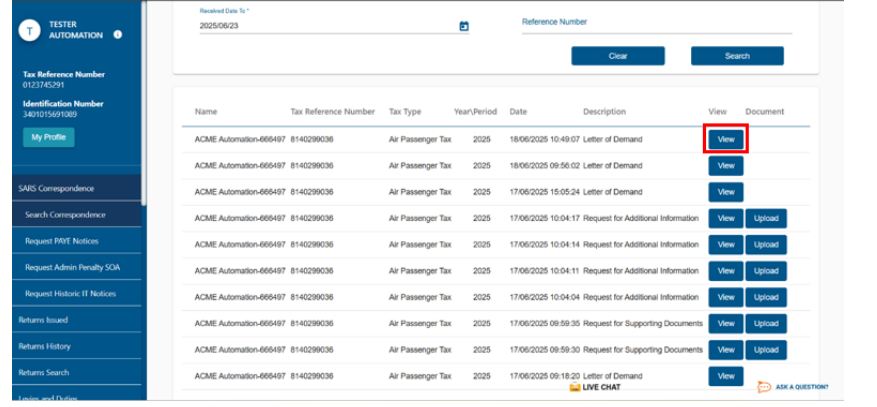
- The operator must click on ‘View’ to access the applicable contravention letter.
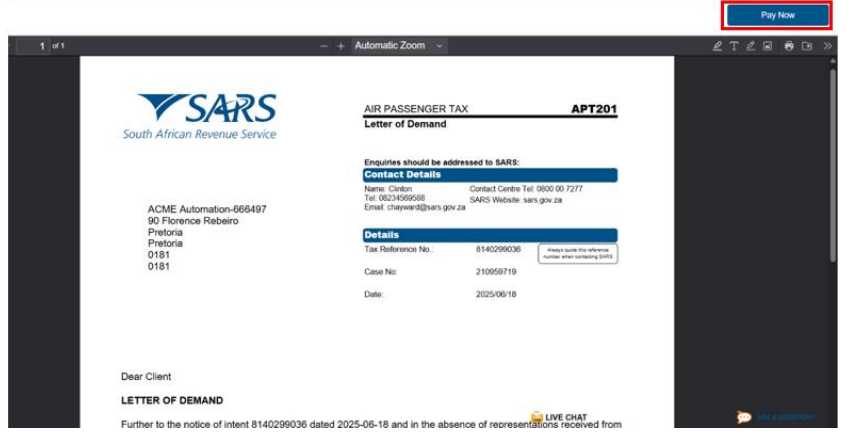
- The operator must click ‘Download file’ to open the contravention letter and click ‘Pay Now’ to make
payment.

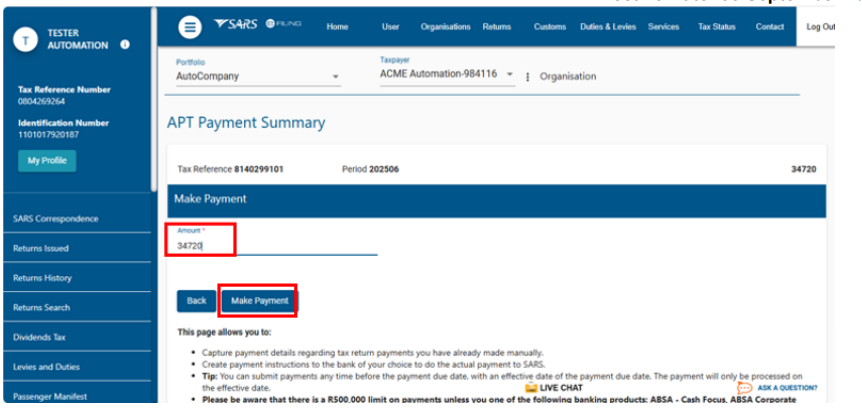
- Enter the amount to pay and then click ‘Make Payment’.
- The operator must select the ‘Account Name’ to be used for payment and select the ‘Payment Request
Date
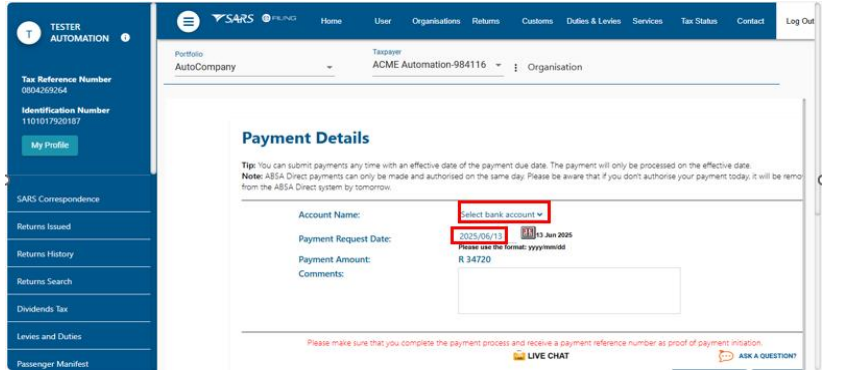
- The operator then clicks ‘Pay Now’.
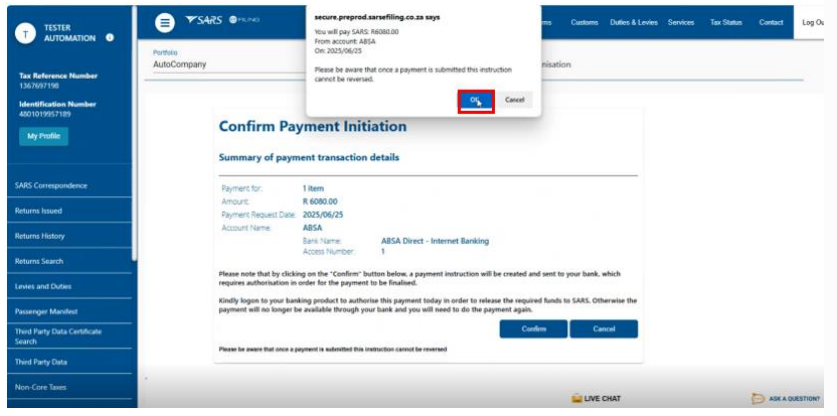
- The operator clicks ‘OK’ in the pop-up box.
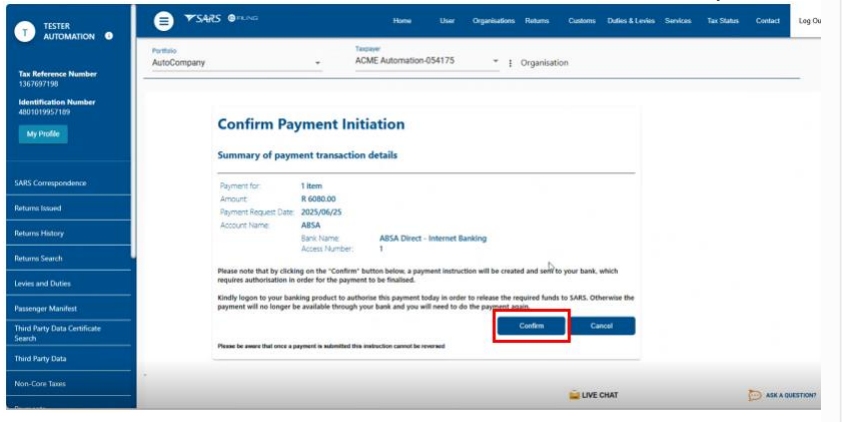
- The operator must check summary of payment accuracy and click ‘Confirm’ if details are correct.
- The operator to click ‘OK’ button to send a payment instruction to the bank.
- The operator must click ‘Confirm’ to confirm payment initiation.
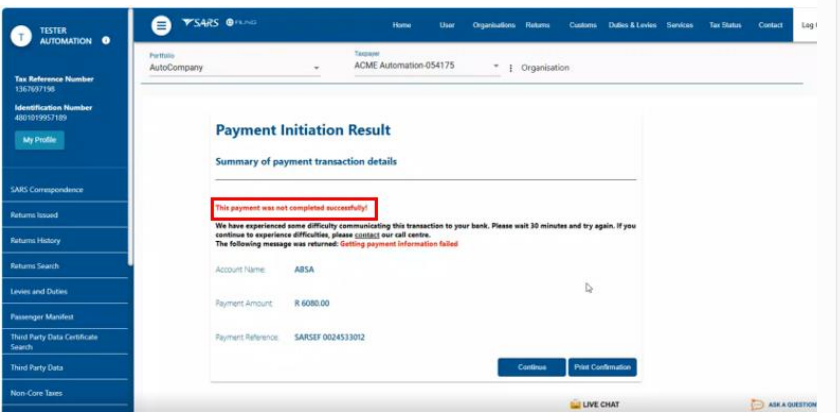
- If the initiation is not successful, the error message below will show. The operator has an option to try
again in 30 minutes or to call the SARS Contact Center.
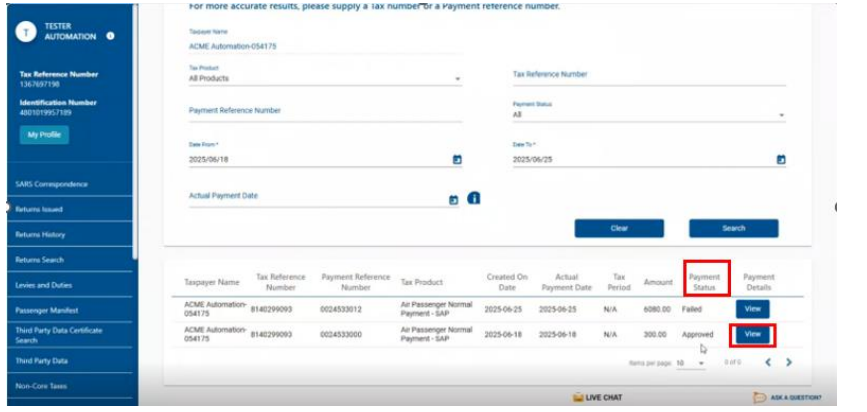
- The operator may check the payment status by selecting ‘Payments’ followed by ‘Payment History’.
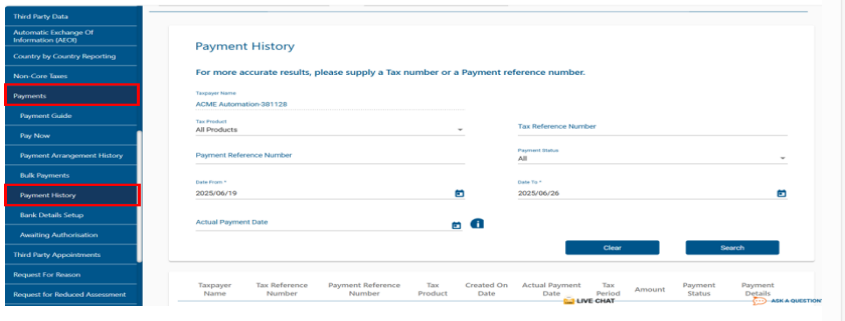
- The operator must click on ‘View’ to check the applicable payment status:
- The ‘Payment Status’ will reflect ‘Approved’ if the payment has been successful.
- The ‘Payment Status’ will reflect ‘Failed’ if the payment has not been successful.
Definitions, acronyms and abbreviations
The definitions, acronyms and abbreviations can be accessed here – Glossary webpage.
Legal disclaimer: In the event of conflict or inconsistency between this webpage and the PDF version of the guide, the latter shall prevail.