Tips on how to change settings on your scanner

It’s easy to change the scanner default settings.  To set up your scanner in the first place, you need to search ‘scanners’ in the Control Panel Search field and press Enter. 

Step 1

Go to Start and then Control Panel. Type in 'scanners' in the Control Panel search field and press Enter.

The Control Panel window appears.
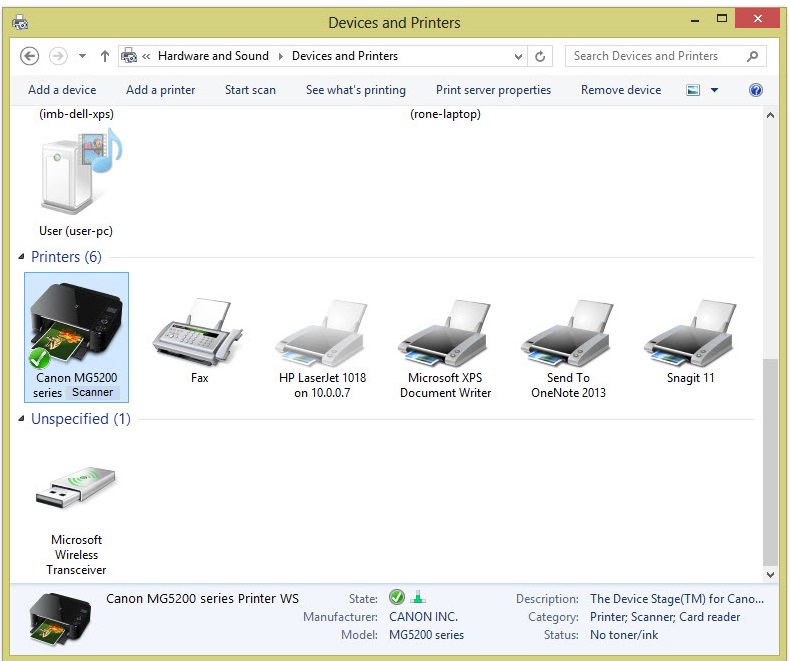
Step 2

Then click on View Scanners and Cameras or Devices and Printers

You will see a list of installed scanners (or printers that are also scanners, copiers etc) in the window.

Step 3

Click on the scanner and then click the Scan Profiles (or change settings) button.

The Profiles dialog box appears.

Step 4

Select a scanner and click Edit.

The Edit Default Profile dialog box appears. 

Step 5

Review the settings.

Depending on your scanner model, these settings may include colour management for fine-tuning the way colors are scanned and resolution settings that control how detailed a scan is performed. The higher the resolution, the crisper and cleaner your electronic document, but the more time it may take to scan.

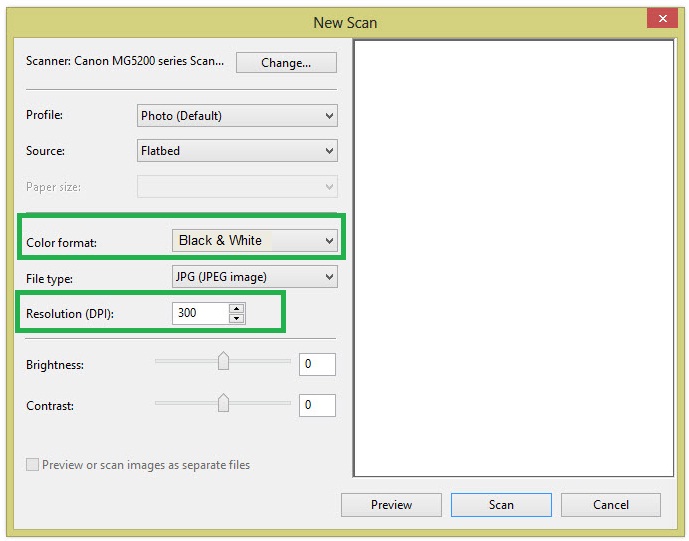
For SARS supporting documents:

  • Change the Resolution (DPI) to 300;
  • Set the Colour format to ‘Black and White’ (not colour).
  • The file type may be .pdf, .doc, .docx, .xls, .xlsx, .jpg and .gif.

Step 6

Click Save Profile to return to the Properties dialog box and then click the Close Button twice.

The Scan Profiles and Scanners and Cameras windows close.

Step 7

When you’re ready to run a scan, place the item to be scanned in your scanner.

Depending on your model, the item may be placed on a flat “bed” with a cover or fed through a tray. Check your scanner’s manual for the specific procedure to initiate a scan (for example, pressing a Scan or Start button). After you begin the scan, your computer automatically detects it and displays a dialog box showing you the scan progress and allowing you to view and save the scanned item. See the file type and file size requirements here.

Table of Contents

Last Updated:

Facebook
Twitter
LinkedIn
Email
Print