Step 1: Capture Clients Details
In this step you will record your client’s profile information and select the applicable category you will service the client.
- Login to eFiling.
- Navigate to your Tax Practitioner Portfolio.
- Click on Organisations in the main menu and select Organisation on the left menu.
- Select Register New.
- The Capture Entity Details screen will be displayed.
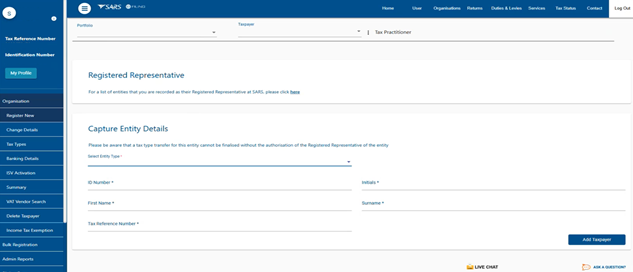
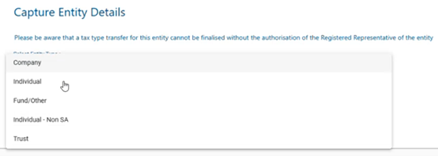
- Select the applicable entity type from the dropdown list.
- Complete the required demographics on the Capture Entity Details.
- Once completed, click on Add Taxpayer.
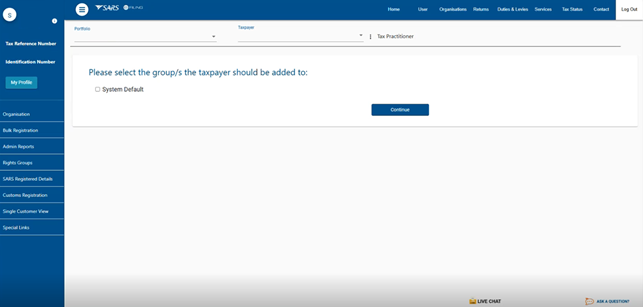
The available groups/category to add the taxpayer or entity will be displayed.
|
It is recommended to establish multiple groups within your Tax Practitioner portfolio, enabling you to assign each taxpayer to the most suitable group prior to adding them to your portfolio.
|
- Select the relevant group by marking the appropriate checkbox.
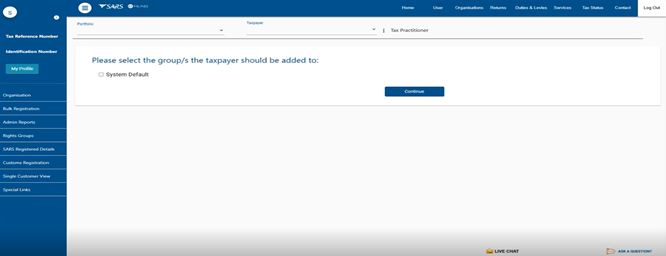
- Select the applicable group/s the taxpayer should be added to. In this example we selected System Default.
- Click on Continue.
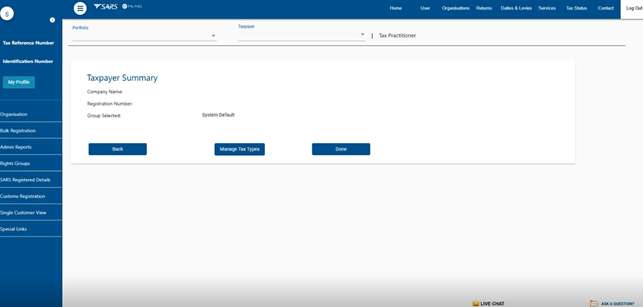
The Taxpayer Summary screen will be displayed.
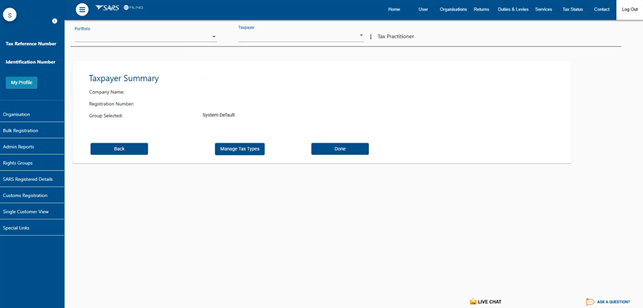
- Click on Manage Tax Types.
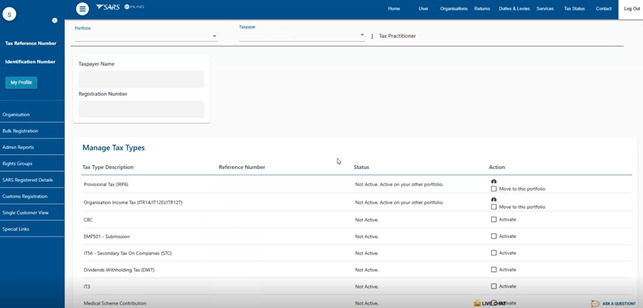
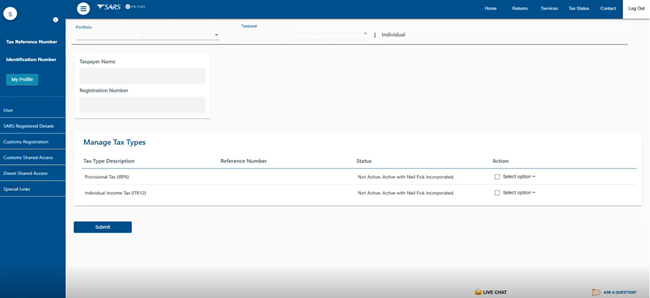
The Manage Tax Types screen will be displayed.
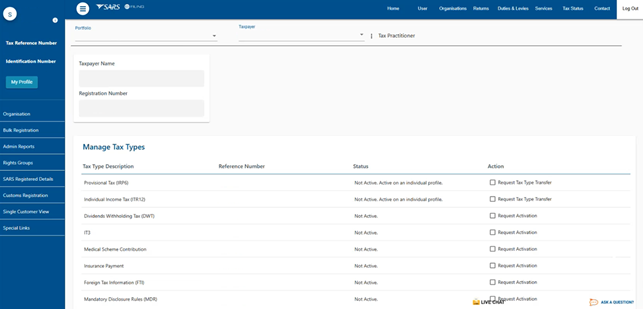
|
Do note that the Status of the Tax Types in your Tax Practitioner portfolio will indicate Not Active, while the Status of the Tax Types on your client’s profile will show as Active.
|
Step 2: Transfer the clients Tax Type to your Tax Practitioner portfolio
In this step you will move related Tax Types from the client’s profile to your Tax Practitioner portfolio.
On the Manage Tax Types screen.
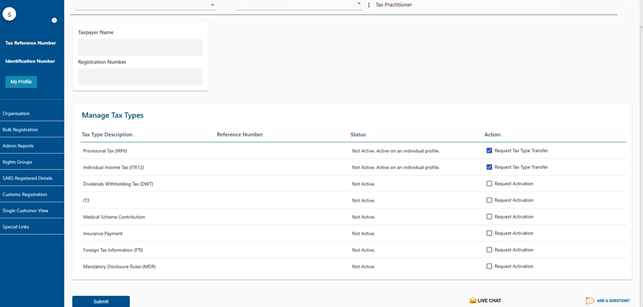
- To Activate, select the Action checkbox next to the relevant Tax Type.
- Once completed, click Submit.
The Tax Type Request Summary page will be displayed.
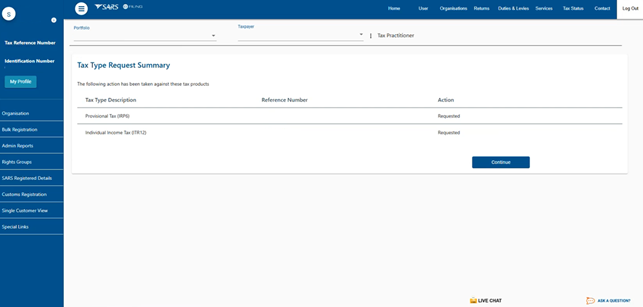
|
Do note that Action next to the selected Tax Type for transfer will be shown as “Requested”. |
- Click on Continue.
- The Status of requested Tax Types will update to “Awaiting authorisation“.
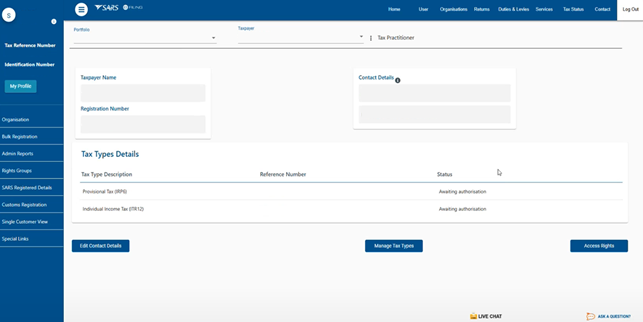
Proceed to step 3 for Authorization.
In this step you will obtain authorisation and a POA for tax matters from your client.
Request your client to access and open the following link: Link to the Tax Type Transfer webpage.
|
Please note that the information provided here pertains to the client of the Tax Practitioner, who is authorising access to the Tax Practitioner to fulfil their tax obligations on their behalf. |
- Once the link is open, the Tax Type Transfer/ Shared Access Request screen will be displayed.
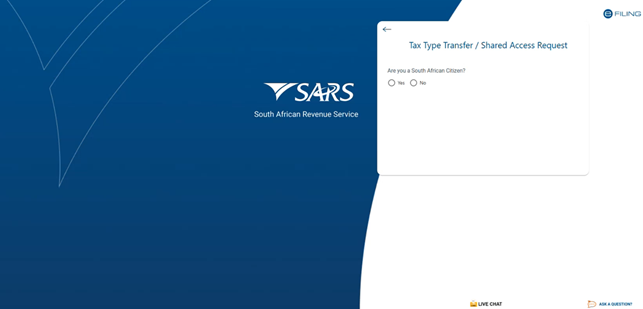
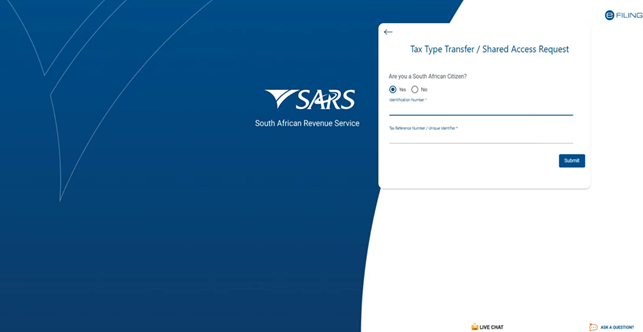
- Select whether you are a South African Citizen.
- Complete the demographic questions required.
- Once completed click on Submit.
An Approve Online Request screen will be displayed, requiring the taxpayer to select the method of communication to which the OTP should be sent.
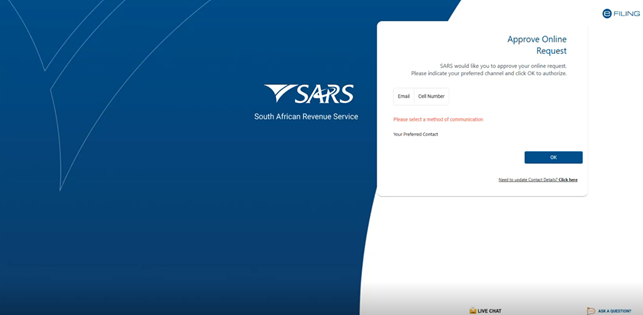
- Select either Email or Cell Number and click on OK.
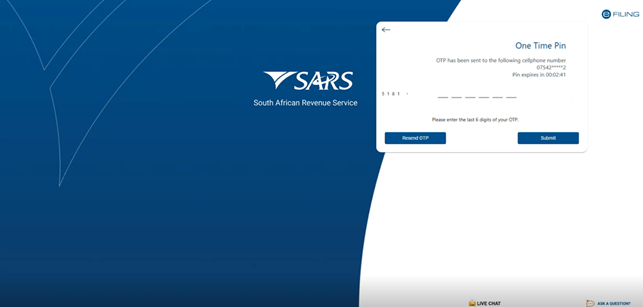
- Complete the OTP code and click on Submit.
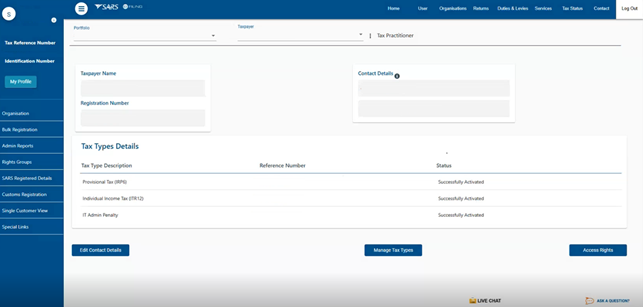
- The Power of Attorney (POA) will be issued for your client’s authorization.
To designate the Tax Practitioner, please select Authorise for the applicable Tax Types listed.
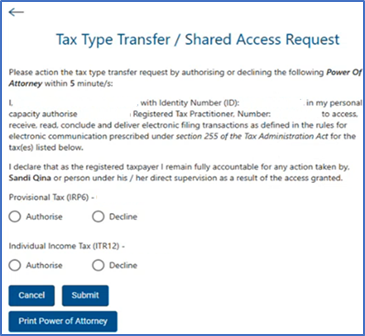
- Once selected, click on Submit.
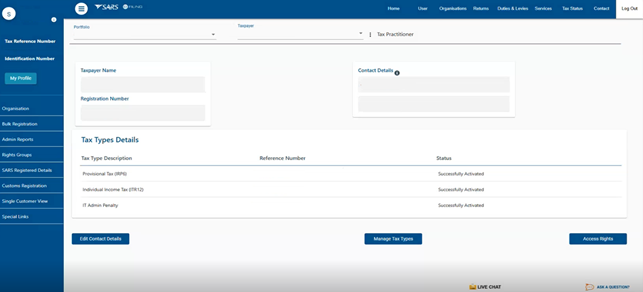
|
Do note that after submission, the Tax Practitioner profile will update accordingly upon refresh, and the status of the relevant Tax Types will display as Successfully Activated. |
In this step you will search for the entity details where you are the Registered Representative.
- Login.
- On your Tax Practitioner portfolio.
- Click on Organisations in the main menu, then select Organisation on the left menu.
- Select Register New
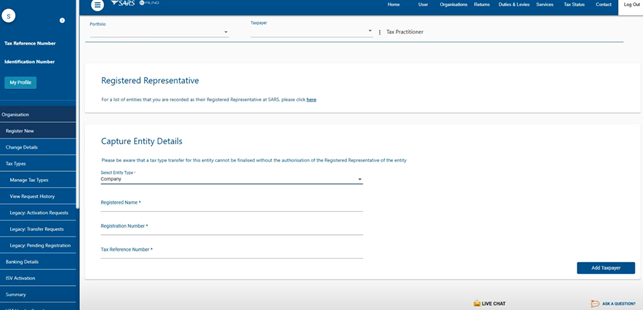
- Select the hyperlink labelled Here located below the Registered Representative
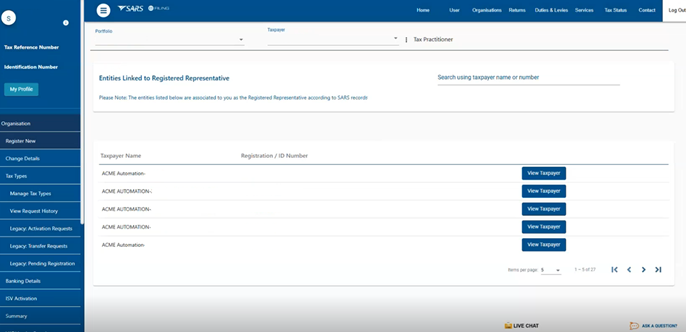
- Search for your entity.

- After locating the Entity name, click on Add Taxpayer next to the relevant Entity name.
The available groups/category to add the Entity will be displayed.
|
It is recommended to establish multiple groups within your Tax Practitioner portfolio, enabling you to assign each taxpayer to the most suitable group prior to adding them to your portfolio.
|
- Please select the appropriate group and click Continue to proceed.
- Select the applicable group/s the taxpayer should be added to. In this example we selected System Default.
- Click on Continue.
The Taxpayer Summary screen will be displayed.
- Click on Manage Tax Types, to continue to transfer the Tax Type.
- Proceed to the next section.
In this step you will transfer the Tax Types from the entity to your Tax Practitioner portfolio.
- On the Taxpayer Summary screen.
- Click on Manage Tax Types.
- Alternatively, if you logged out, login to your Tax Practitioner portfolio and navigate as follows:
- Click on Organisations in the main menu, then select Organisation on the left menu.
- Select Tax Types.
- Select Manage Tax Types.
- On the Manage Tax Type page, note that the Status of the Tax Types to be transferred will be Not Active.
- On the Action column, select “Move to the portfolio” next to the relevant Tax Type you wish to transfer.
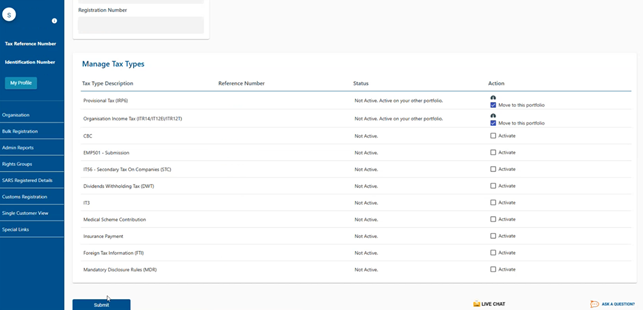
- Once selected, click on Submit.
- The Tax Type Request Summary page will be displayed.
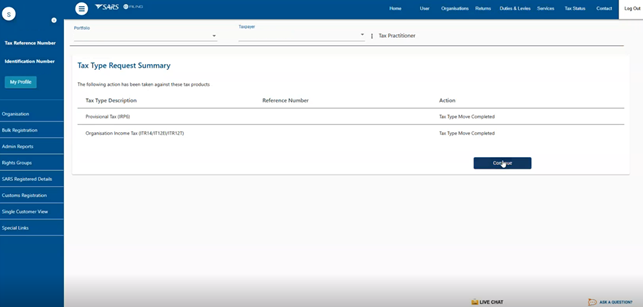
- Note that the Action will be displayed as Tax Type Move Completed.
- Click on Continue.
- Once the transfer is completed, the status will be displayed as Successfully Activated.
|
Note that there will be no requirement for authorisation because the Tax Practitioner is listed as the Registered Representative. |
In this step the client is required to access their eFiling profile and officially declare the discontinuation of your services as their practitioner.
Request your client to proceed as follows on their eFiling profile.
- Login to eFiling, on the landing page.
- Select Services on the main menu and select User on the left menu.
The Manage Tax Types page will be displayed.
- Below Action, click on the Select option drop down.
The following menu options will be presented.
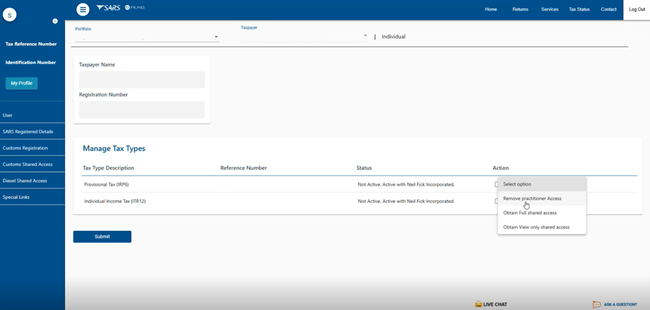
- Select Remove practitioner Access.
- Once selected, click on Submit.
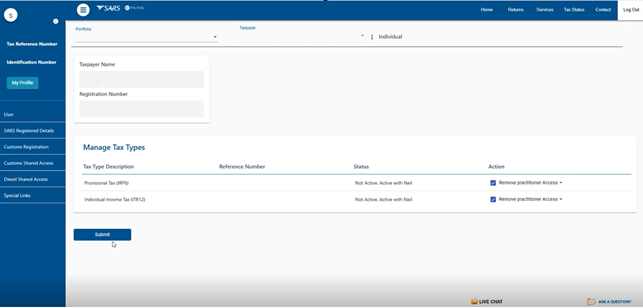
|
Note that after the Tax Type has been successfully transferred to the client or registered representative, the Tax Type status will be updated to Active. Only at this point may the Tax Practitioner proceed with deactivating their Tax Practitioner status. |
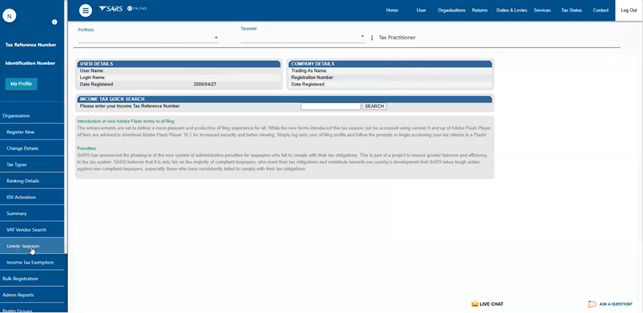
In this step you will remove your client from your Tax Practitioner portfolio.
- On your Tax Practitioner landing page,
- Click on Organisations in the main menu, then select Organisation on the left menu.
- Select Delete taxpayer.
The Delete Taxpayer page will be displayed.
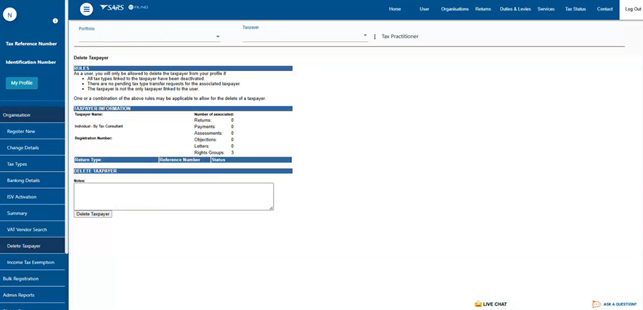
Take note of the information and proceed to click on Delete Taxpayer.
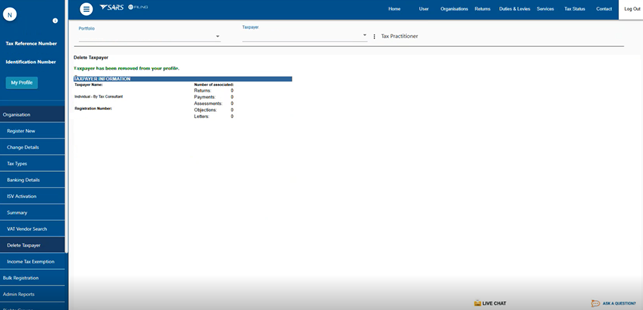
A successful notification will be displayed, indicating that the taxpayer has been removed from your profile.